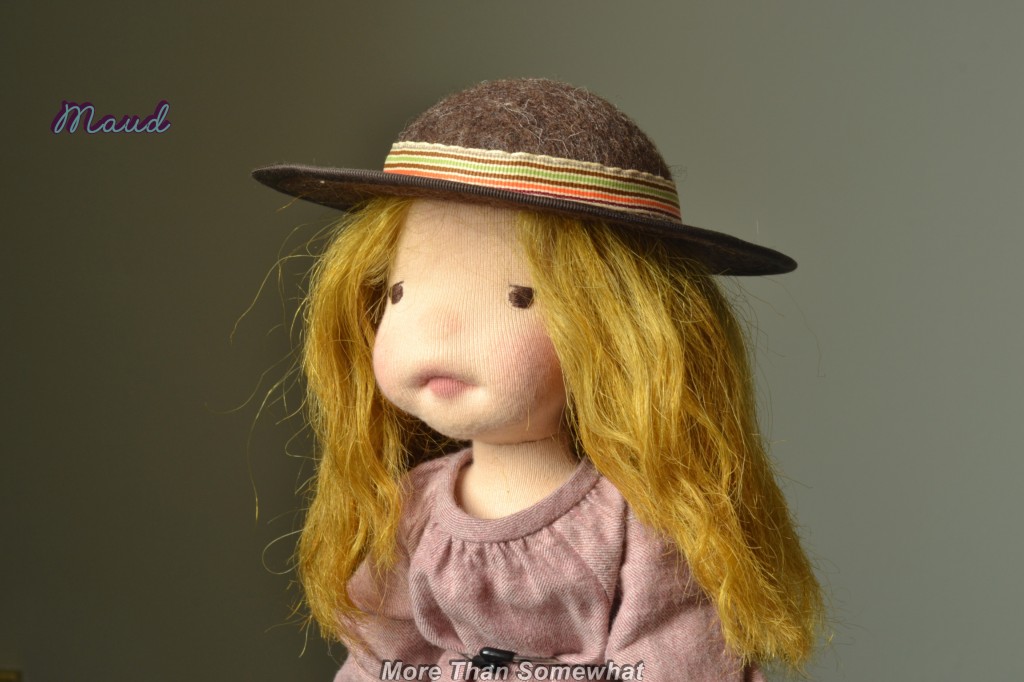
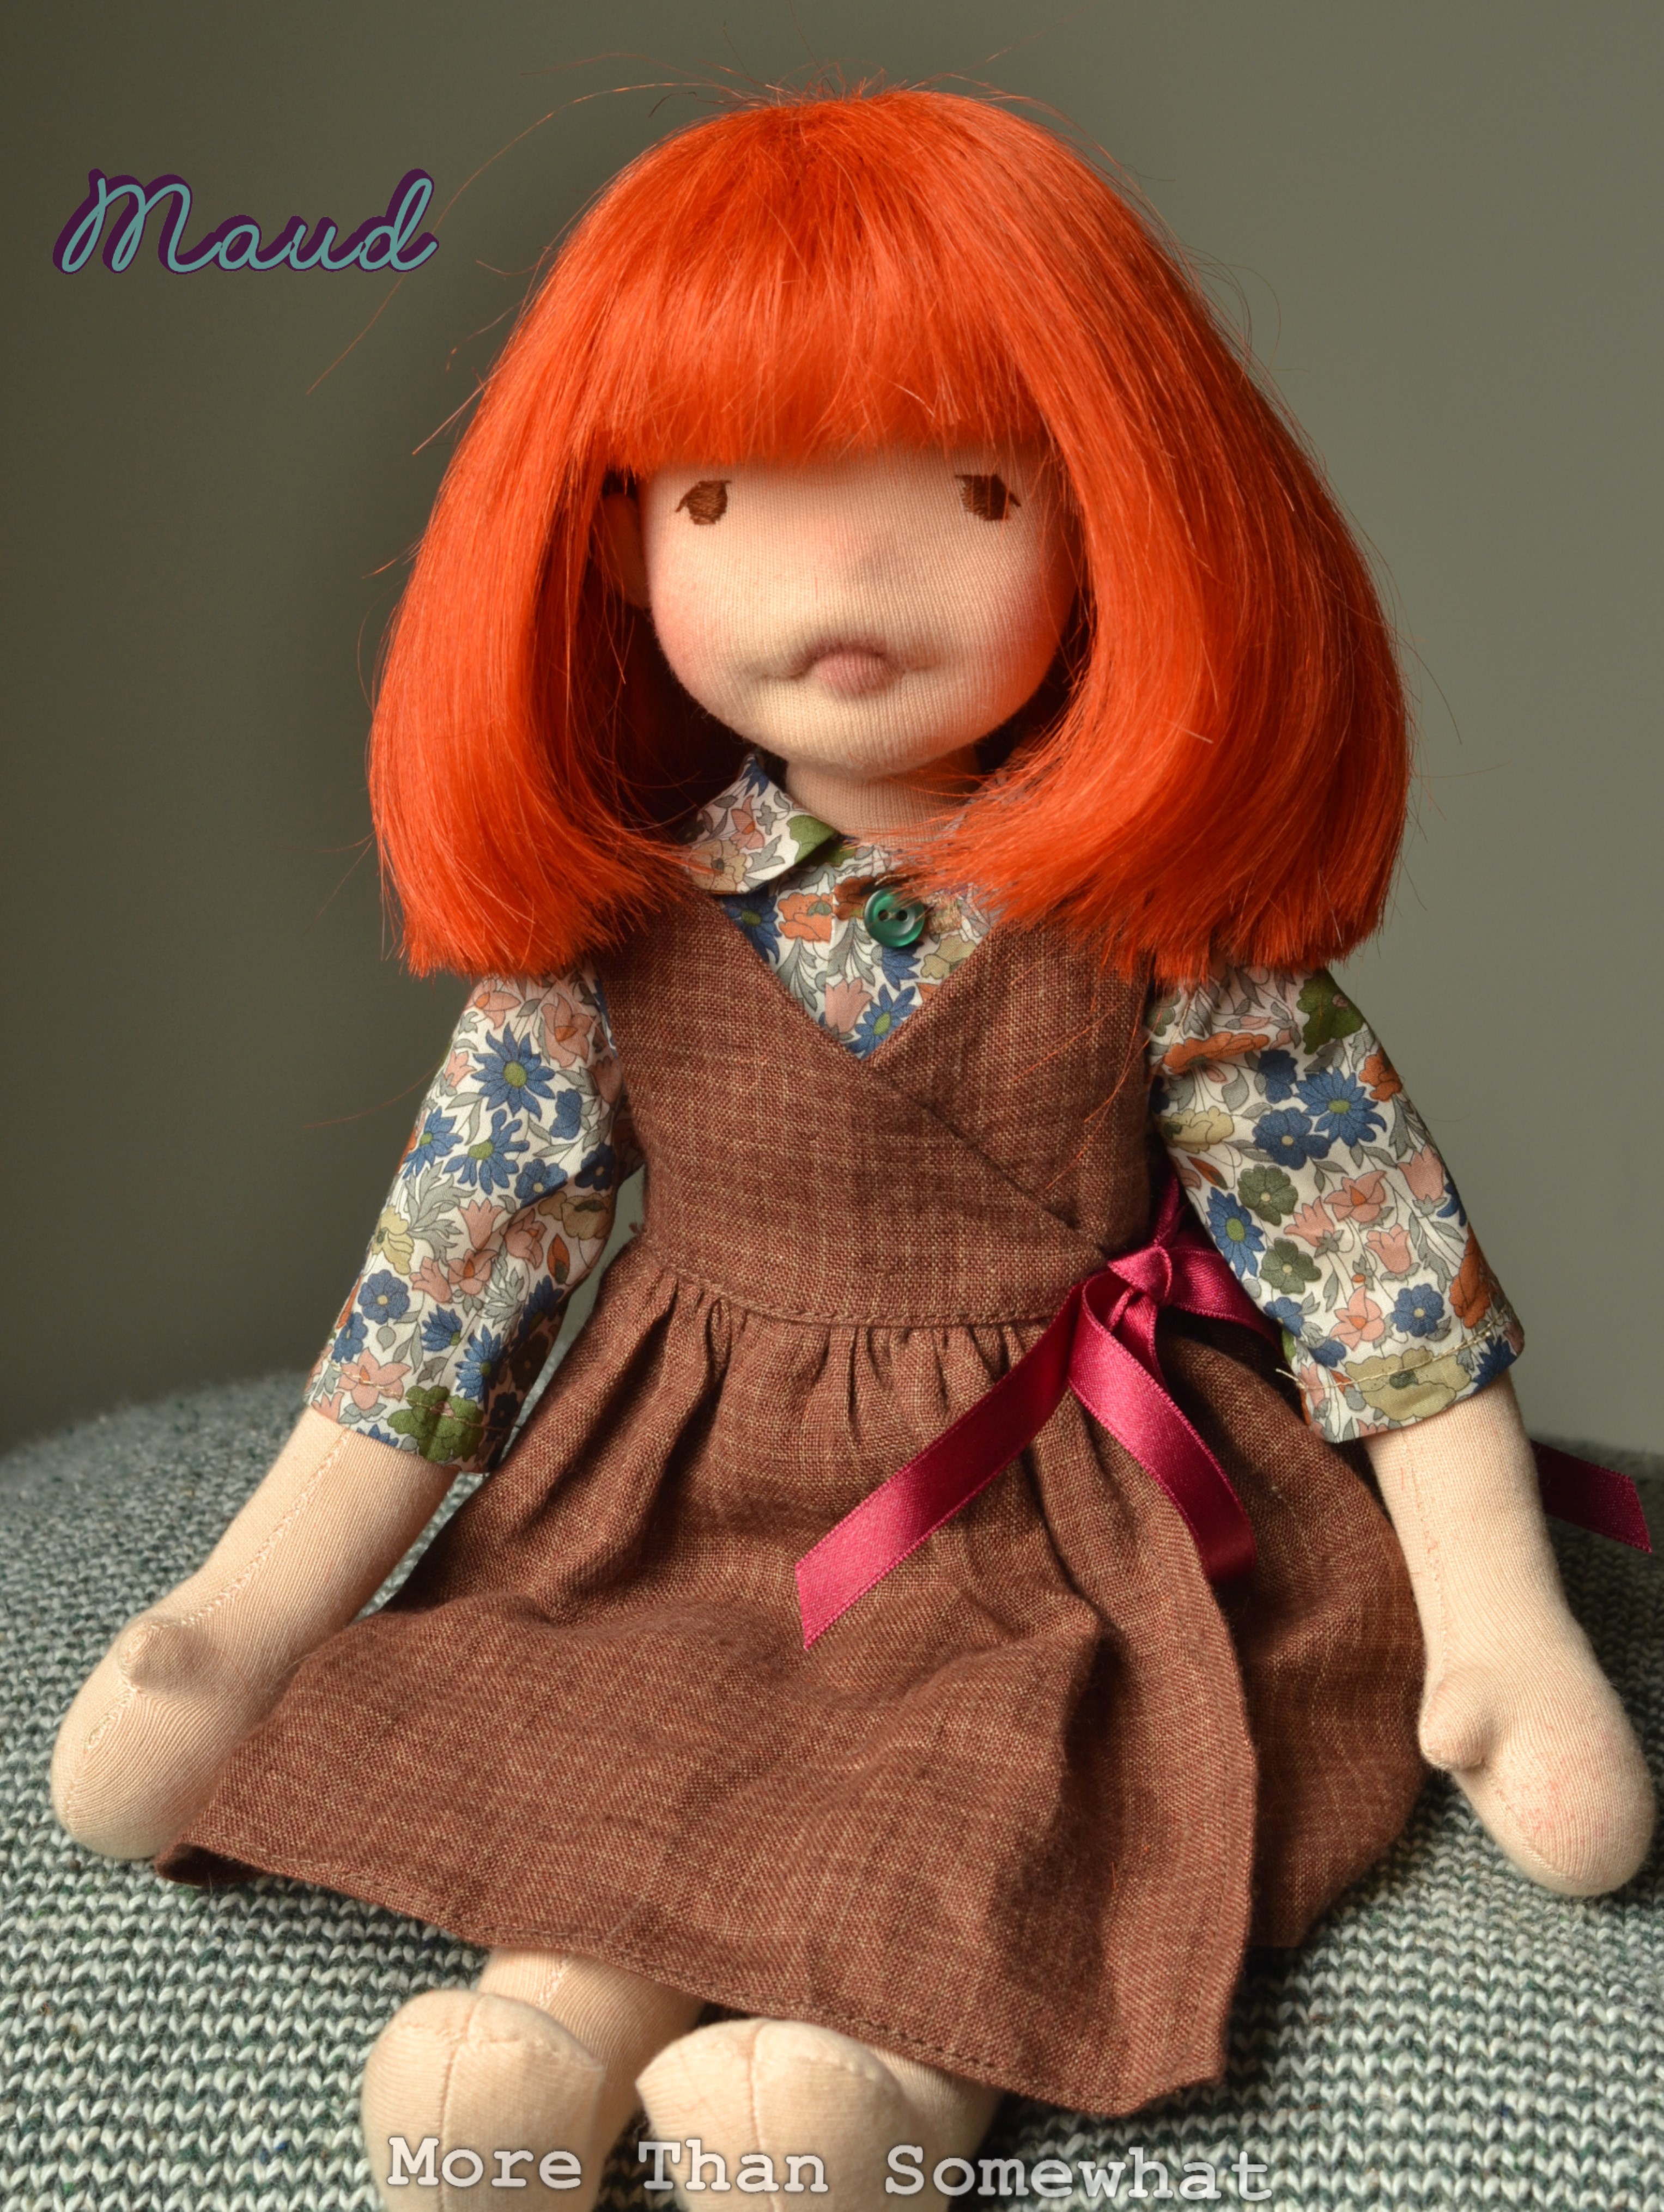
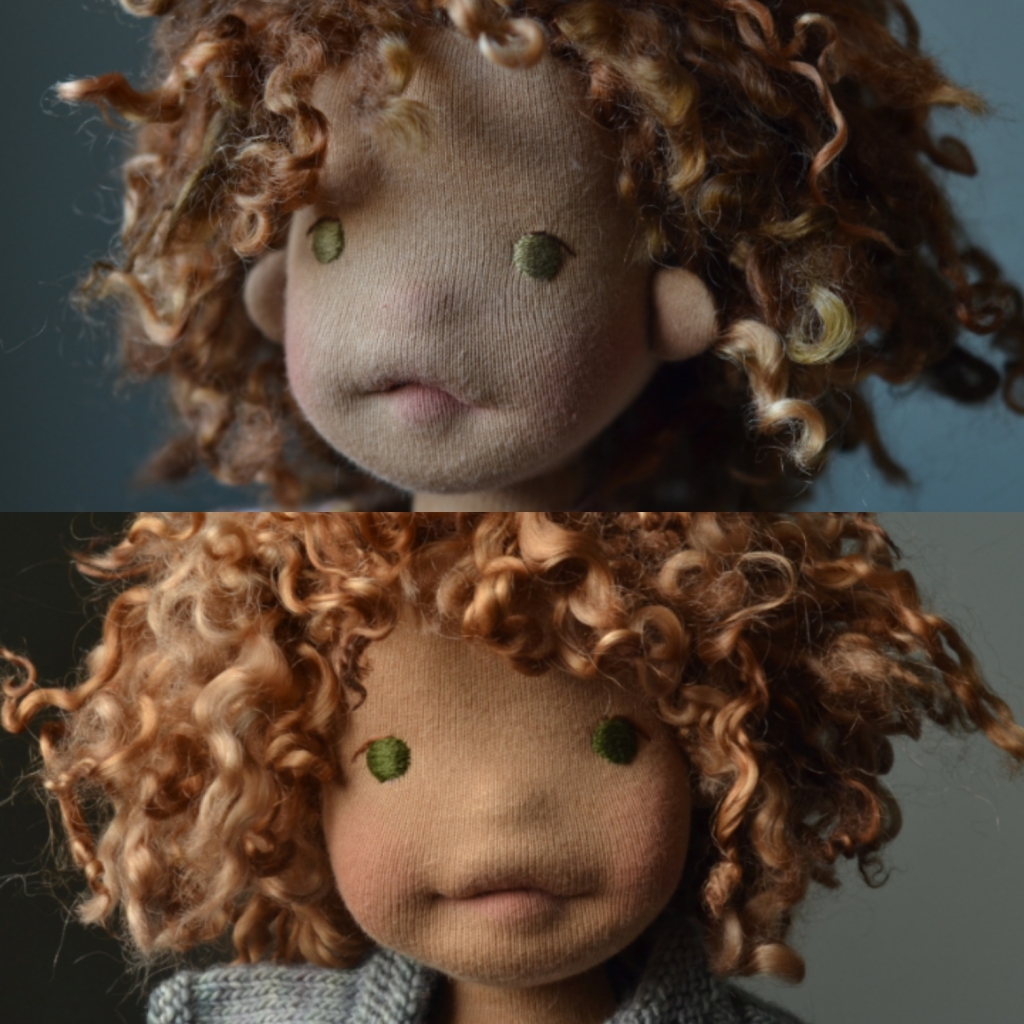
Maud has had some issues with her hair, originally she was having brown curls. I dyed some locks a rich chestnut brown, but by the time I’d finished they were like straw and a very weird and slightly unpleasant colour. No amount of conditioning, straightening made any difference; and then I made Yvaine and I was so pleased with her that I decided not only would Maud get new hair, but also an improved face.
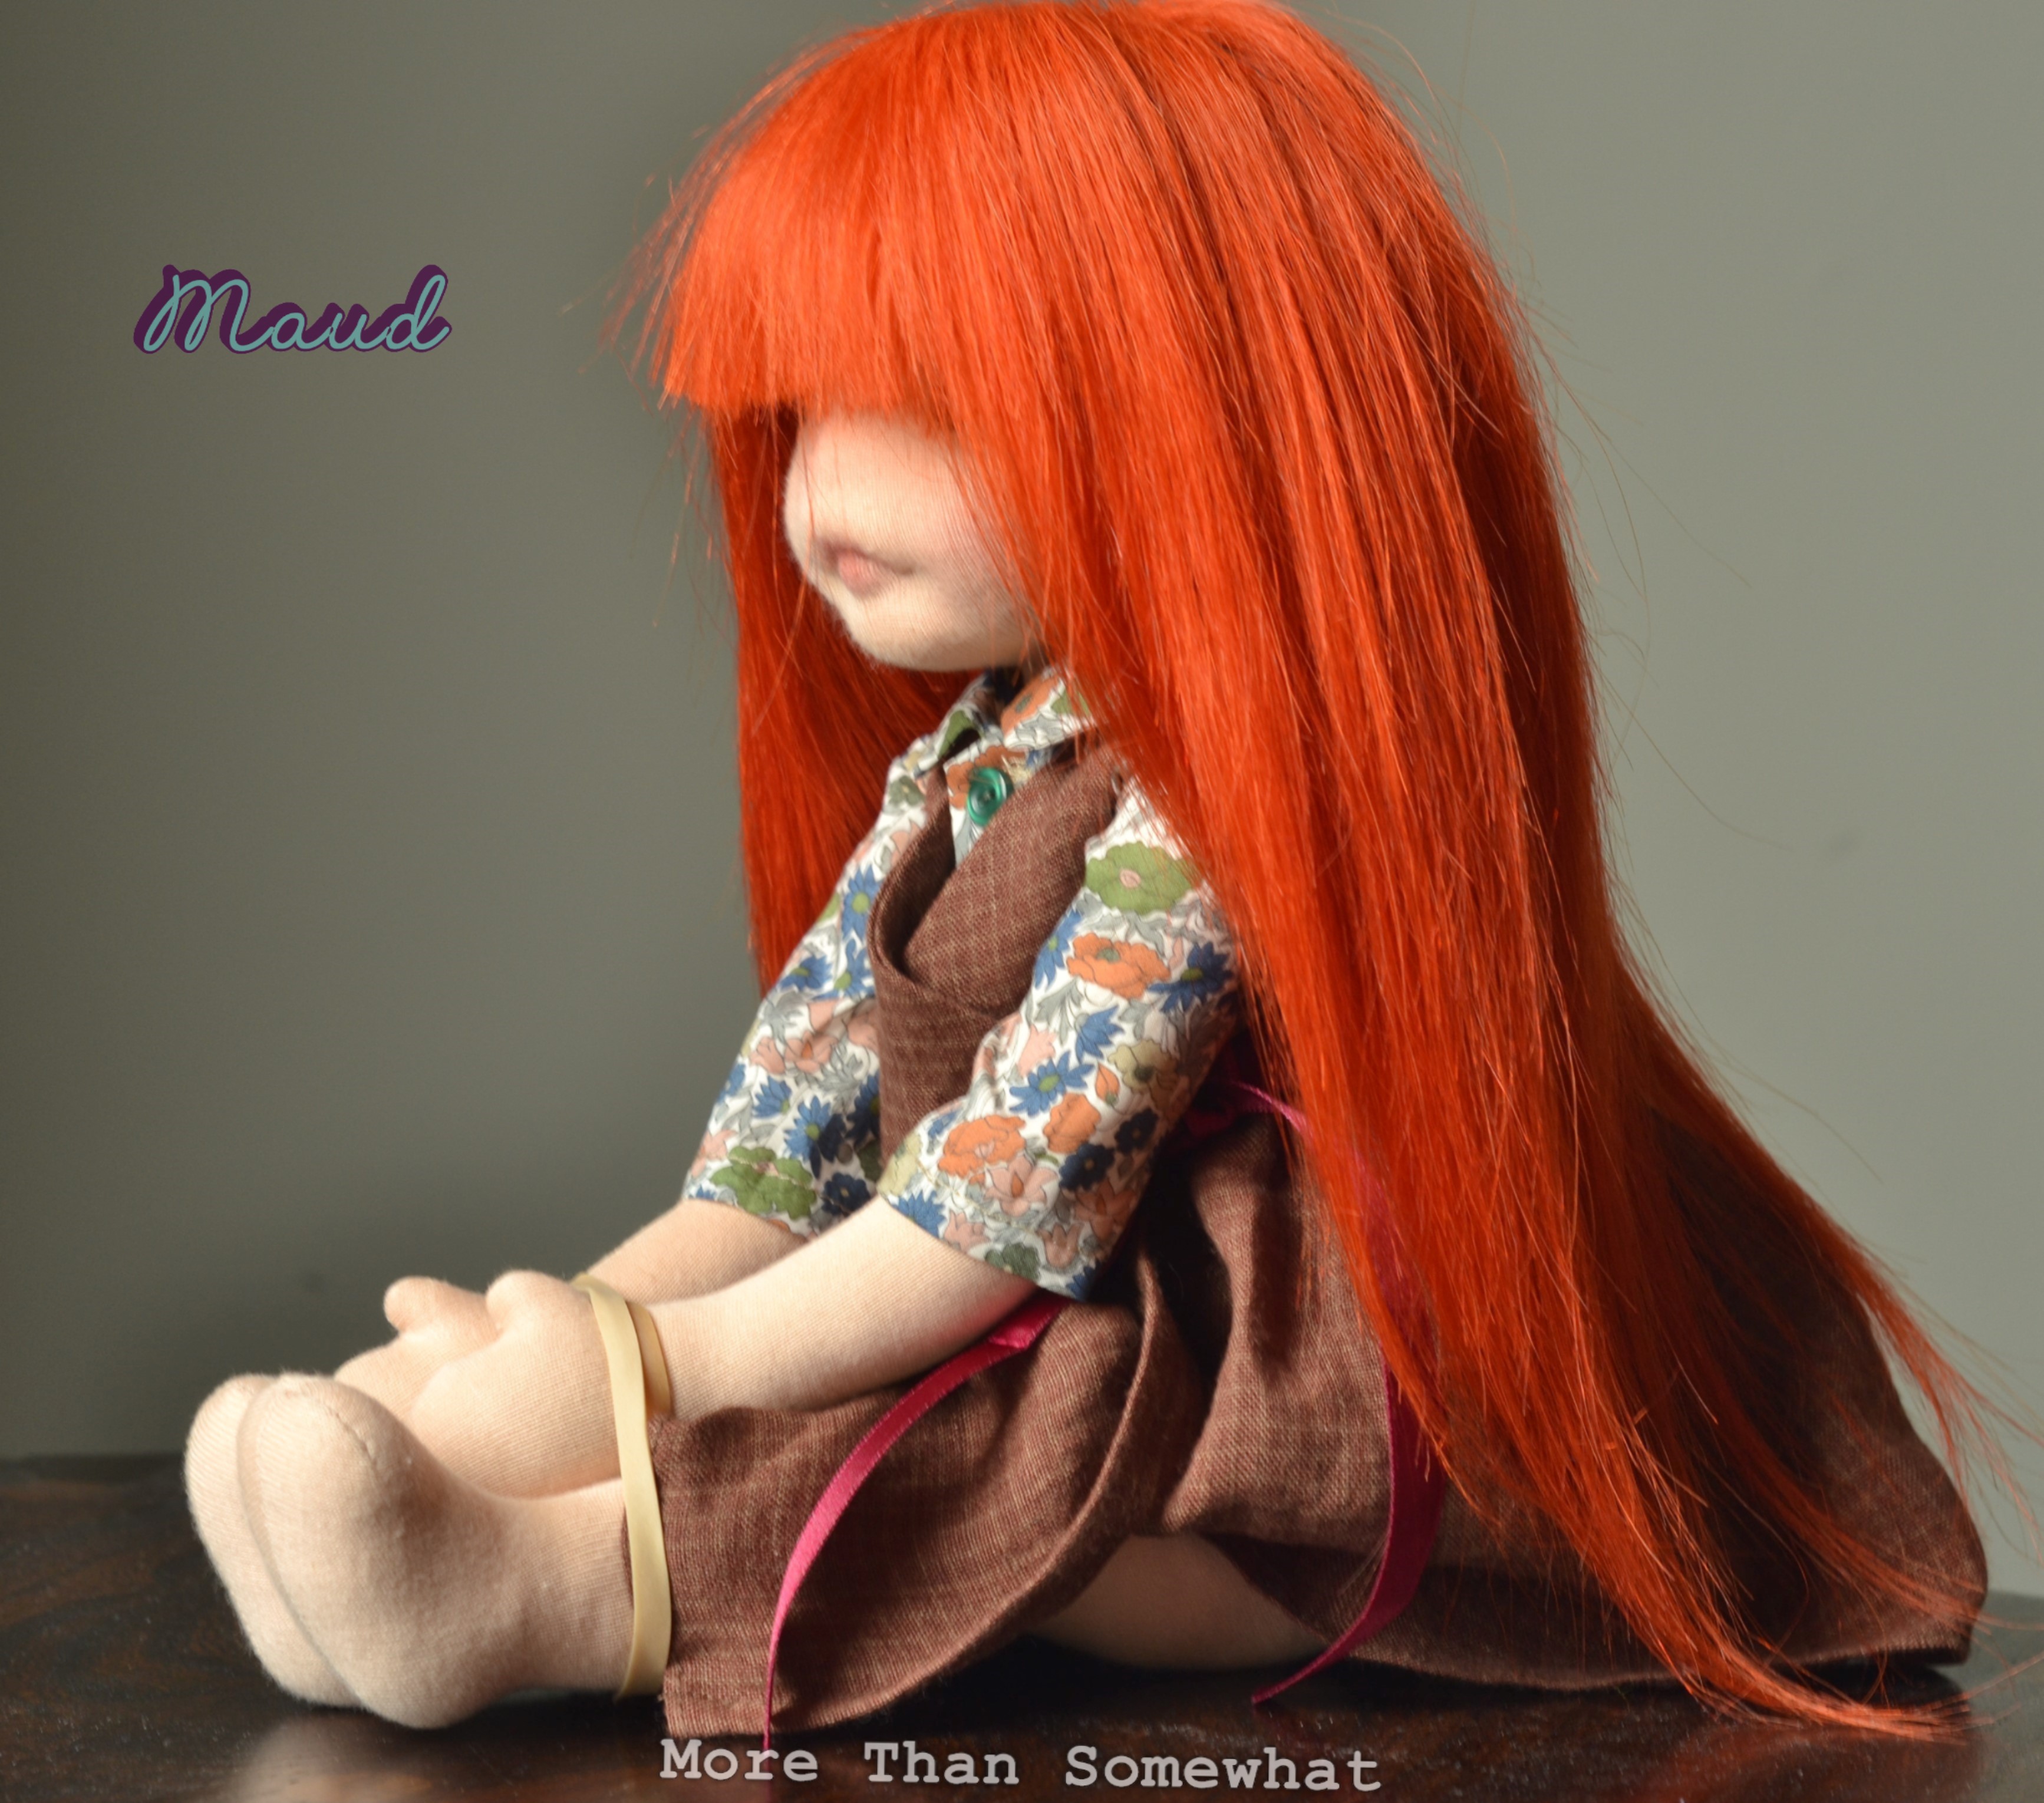
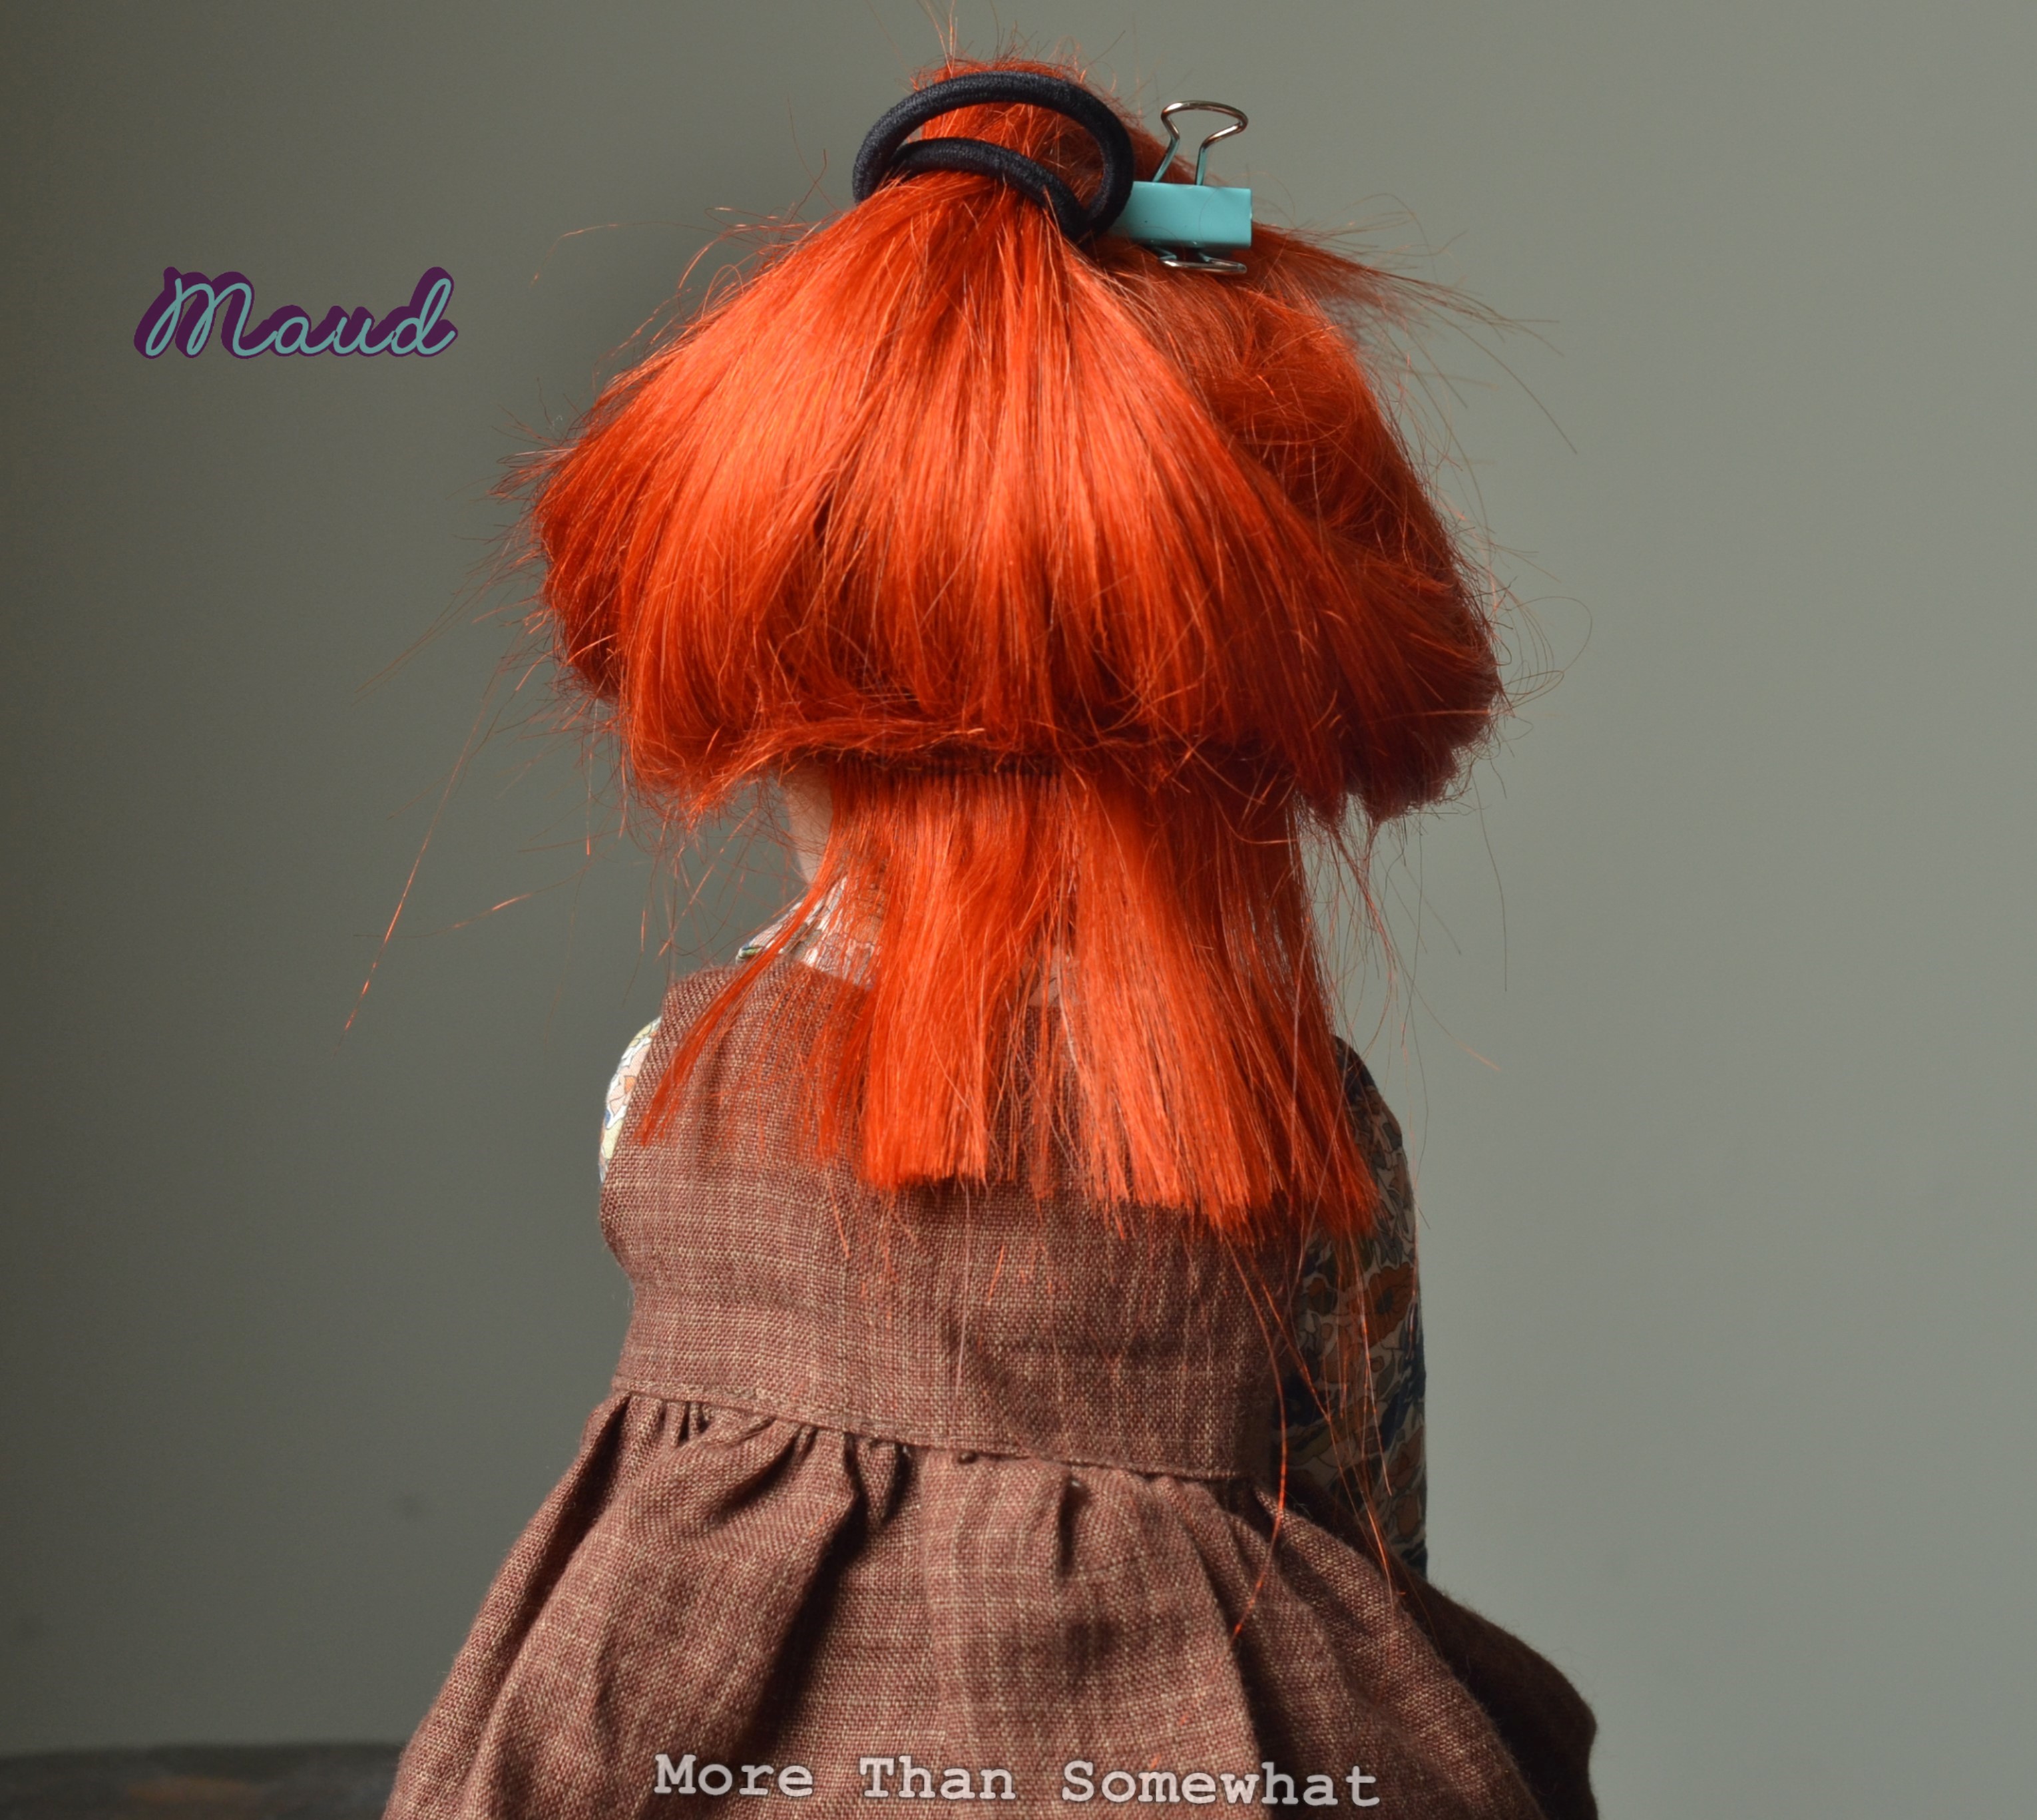
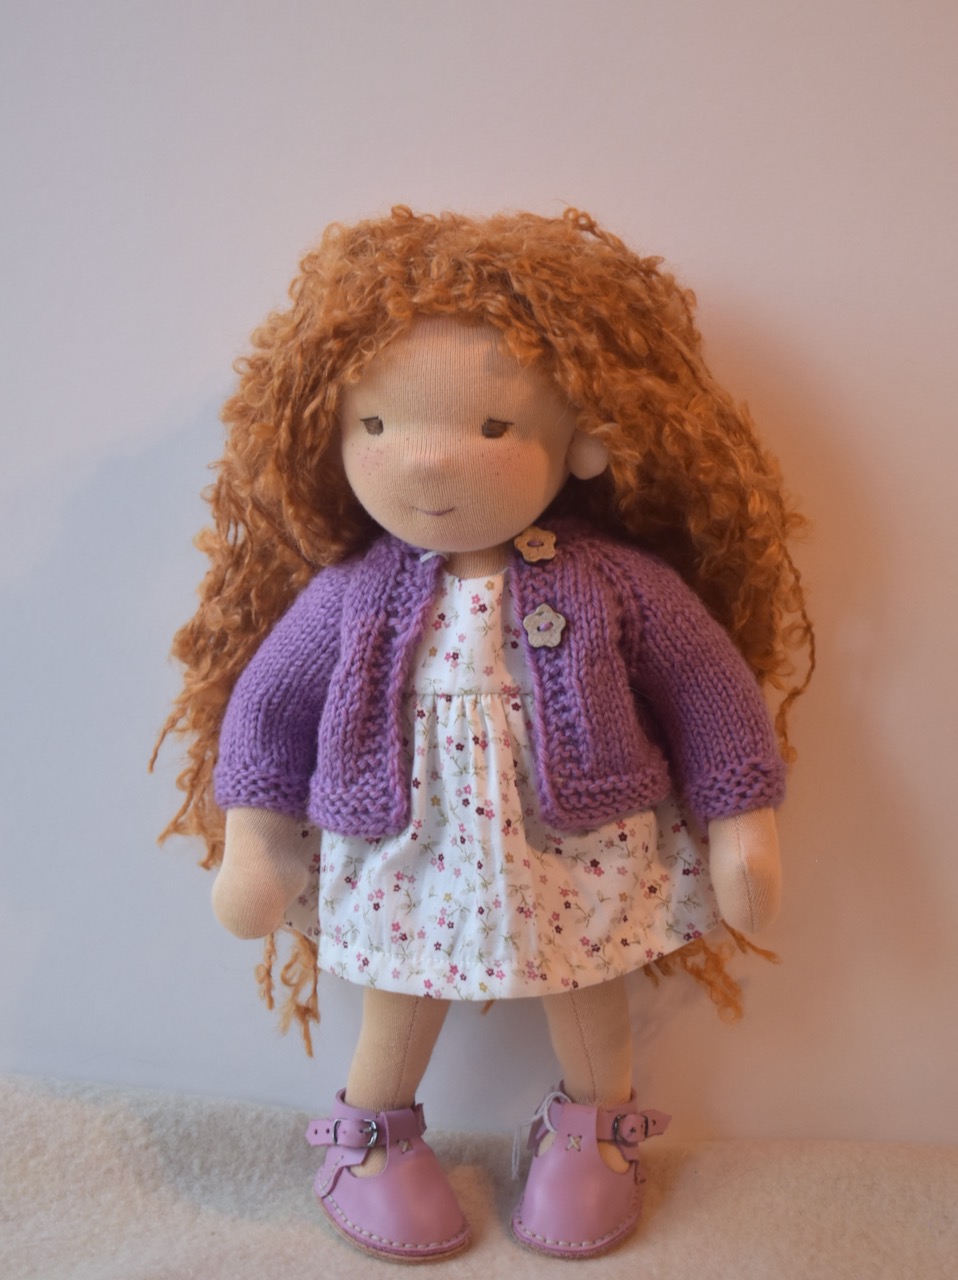
I gave Maud more pronounced chin, new style eyes, then a new body…….then another body as the first was too small. Finally she got new hair, bright ginger hair that I wanted to cut in a bob with a fringe. Maud wouldn’t co operate at first so I tied her hands to her feet so she wouldn’t move (that’s okay isn’t it, any hairdresser would do that if the client wouldn’t sit still?) Then I cut it in layers, finally I curled it all under with the hair straighteners,
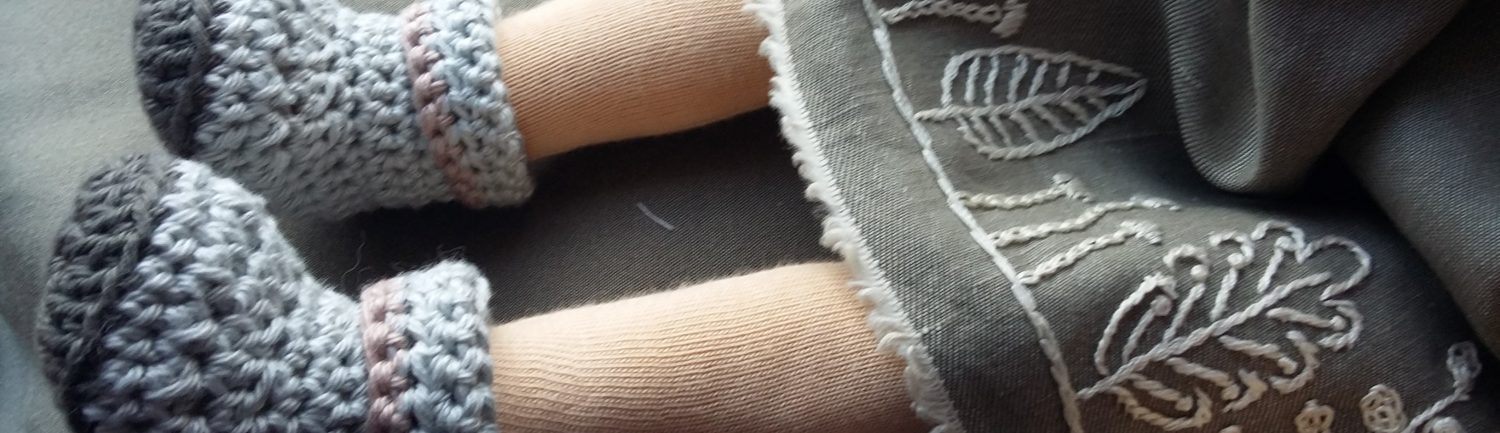
All the trimmings from the hair I have glued ready to make more wefts it hasn’t gone to waste. Next to make her some boots, brown leather it’s an Autumnal look.
I’ve been making dolls with sculpted faces for a while now, but I have always had a soft spot for the more traditional dolls with less defined features. I was going to go to the European Doll Seminar in 2020 (then 2021) and do a course with Taisoid, but since that was cancelled I haven’t tried it on my own. However a course with Ildiko who makes similarly beautiful dolls became available in the UK so I jumped at it.
The course was held at Ildiko’s house and there were all sorts of dolly treasures about, dolls I’d seen on her website, and the doll she made at the the same Waldorf seminar I went to a few years ago.
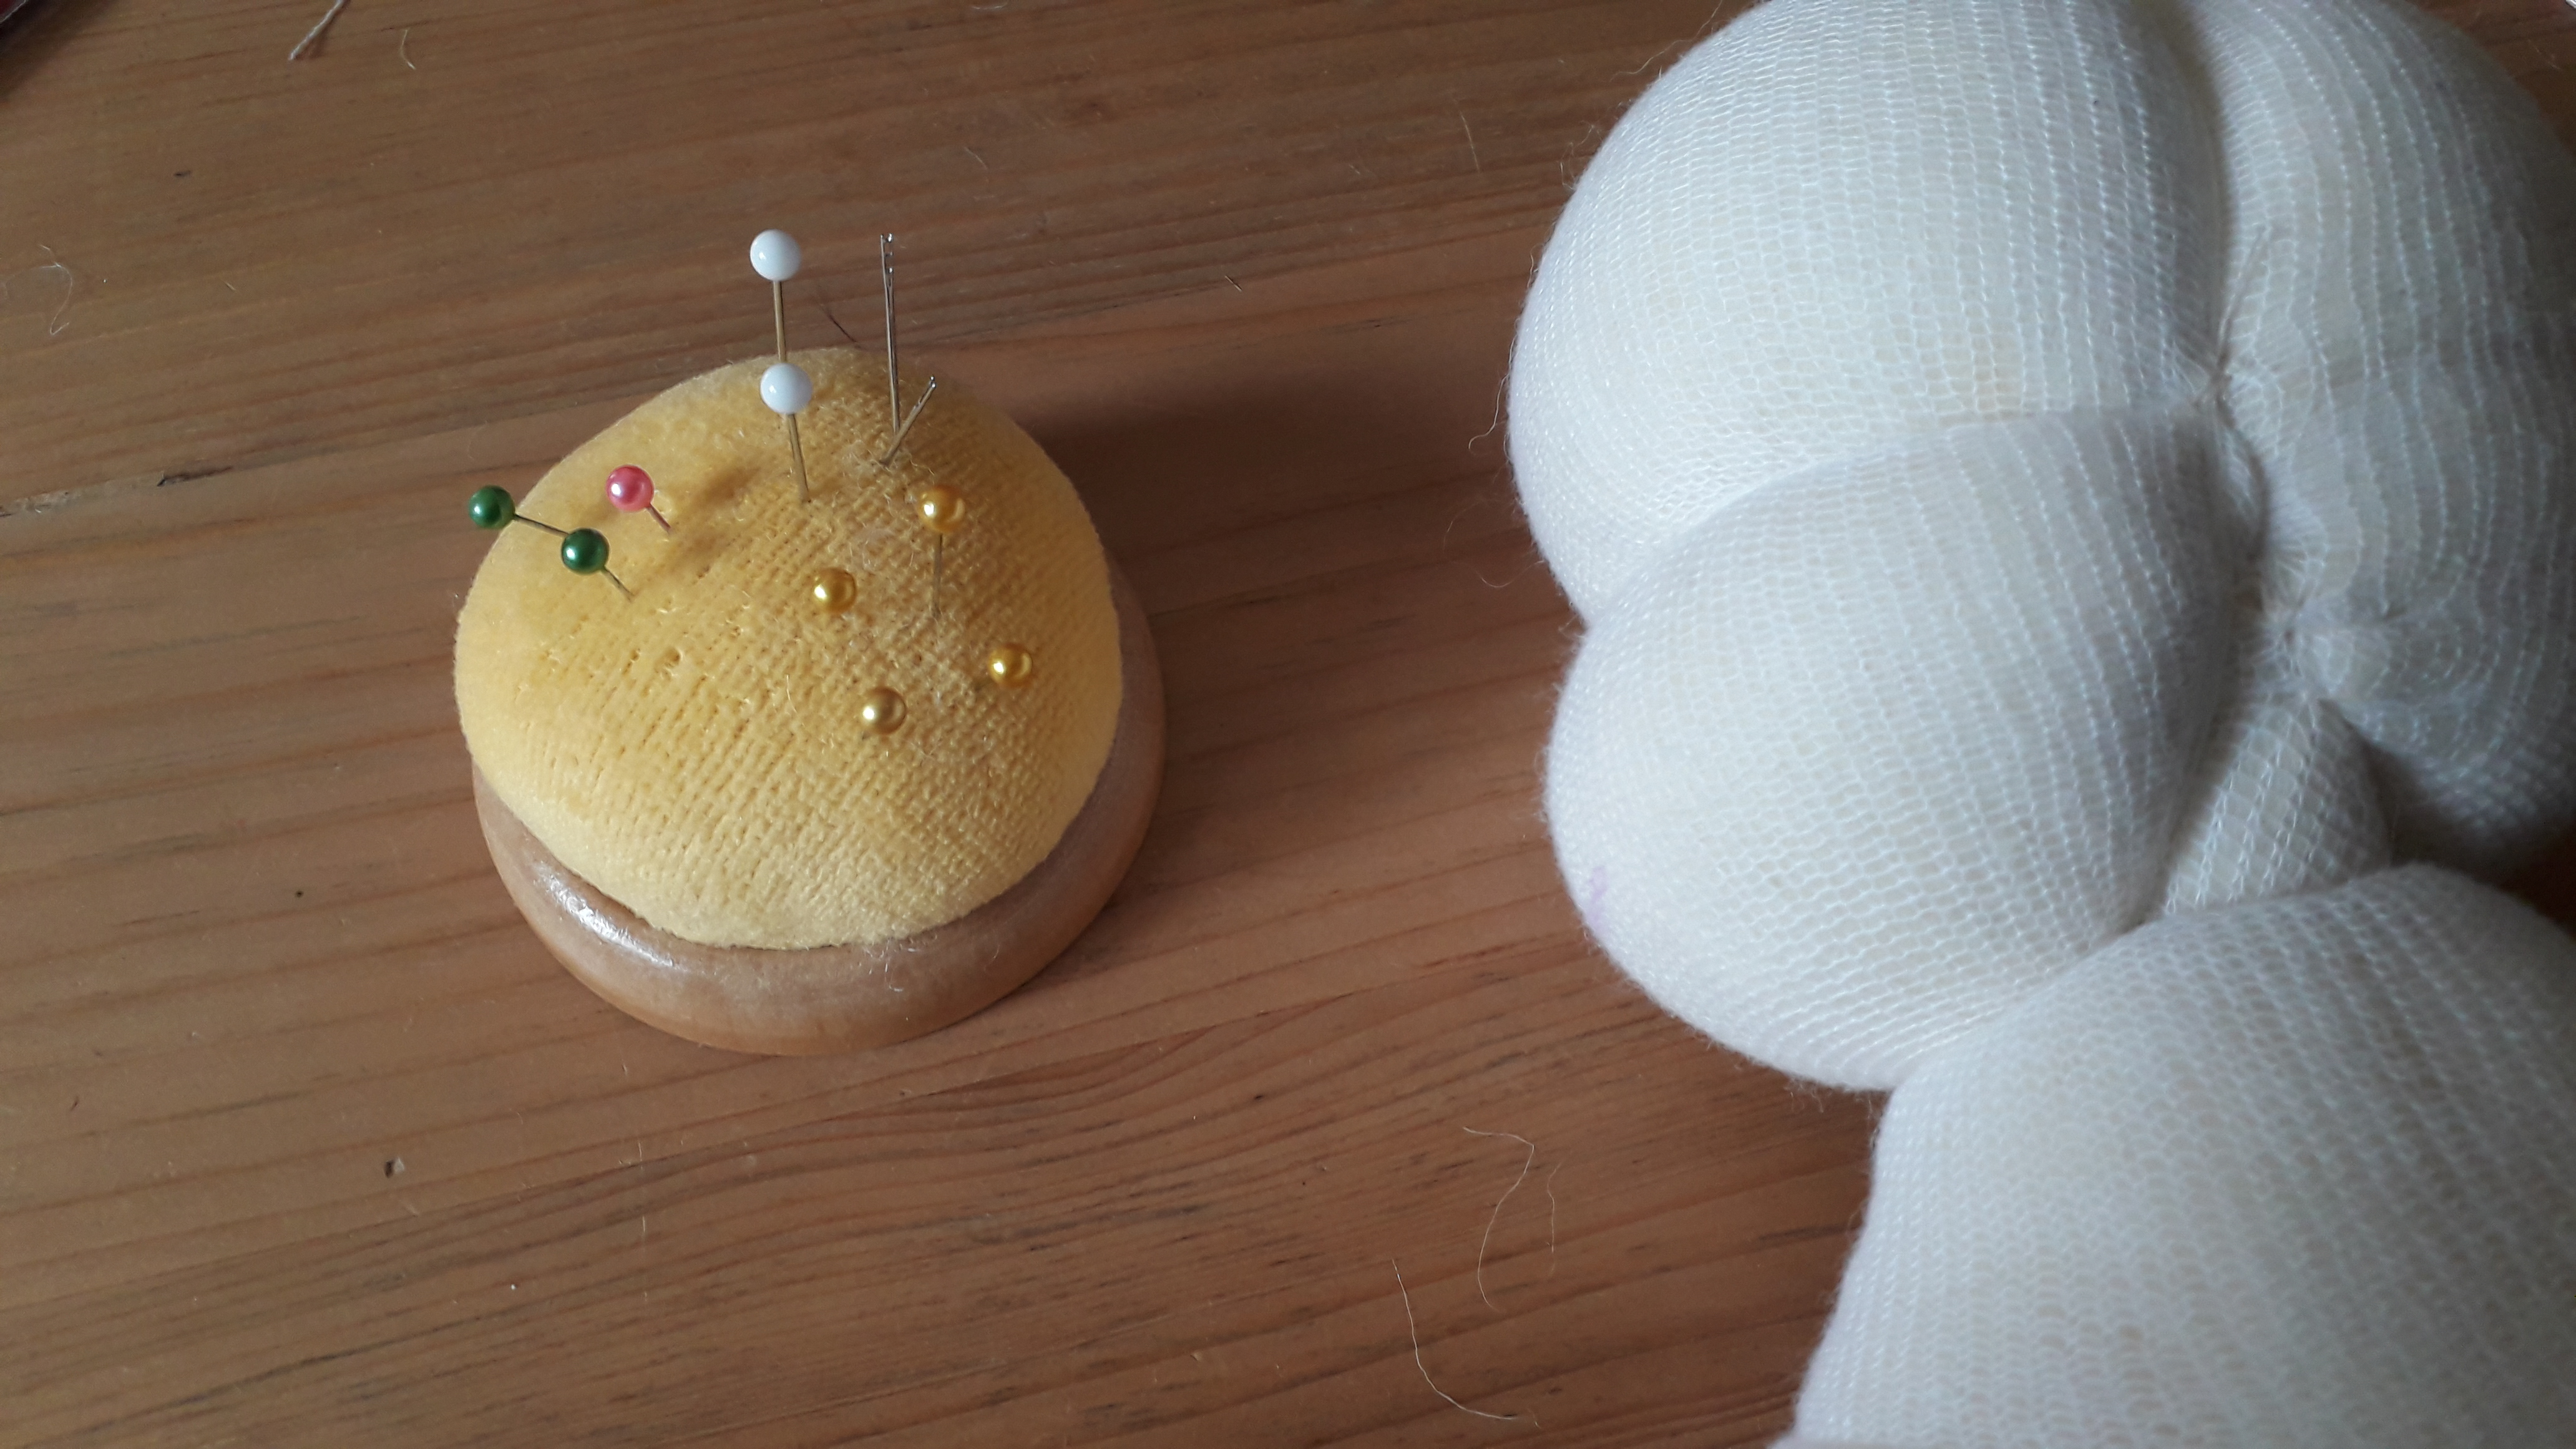
The course was 2 days 9am until 6pm and in that time we nearly all managed to produce a doll, this was mainly because Ildiko had presewn the doll’s bodies for us. First step was shaping the head, as I said it was the traditional method which involves making a ball and then shaping it with strings. I learnt lots of really great tips to get a lovely shape.
Once the head has the threads on and the neck tied the chin often disappears so you can pad it out by stuffing up through the neck to get the firmness you need.
You can soften the contours along the eyeline cord and the area between the jaw & the back of the head by doing a ladder stitch.
The nose is extra firm and wrapped in fabric and sewn on the face (rather than created from the wool already there)
For a better bum you need a bum roll.
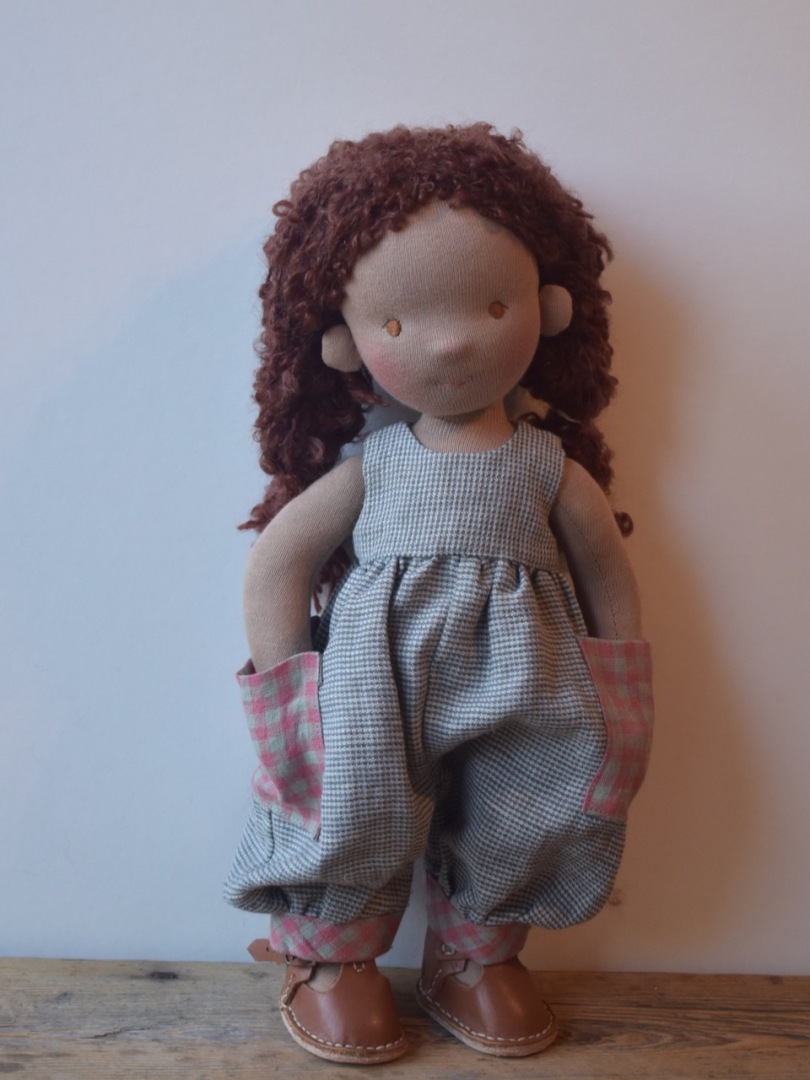
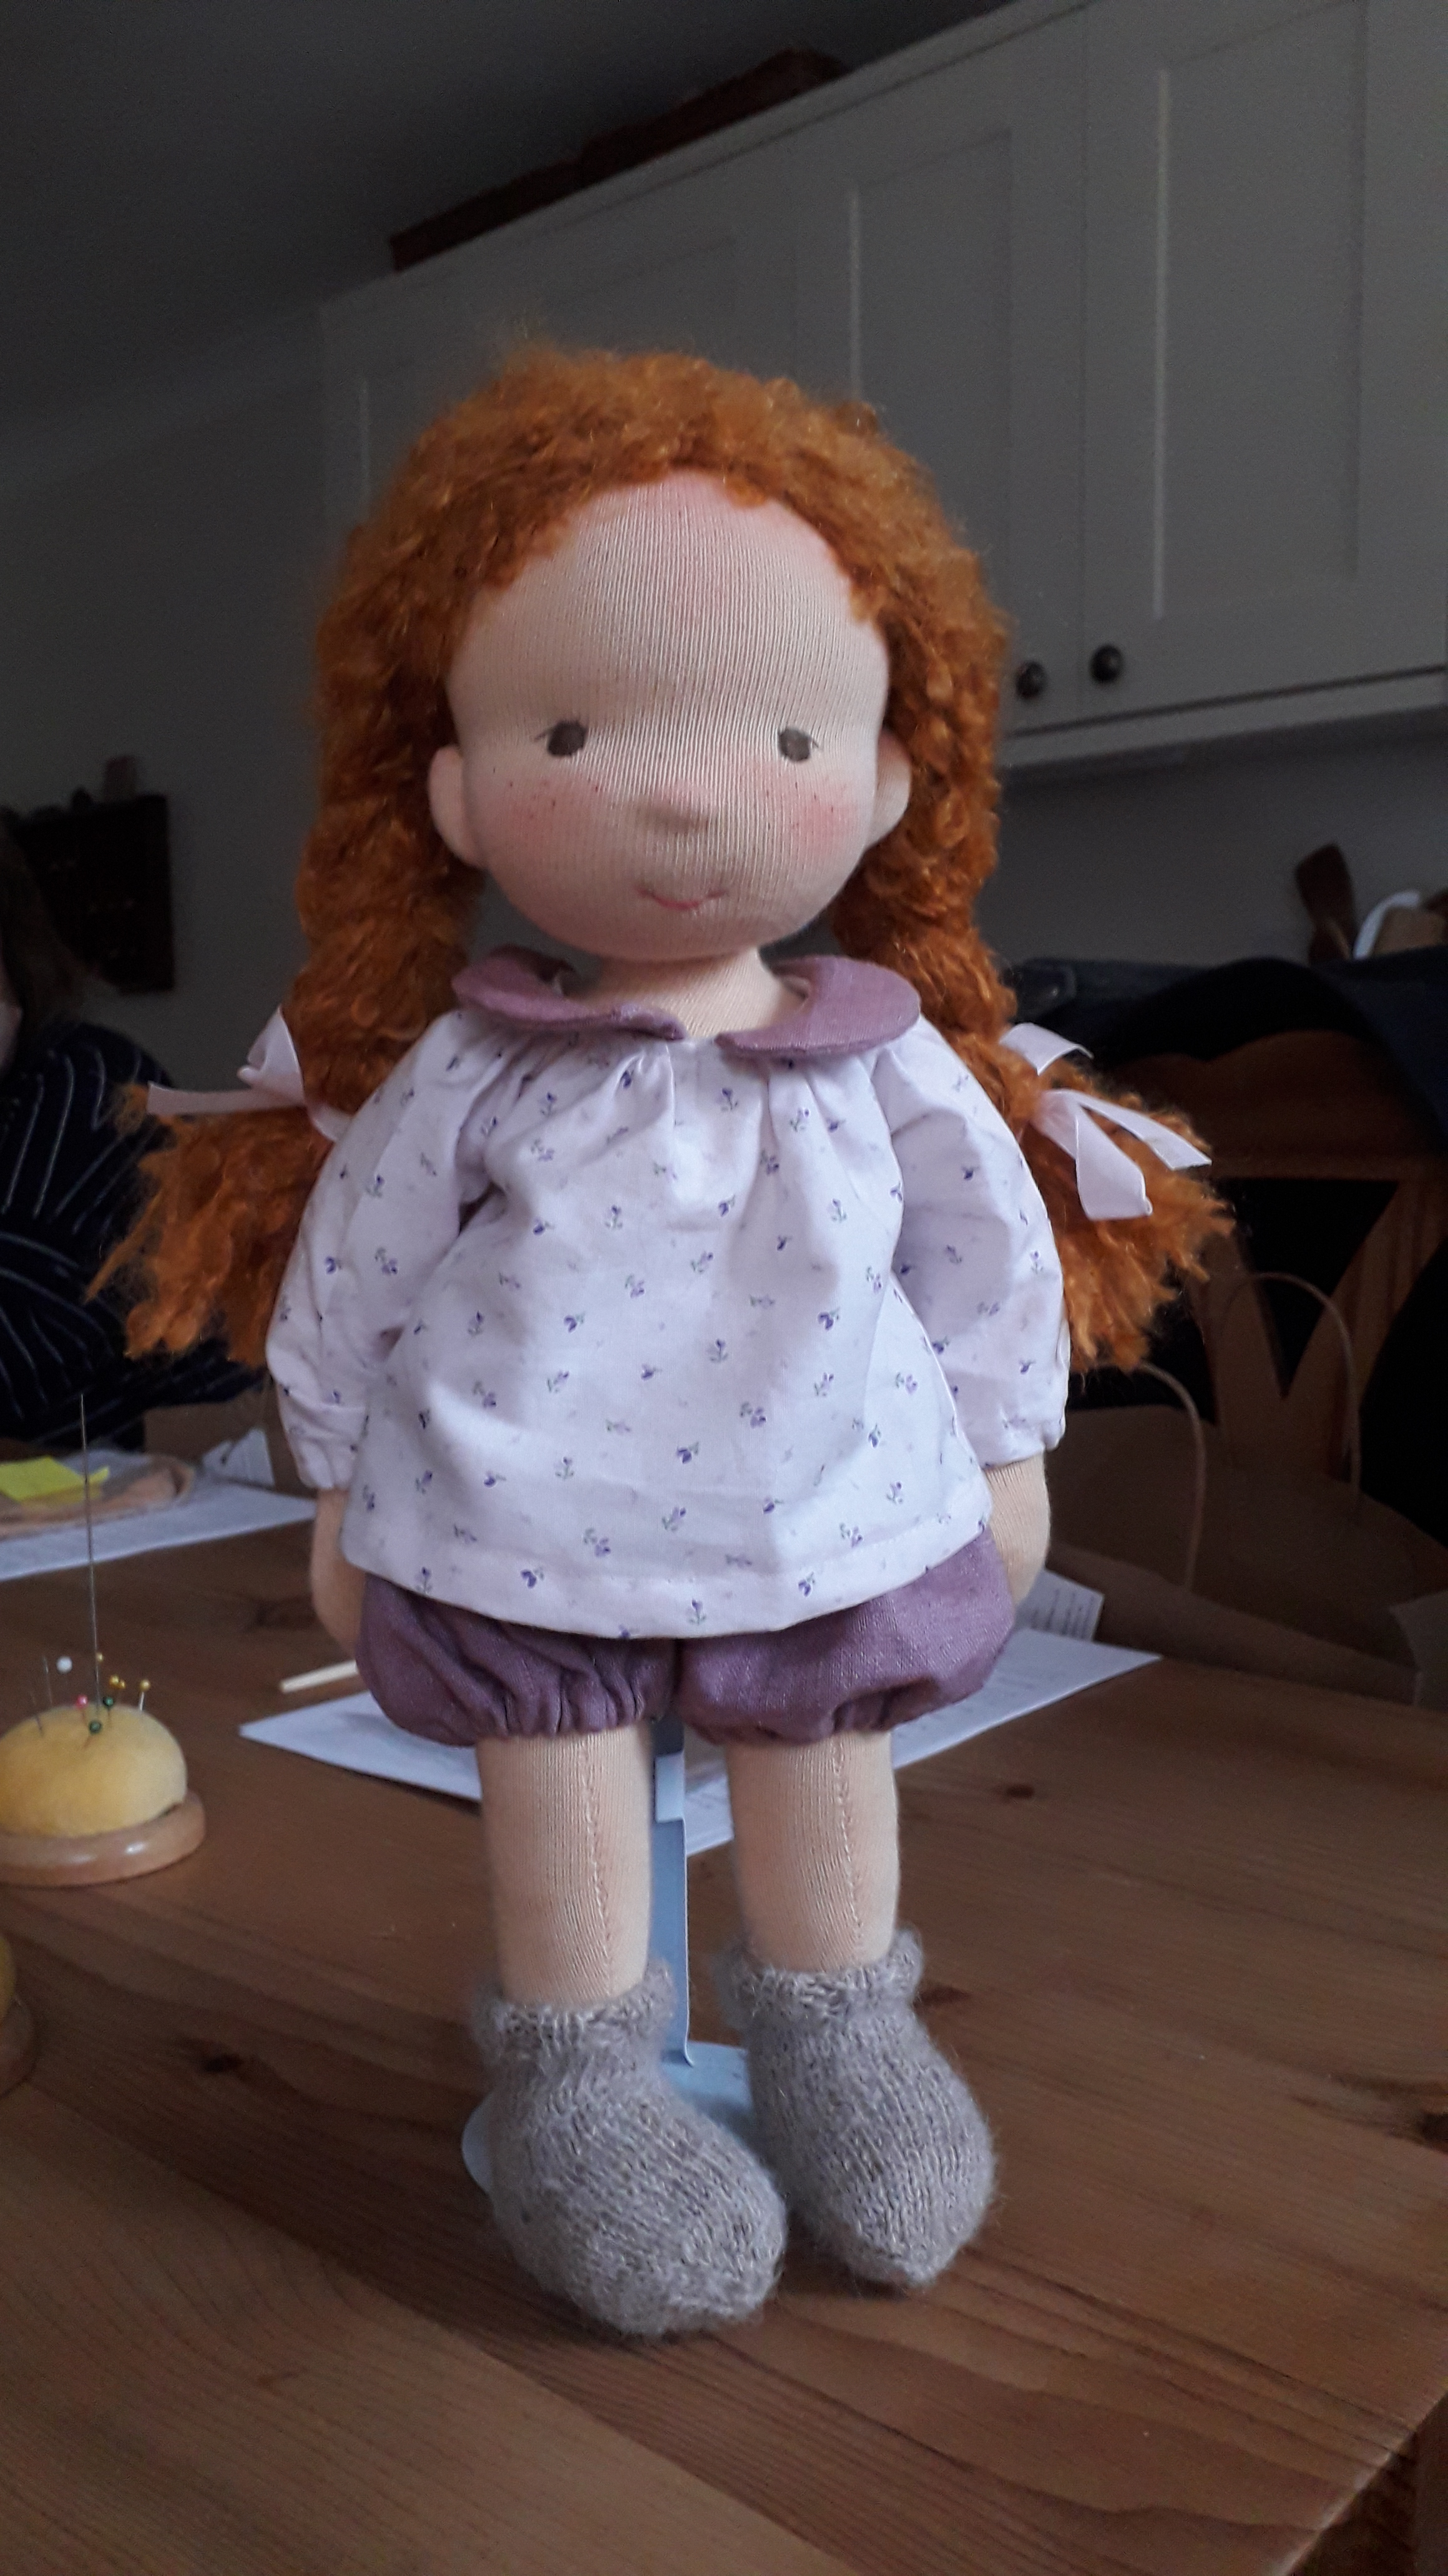
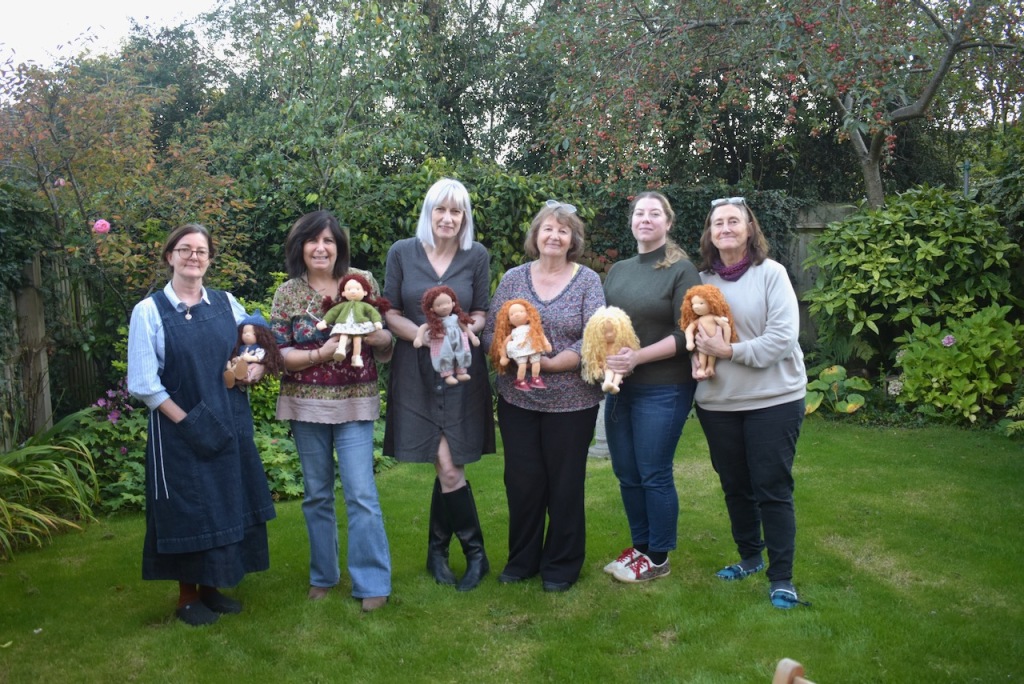
I’d pre made a little dungaree outfit for my doll in grey and pink using my favourite Hawthorne pattern, it fitted perfectly. Here we all are as a group showing our dolls. Just a lovely weekend, lots of thanks to Ildiko. I’m now making my doll Molly some panties and some pink leather shoes, and a cardigan, then she will be for sale.
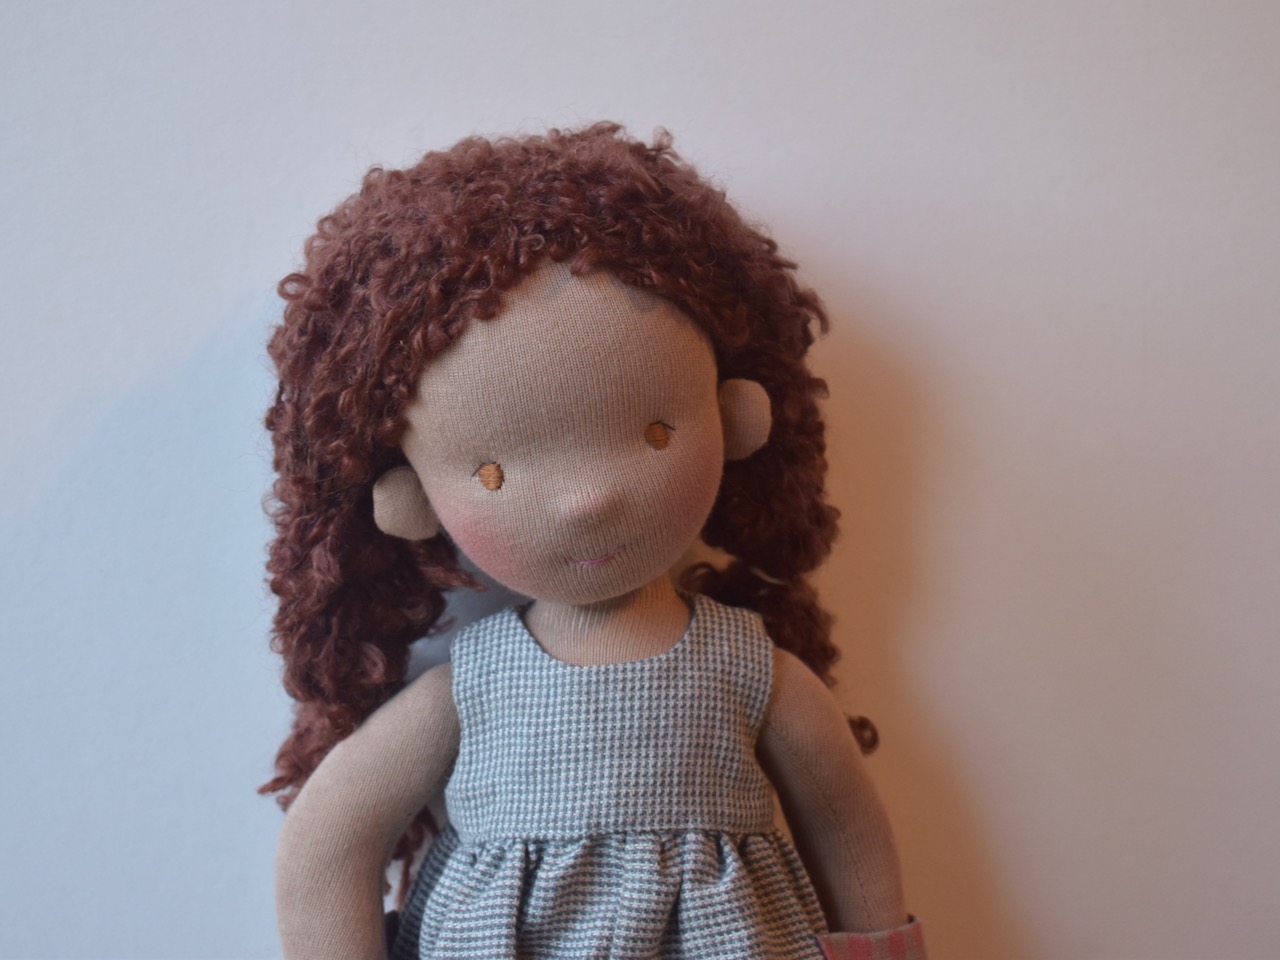
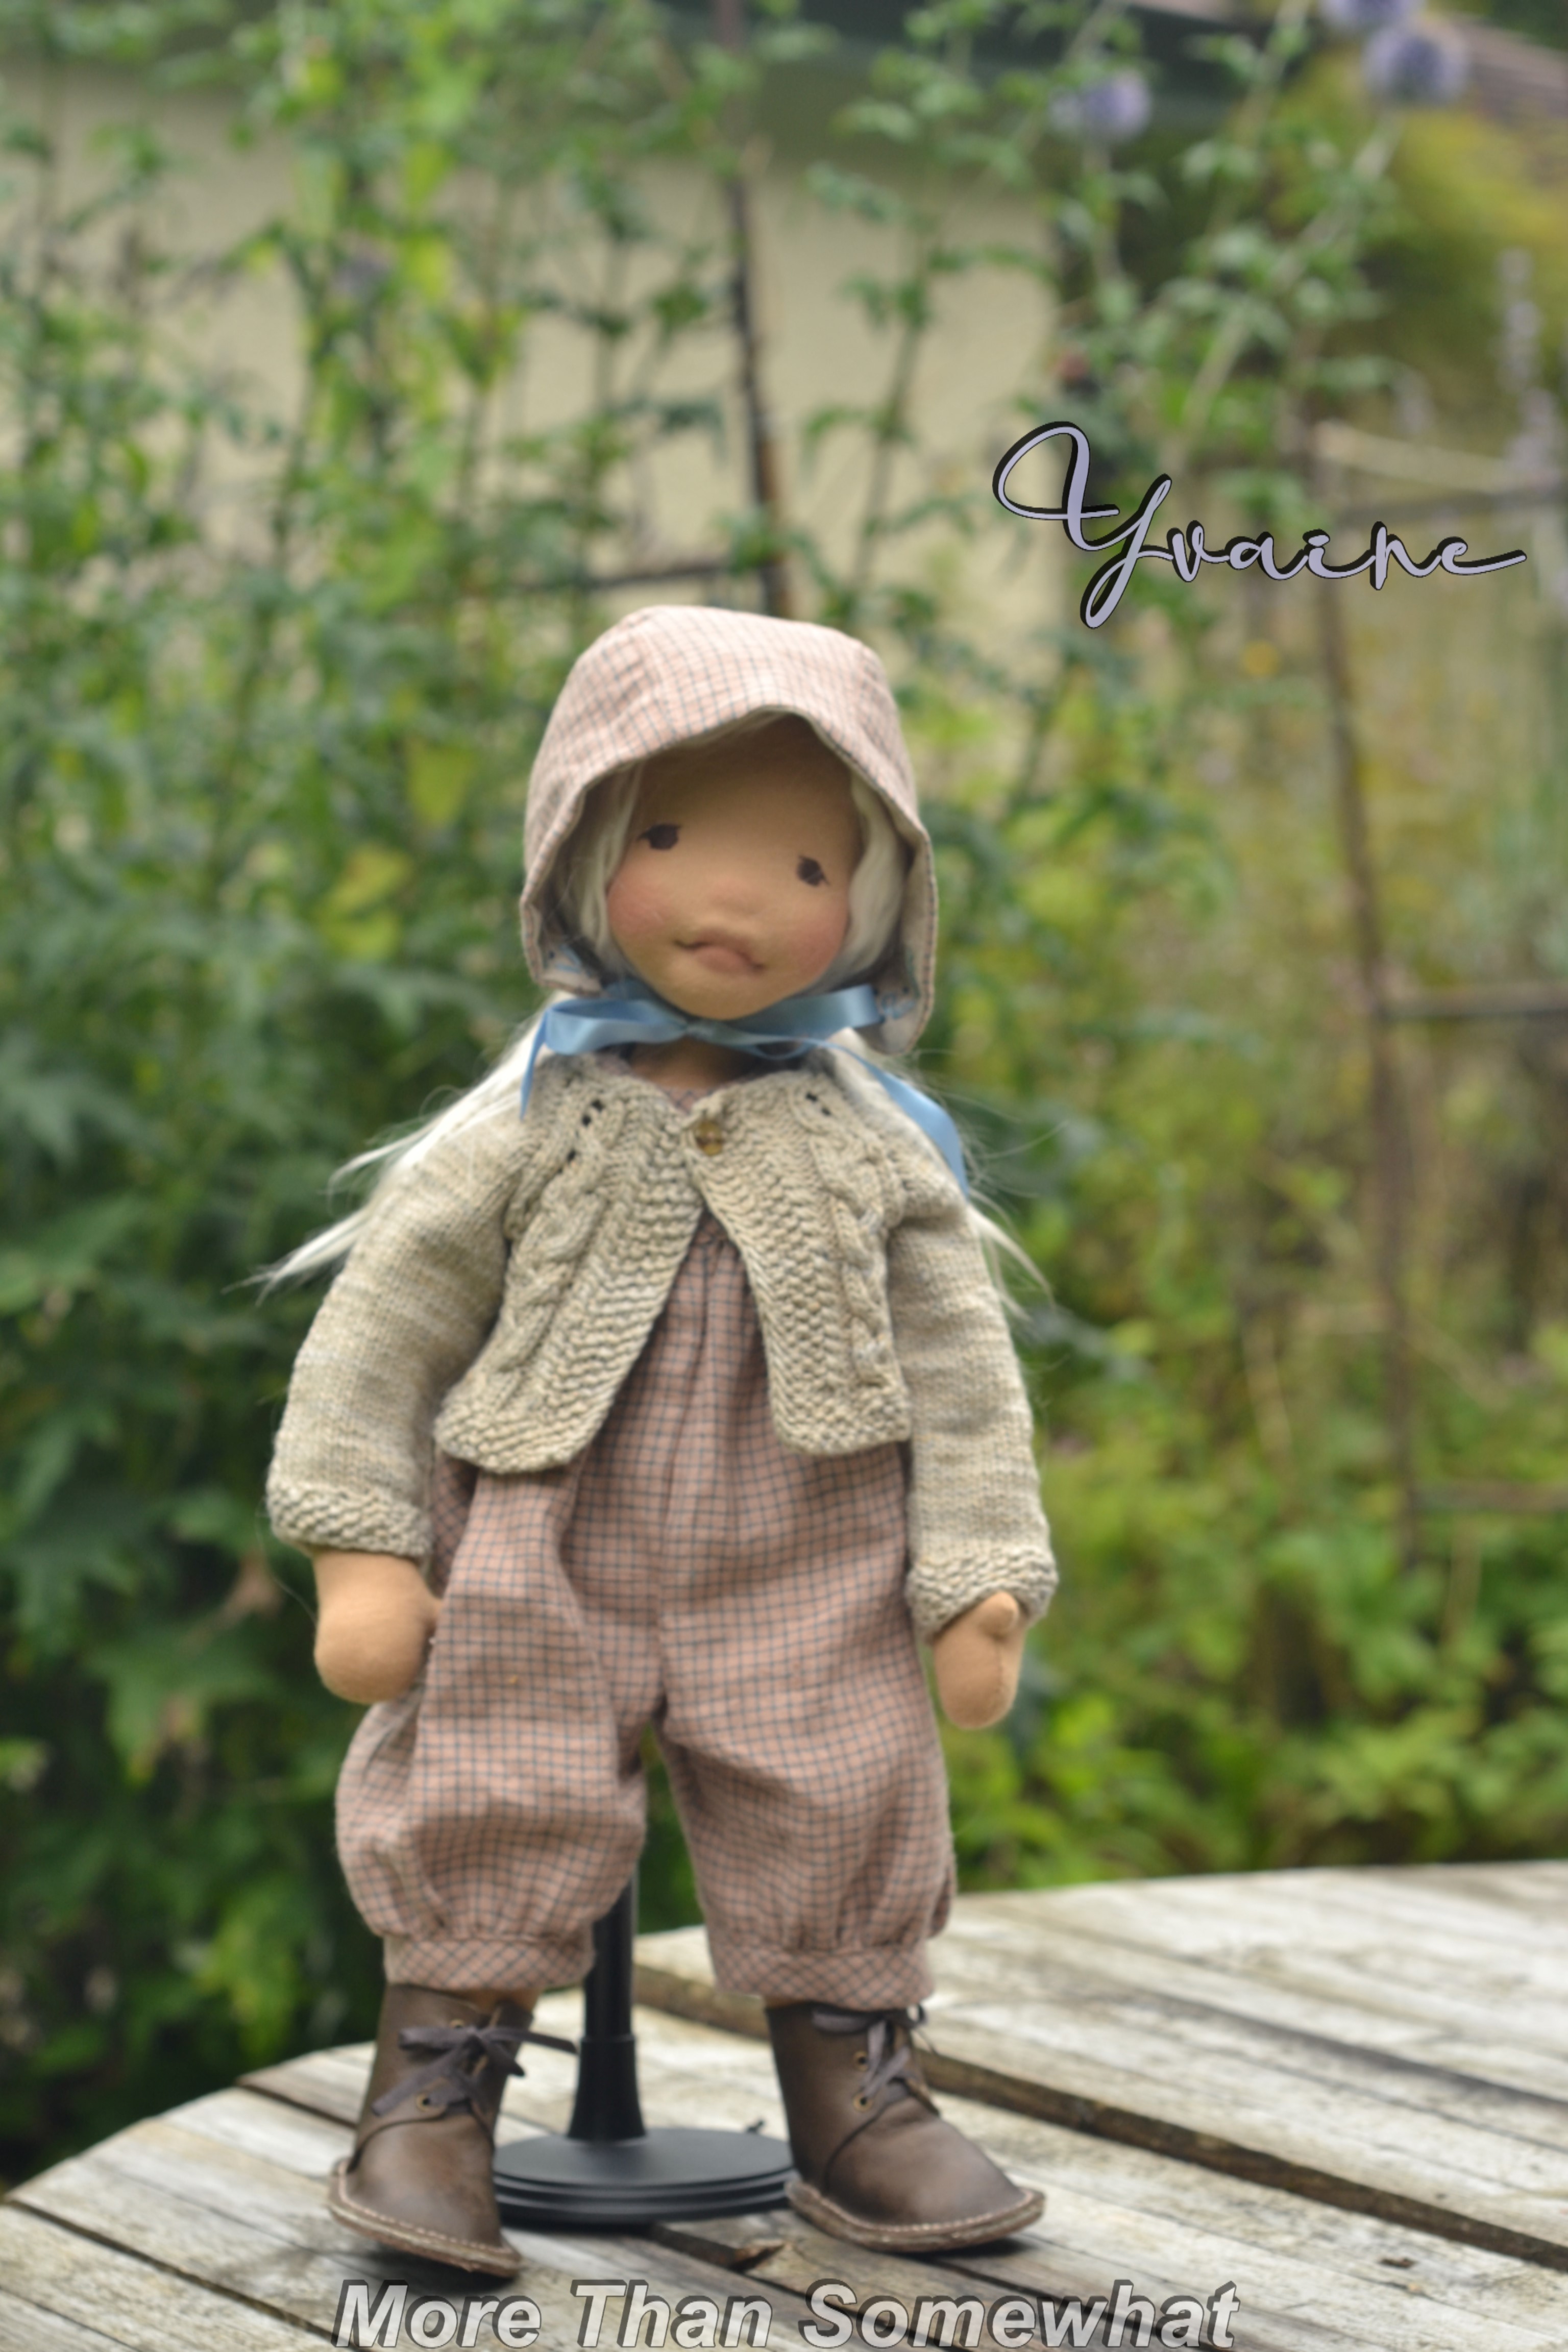
This is a custom doll and the description from her mama was
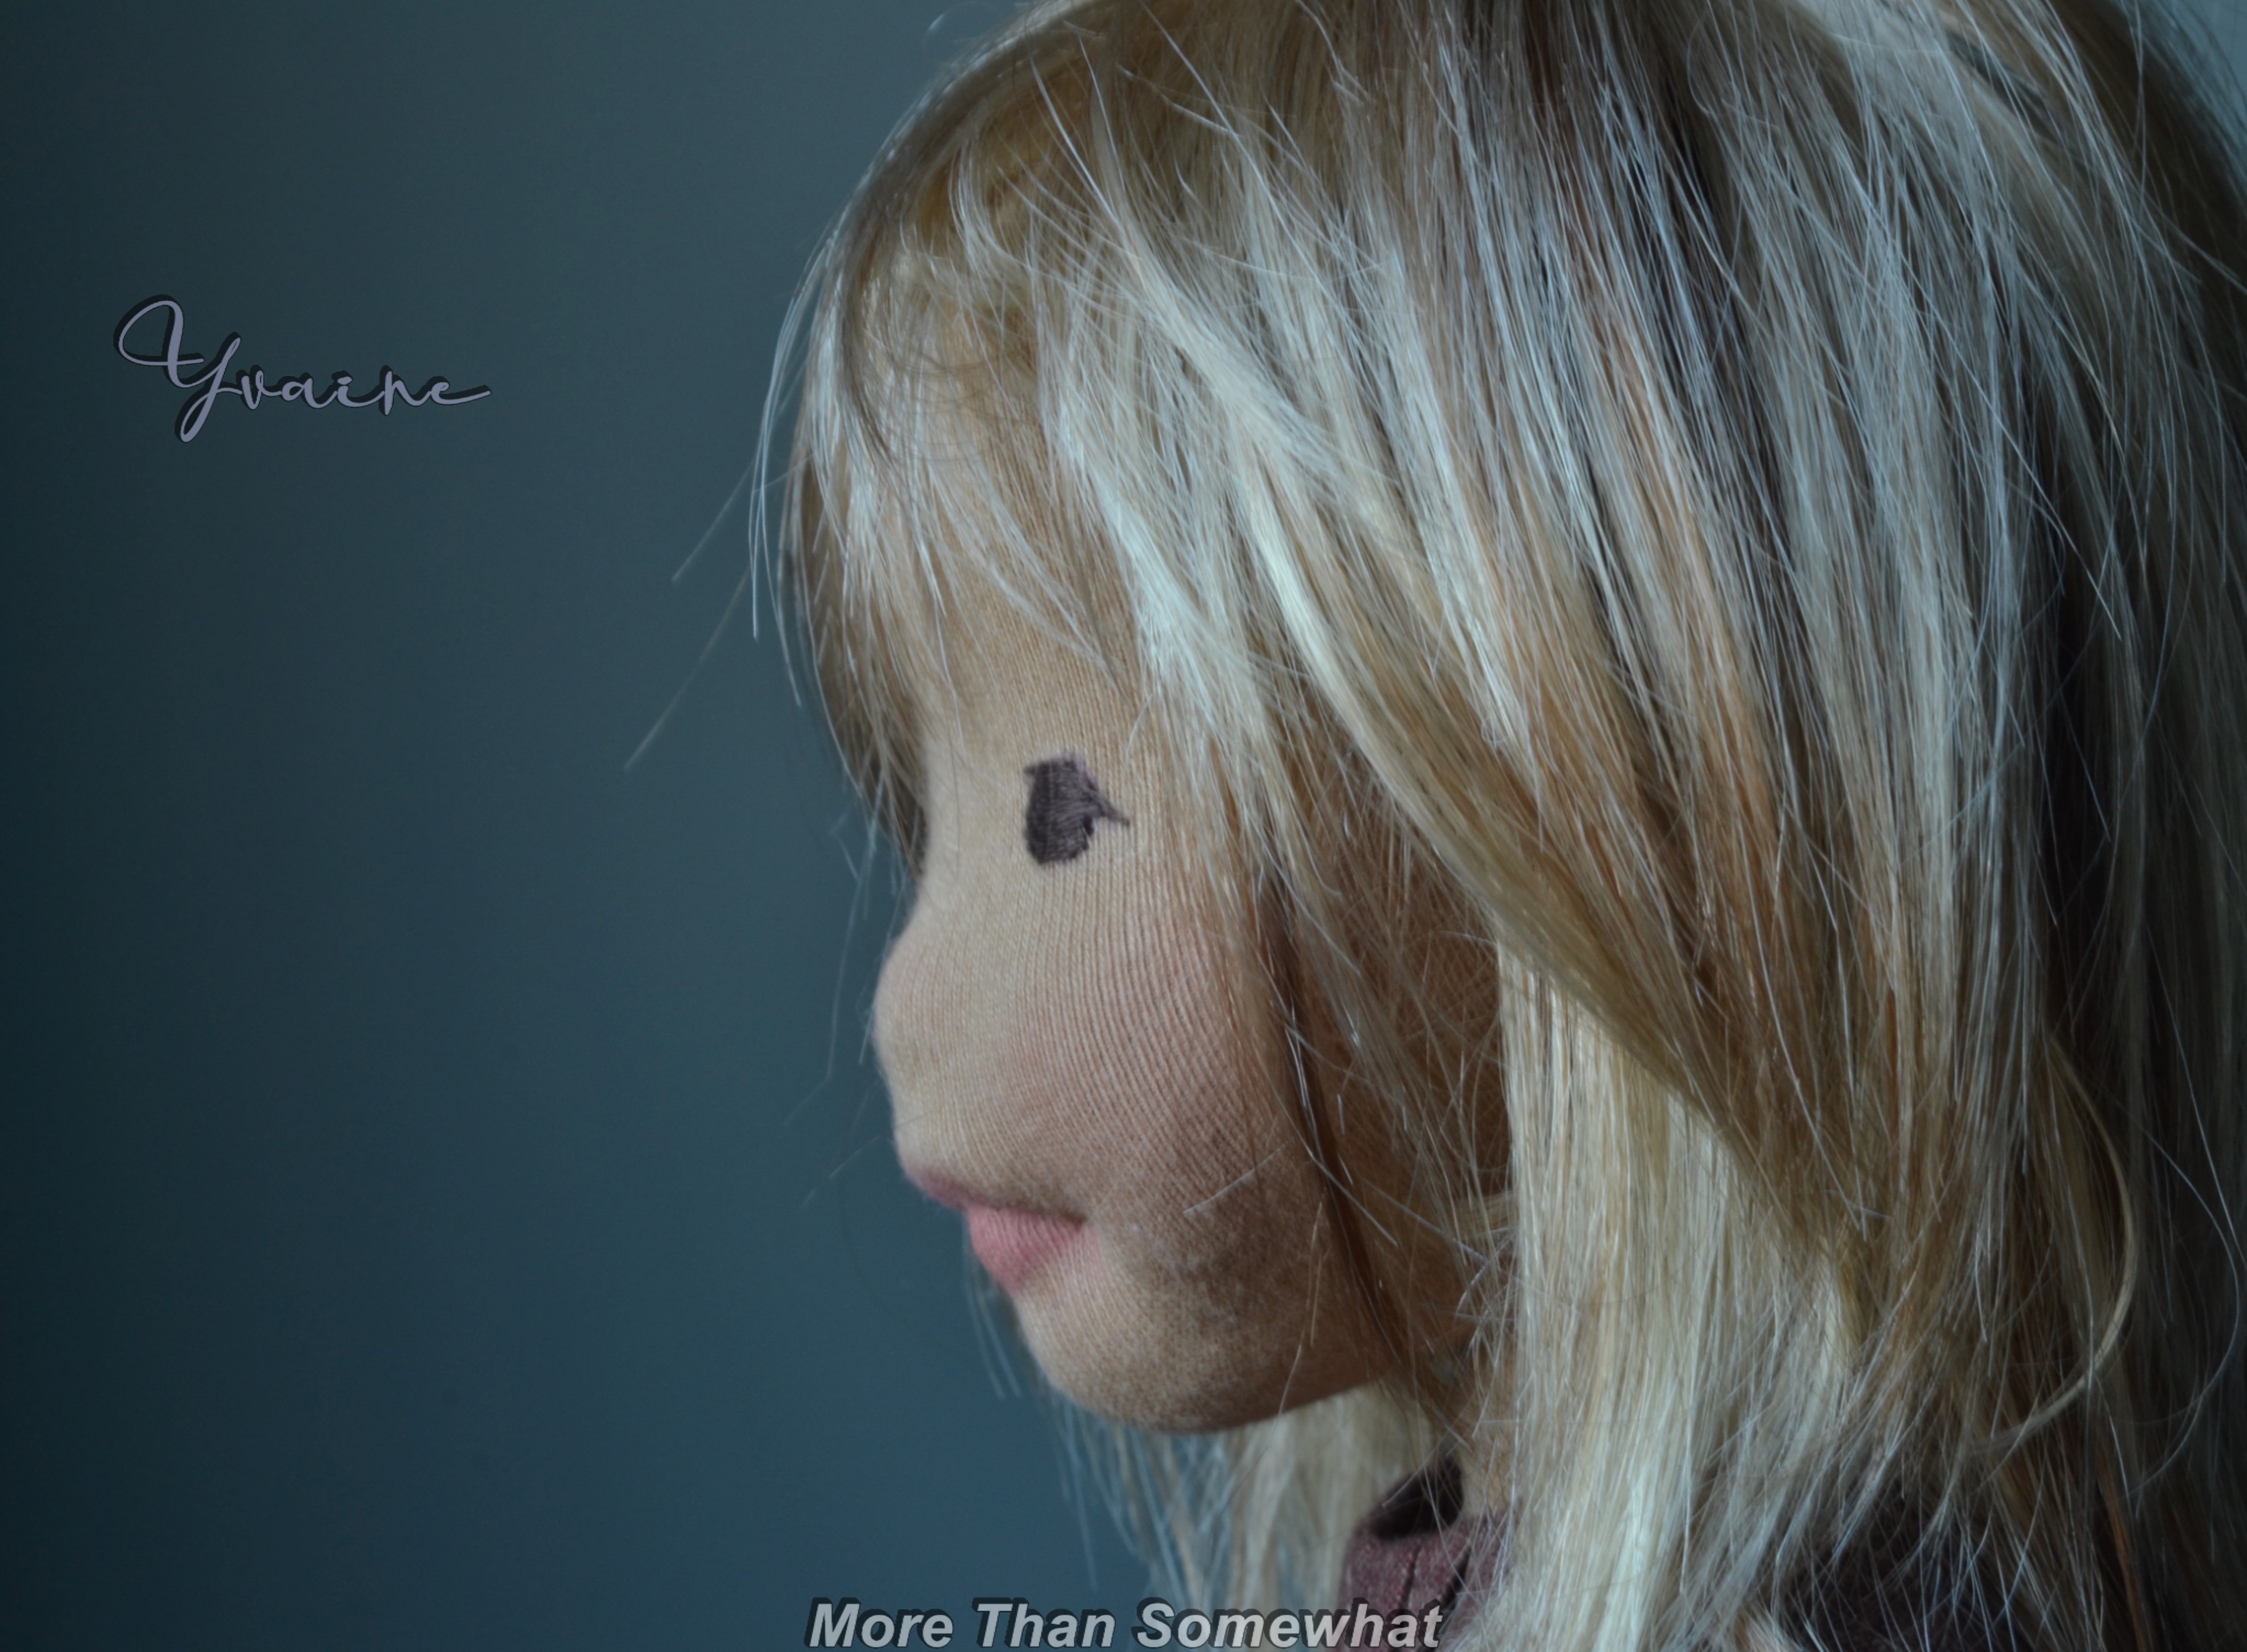
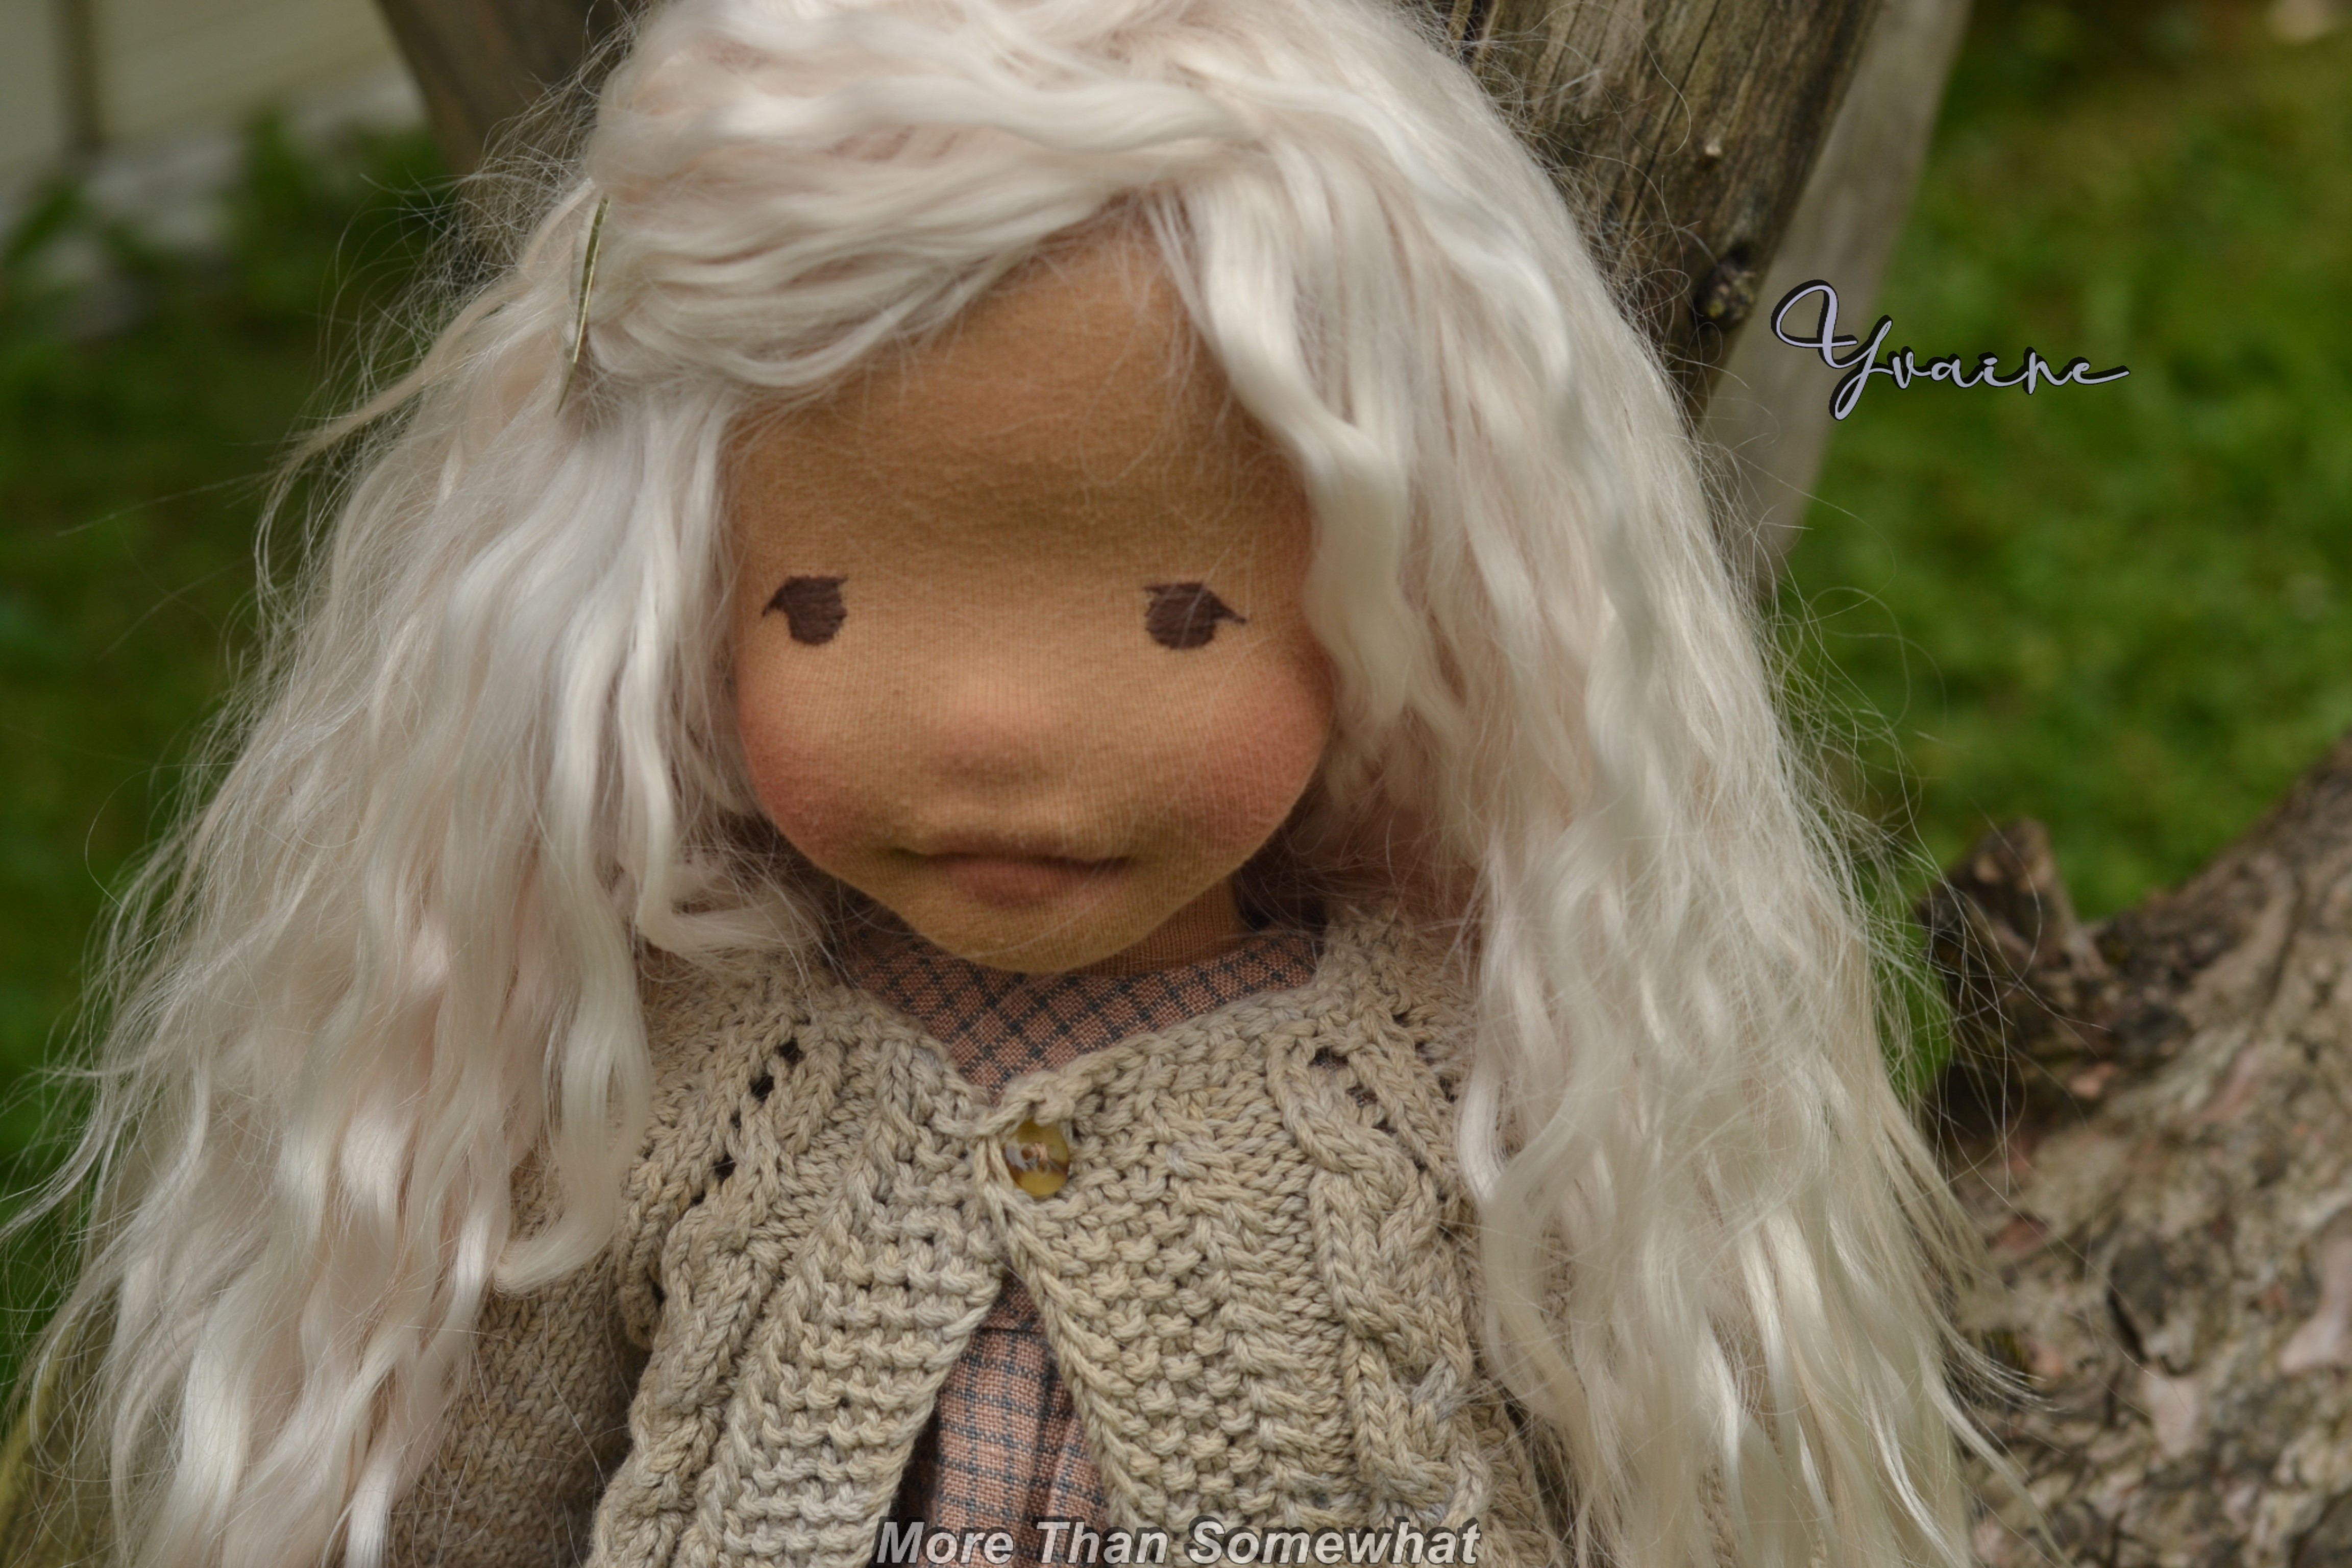
“I would love her to have elements of ethereal magic. I would like her to have white loose curly hair. I would love her to have brown eyes that are slightly pixie”
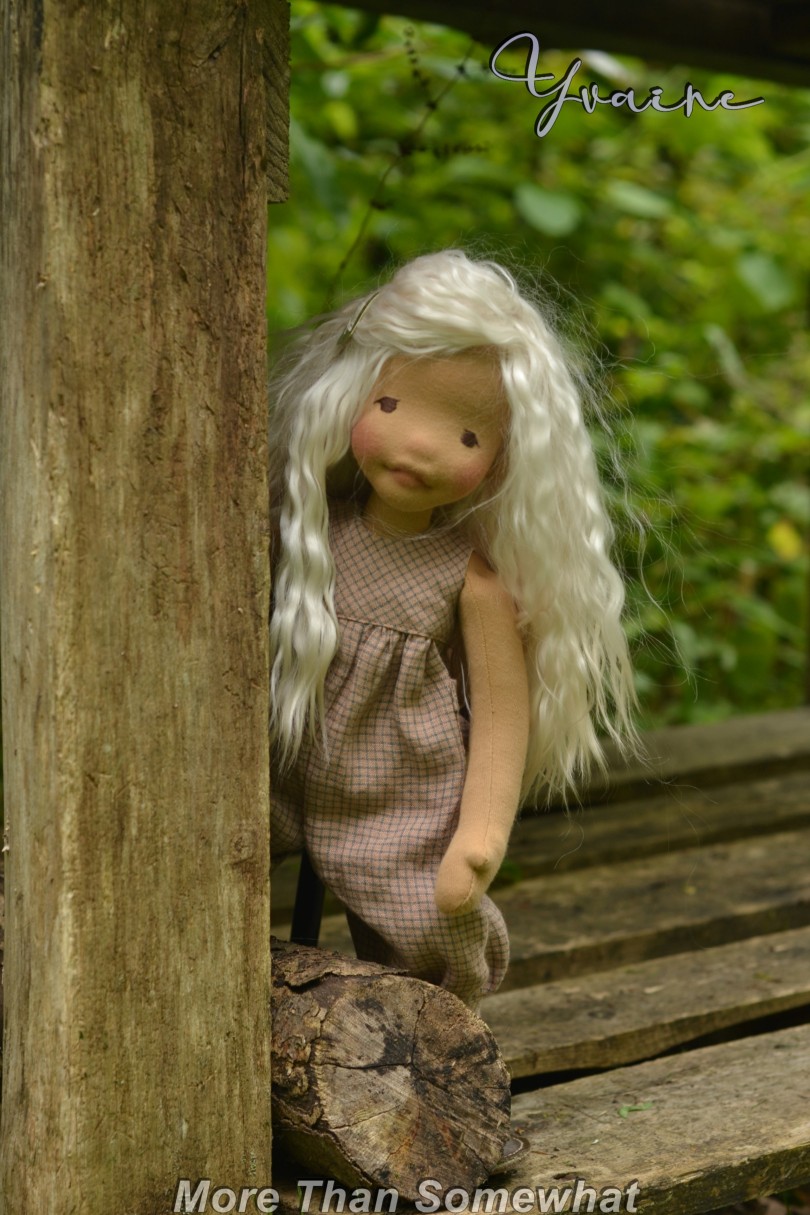
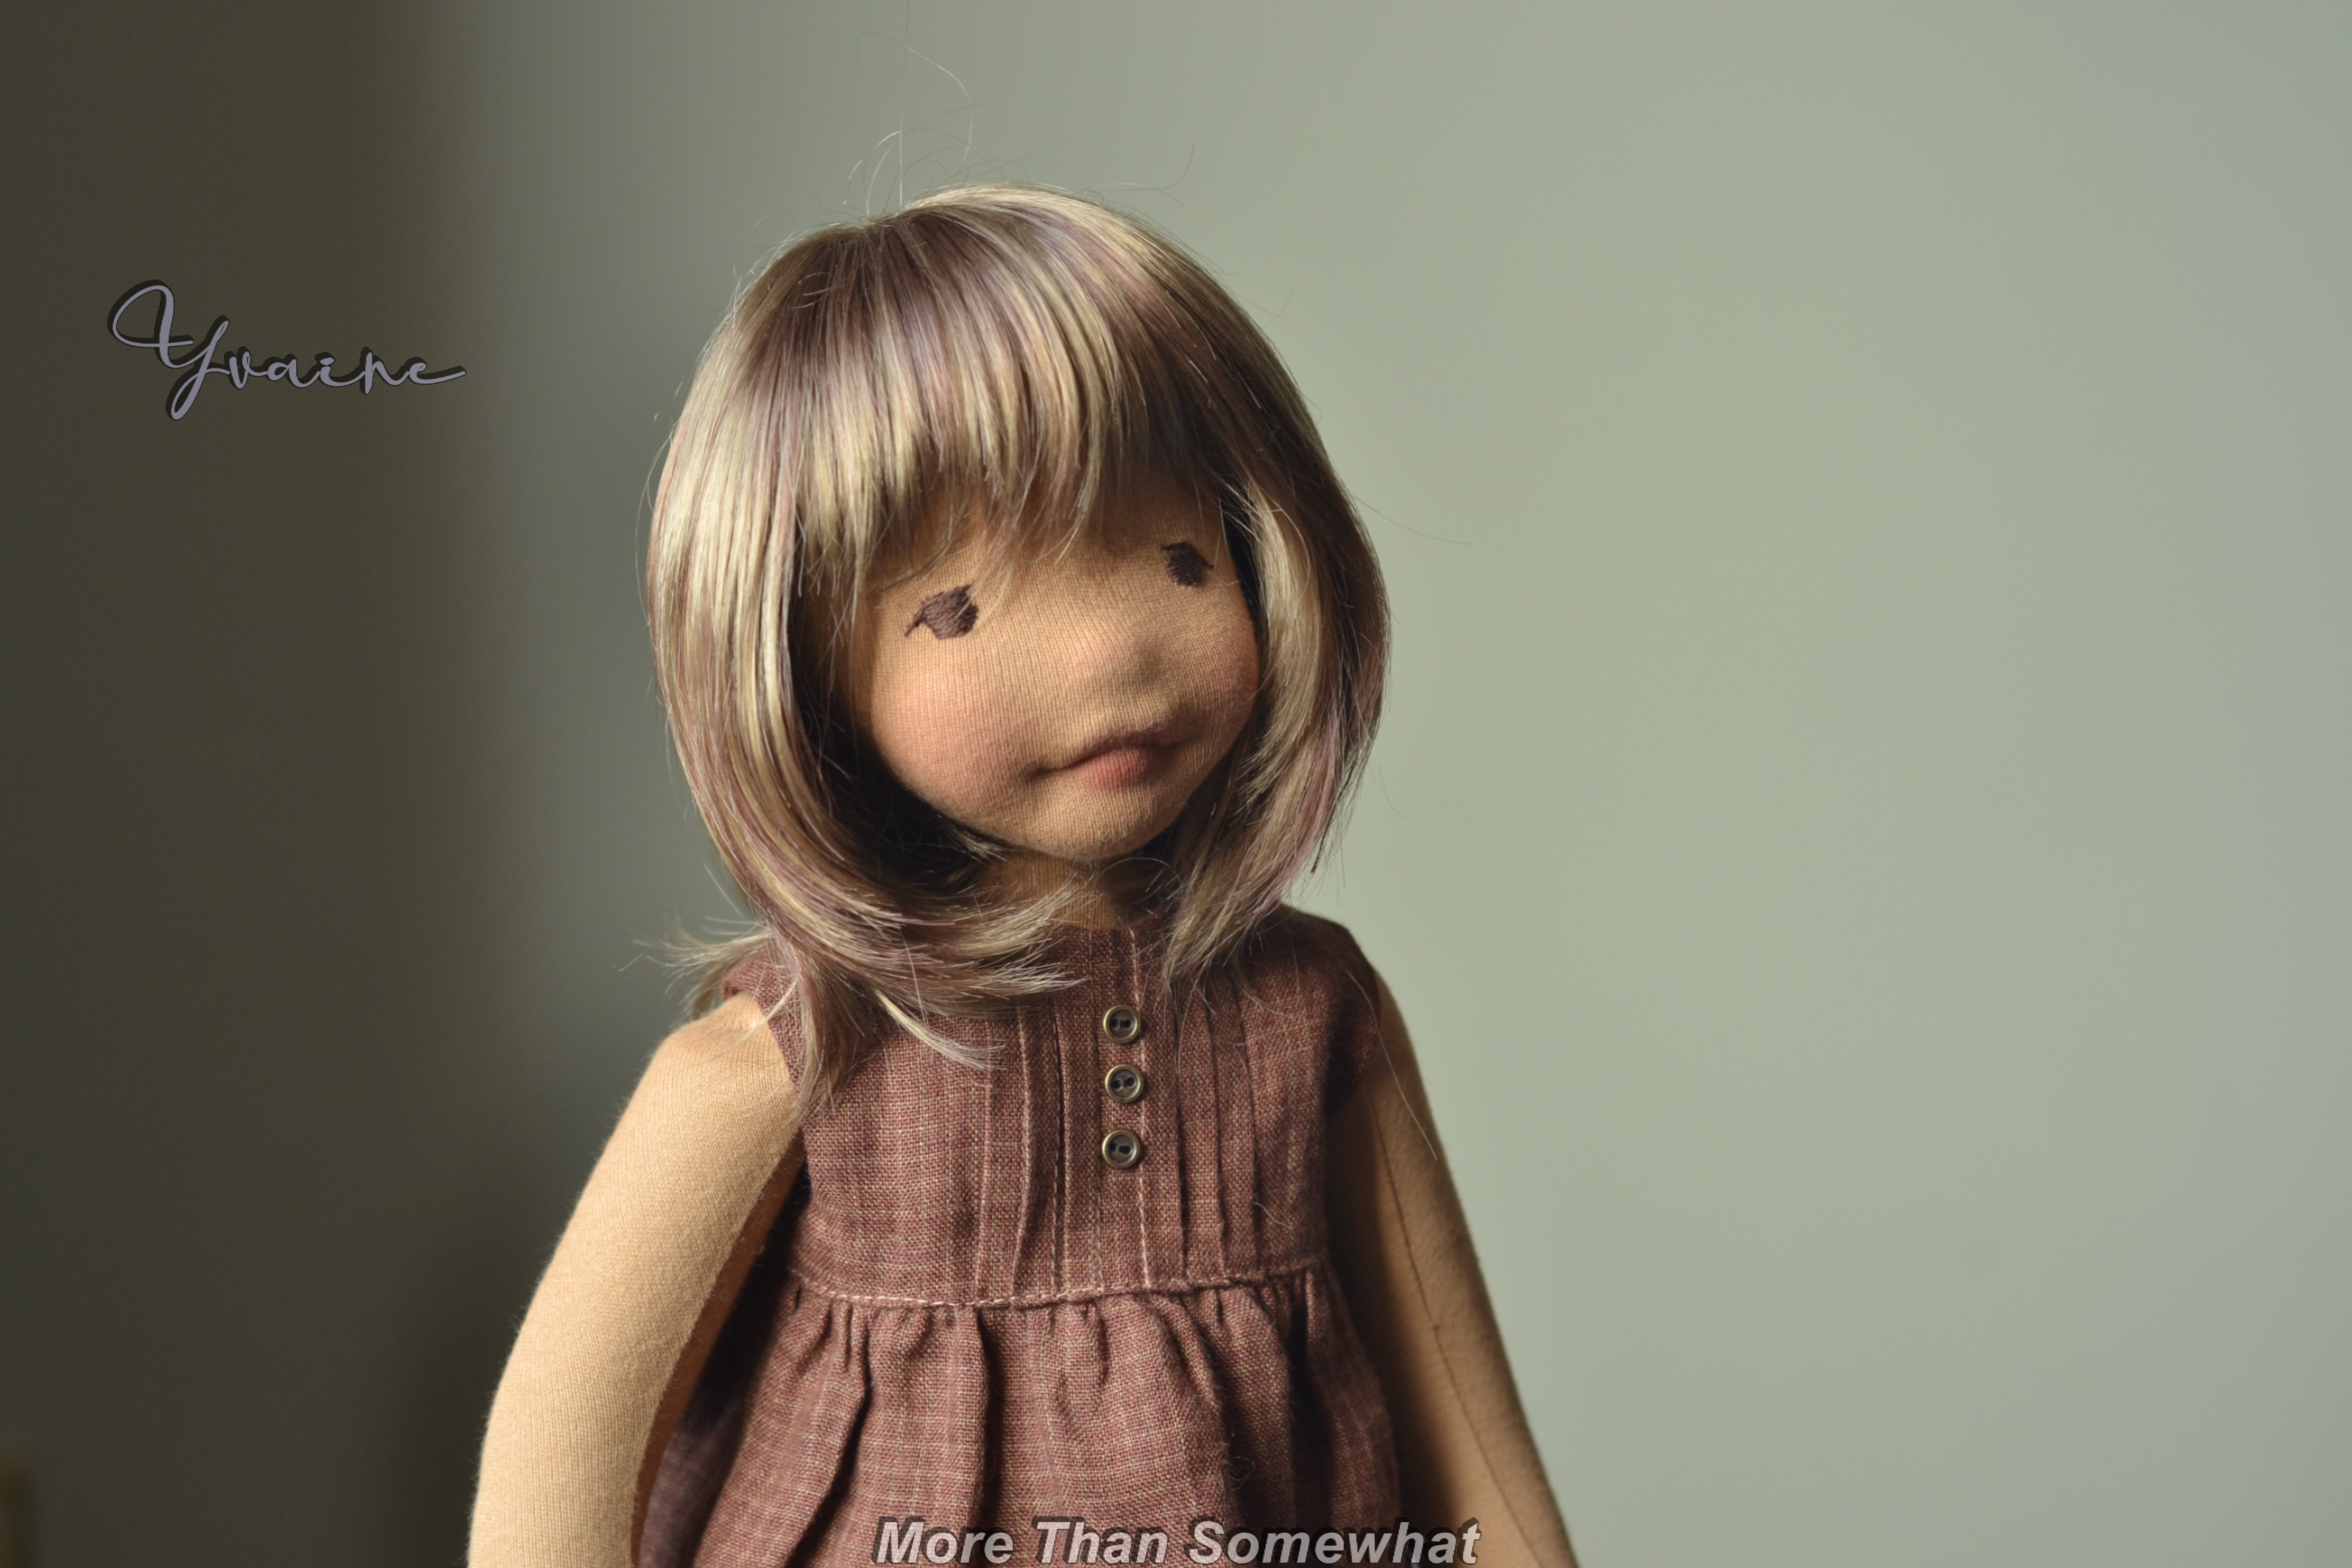
No name was given, so I chose a working name of Yvaine, I thought that sounded pretty ethereal. Well actually I googled ‘ethereal names’ and this was one I liked. I knew exactly which hair I wanted from GoldenFleecee I’ve bought from them before for the Frida Kahlo doll, as the quality is just amazing, so soft. It came from Russia and took a while to arrive so Yvaine wore several shop bought wigs to hide her baldness. Embroidering pixie eyes was fun, I’m really pleased with the result and I think more of my dolls will have this style, it’s cute. Straight to the pictures then, here is Yvaine with her temporary wig, a brown then a blond.
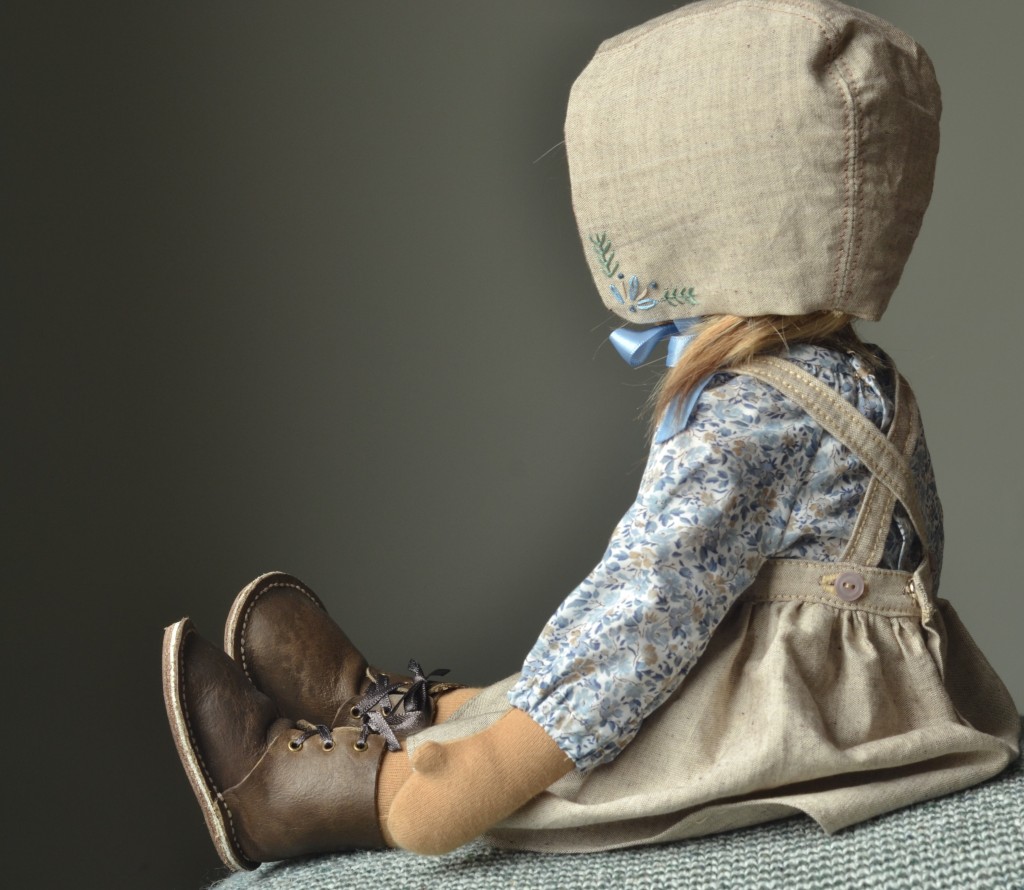
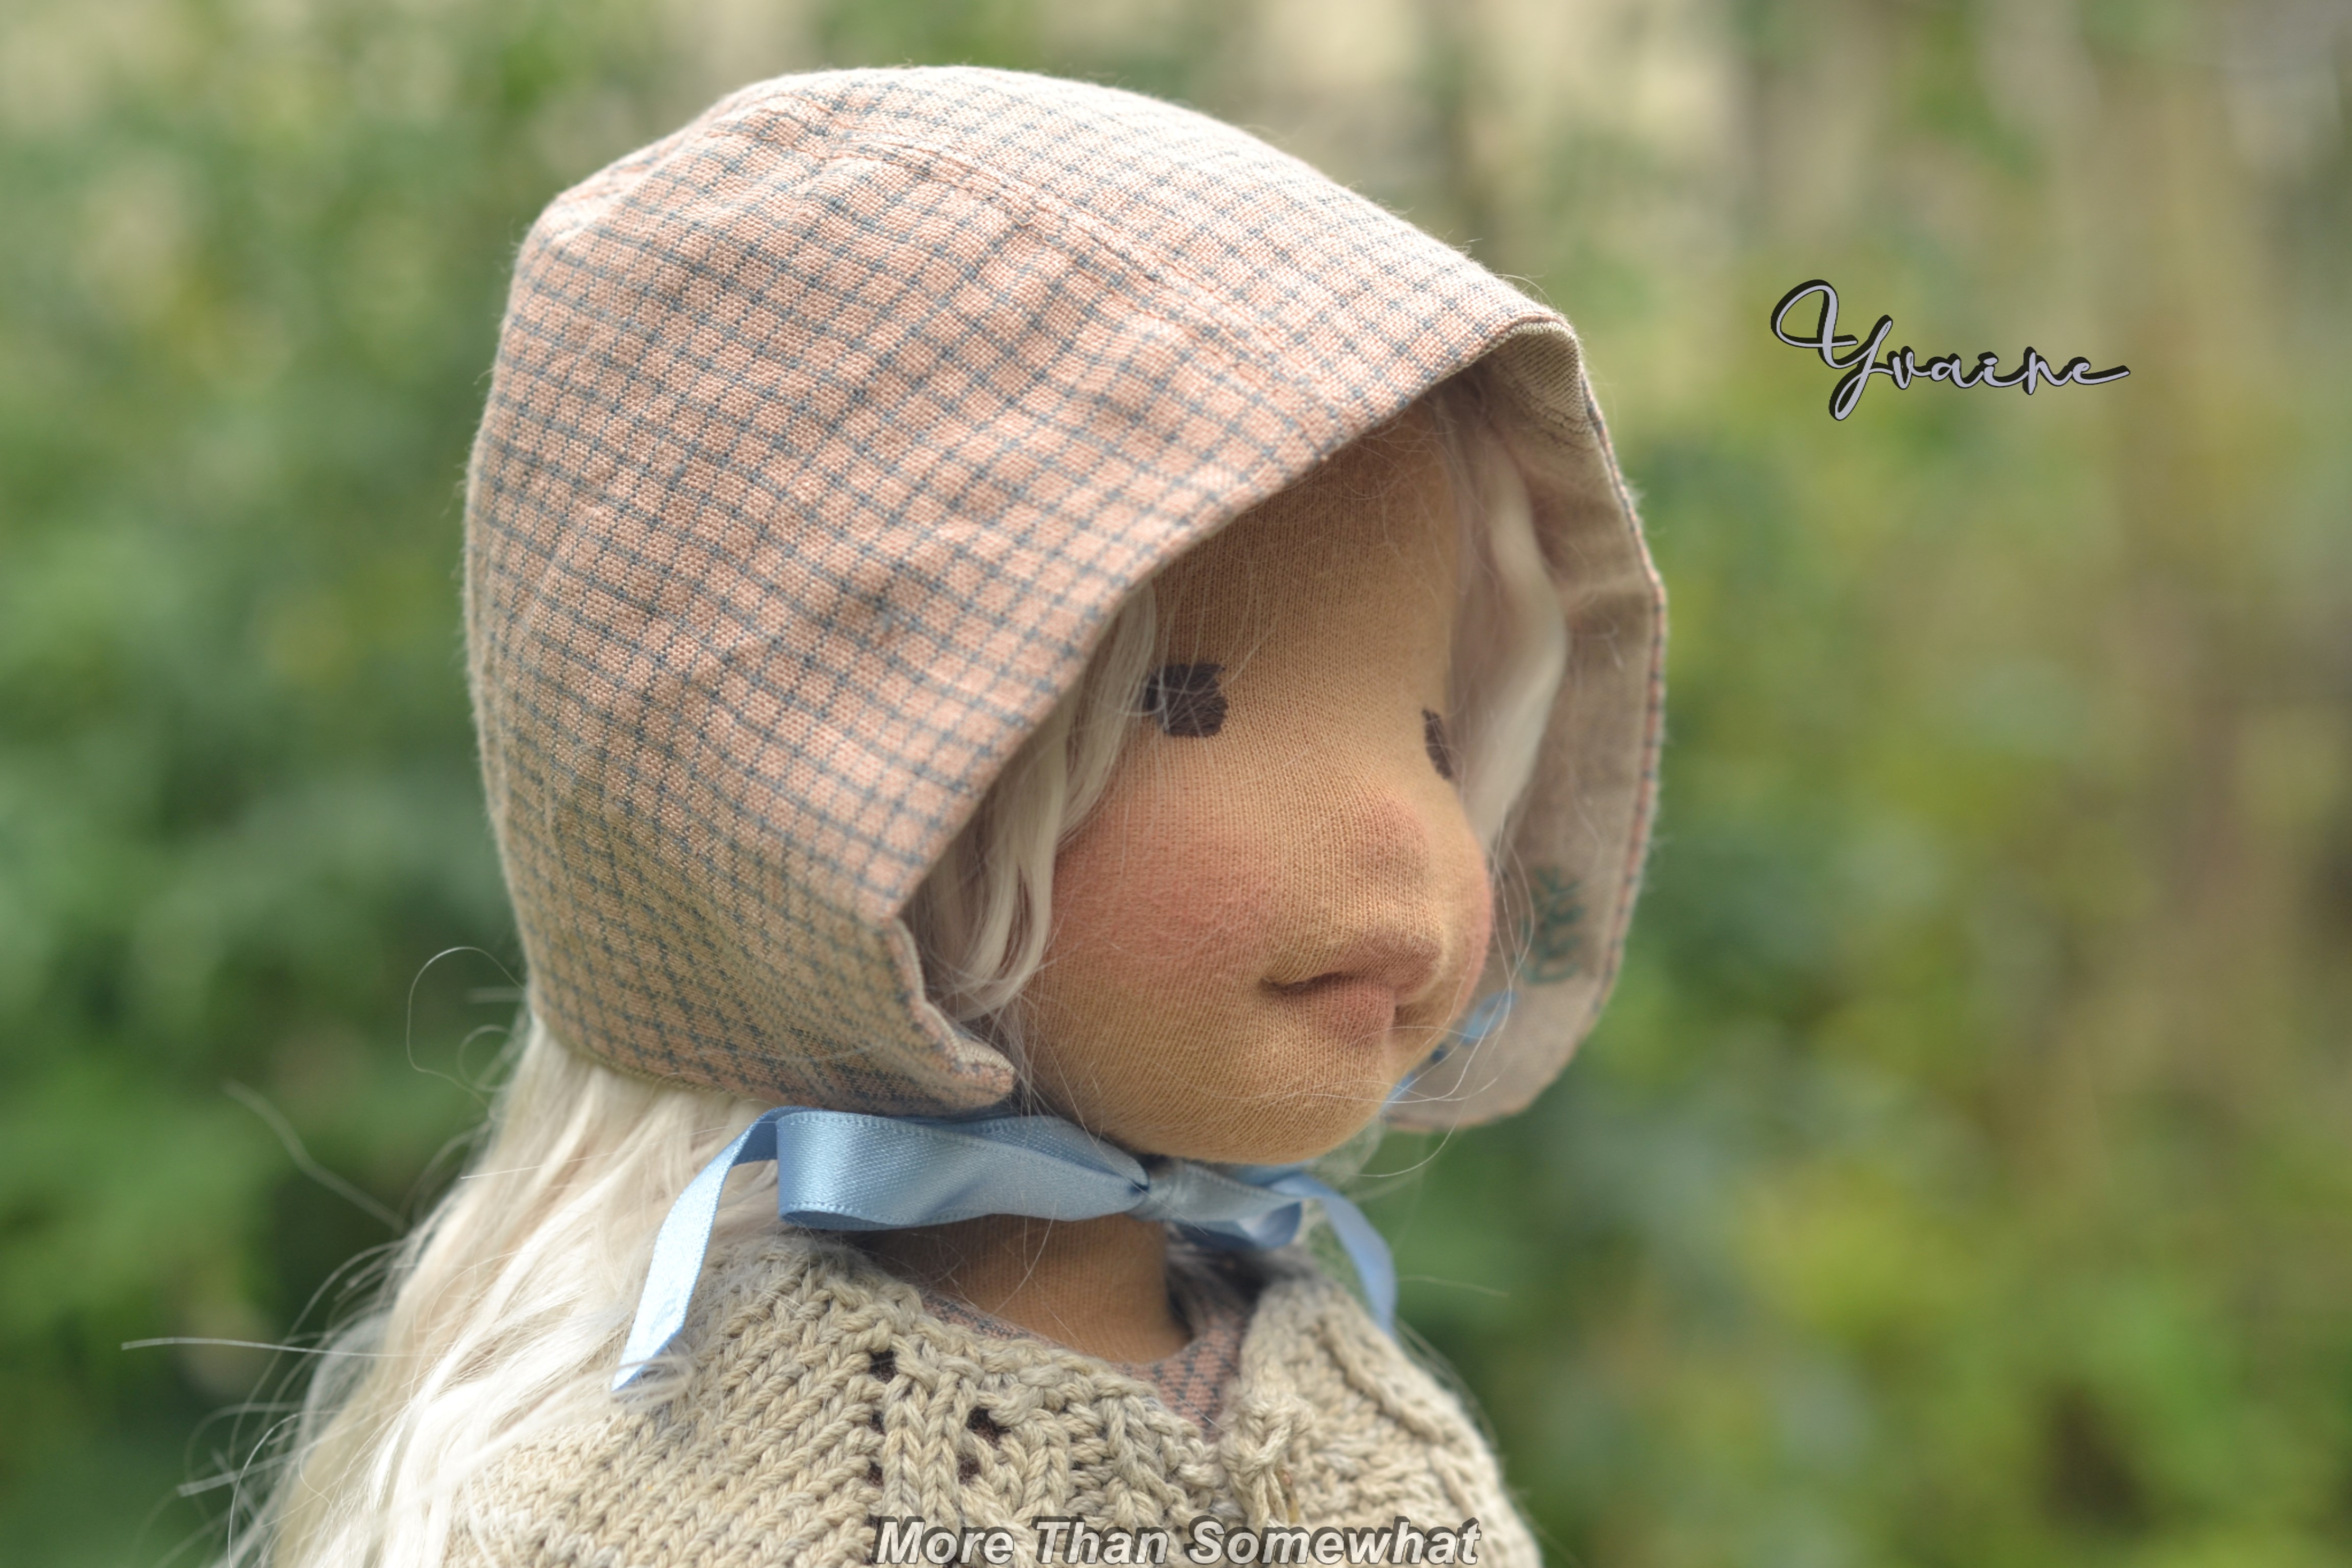
First outfit is a pinafore dress with a Liberty print blouse underneath, I am very drawn to beige and pale blue at the moment. The bonnet is Story Book Wood and has the lovely embroidery detail, it is reversible and matches both outfits.
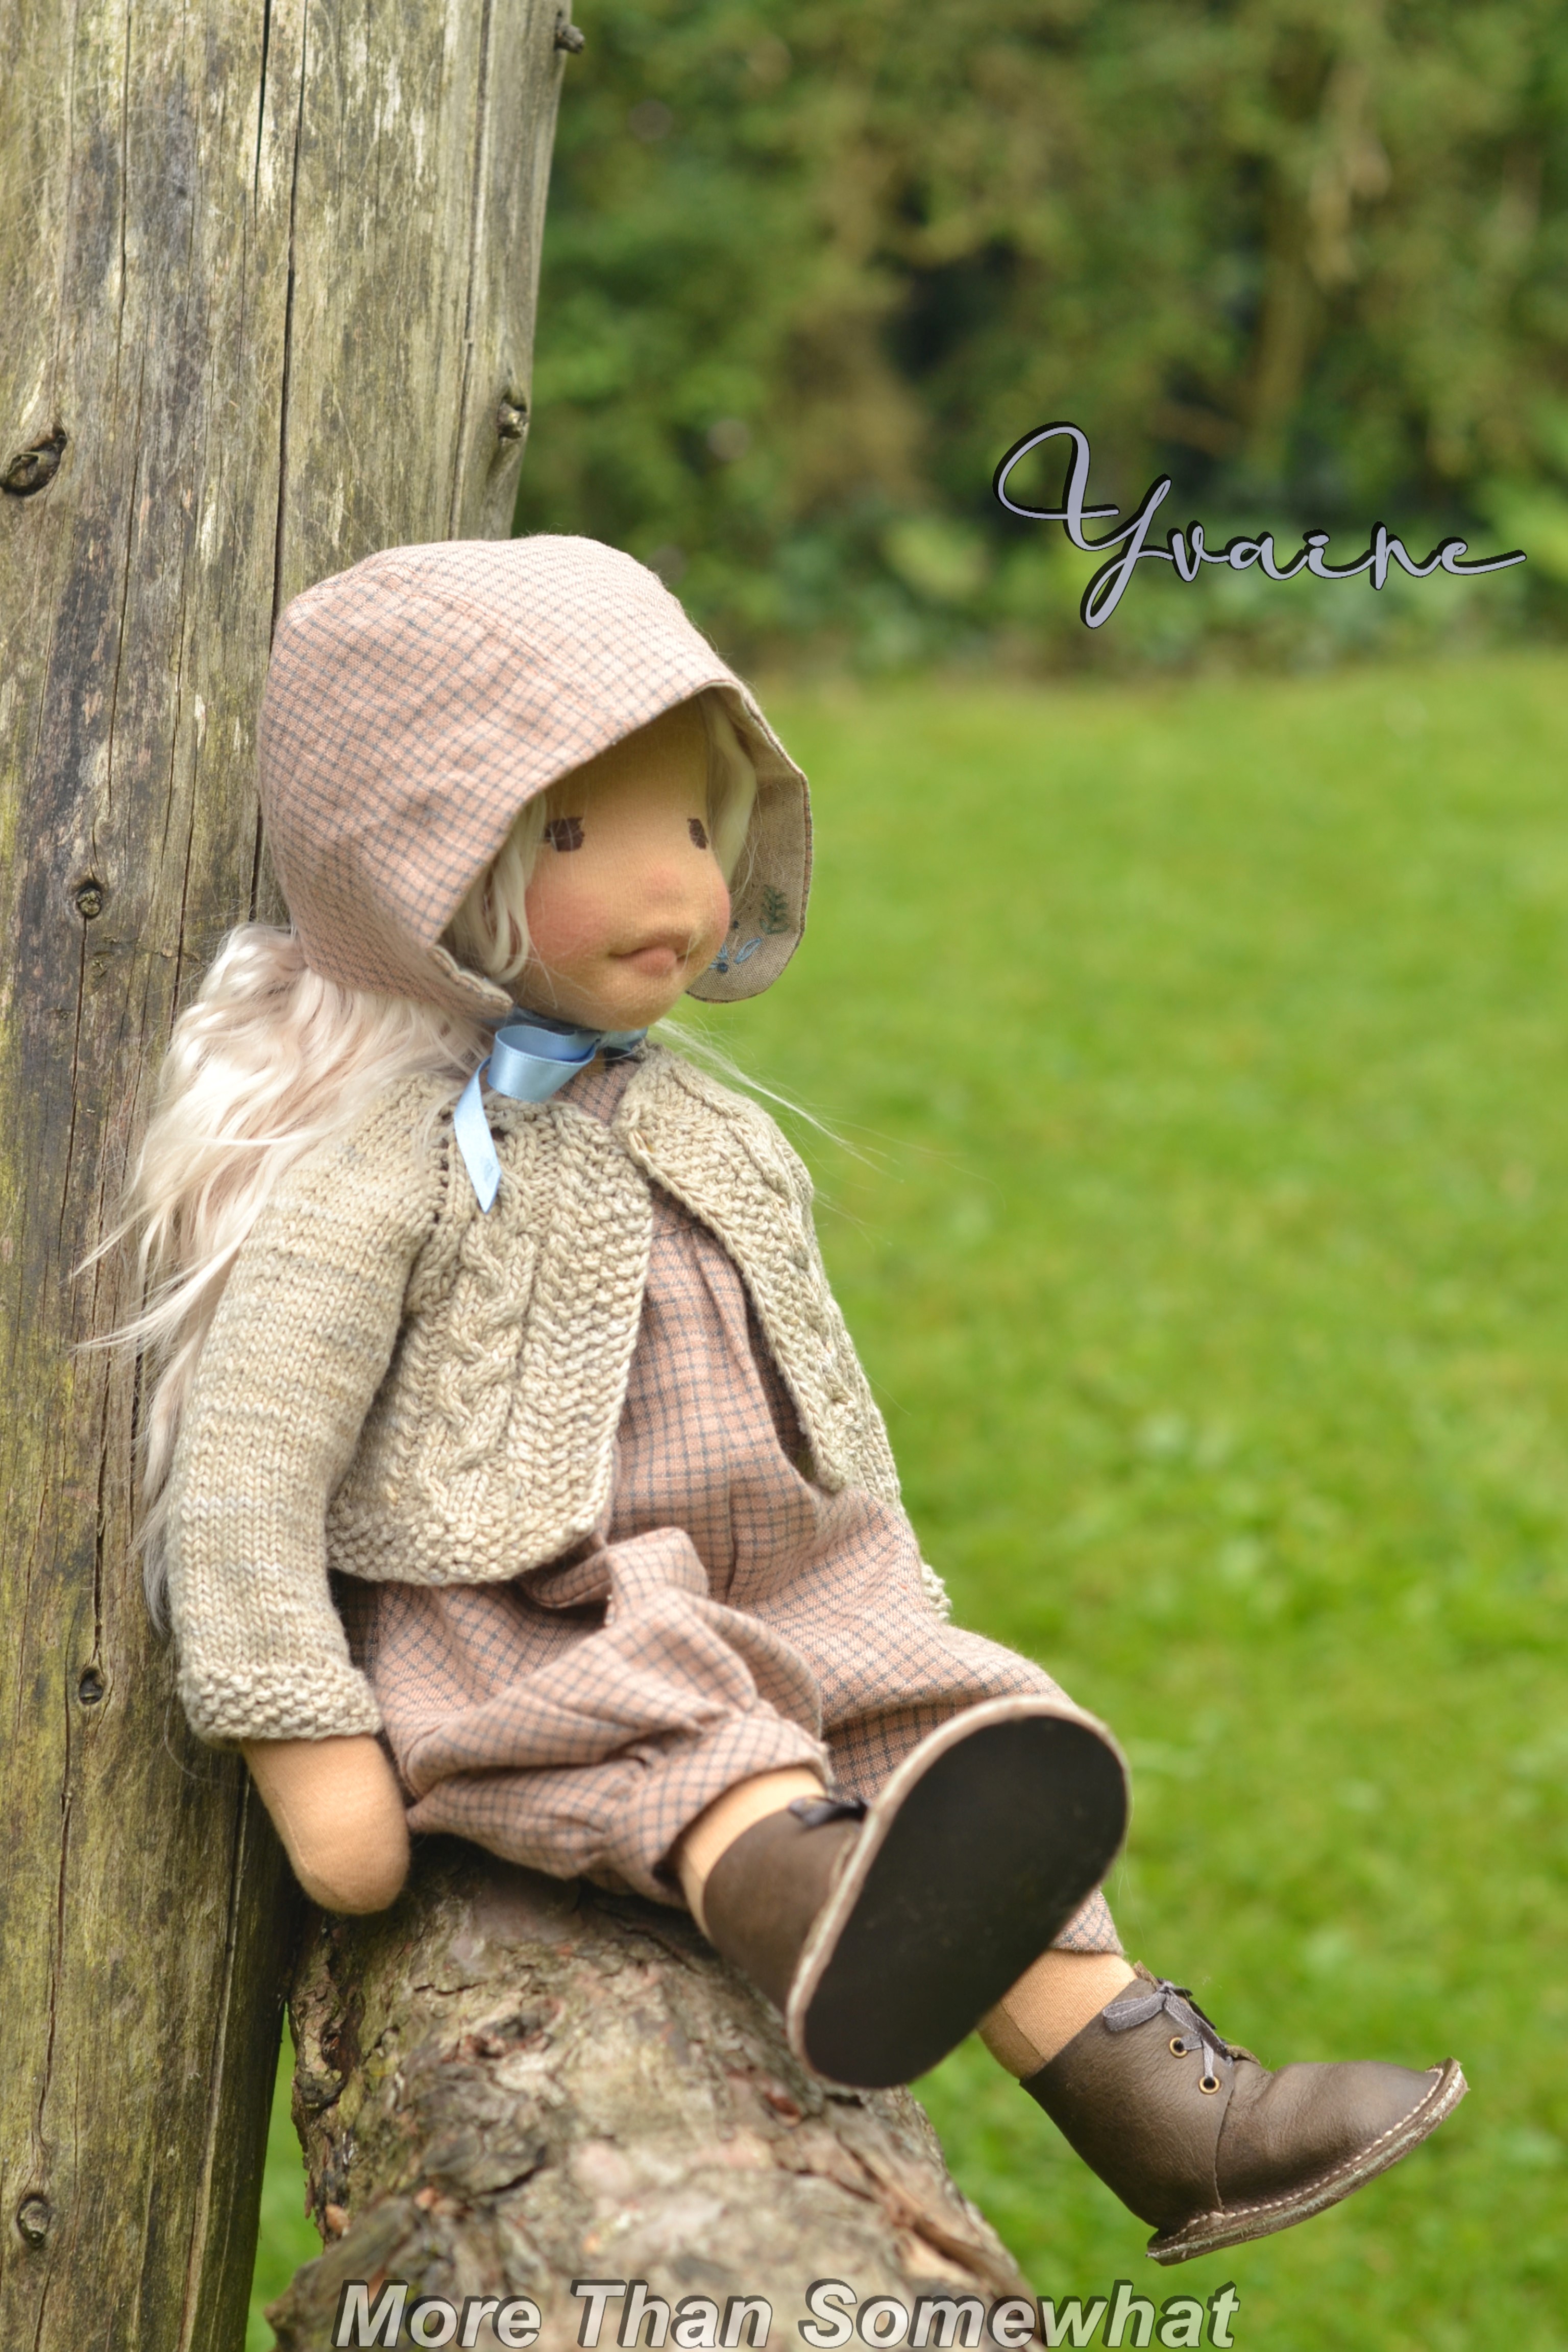
The second outfit is dungarees, in a lovely mushroom and blue check from Merchant & Mills, over this Yvaine can wear her cotton cardigan. The cotton for the cardigan is hand dyed by Town Dyer and was a real impulse buy for me, it was the beige and blue flecks that drew me again.
So there she is, my Yvaine, off to meet her new family xxx
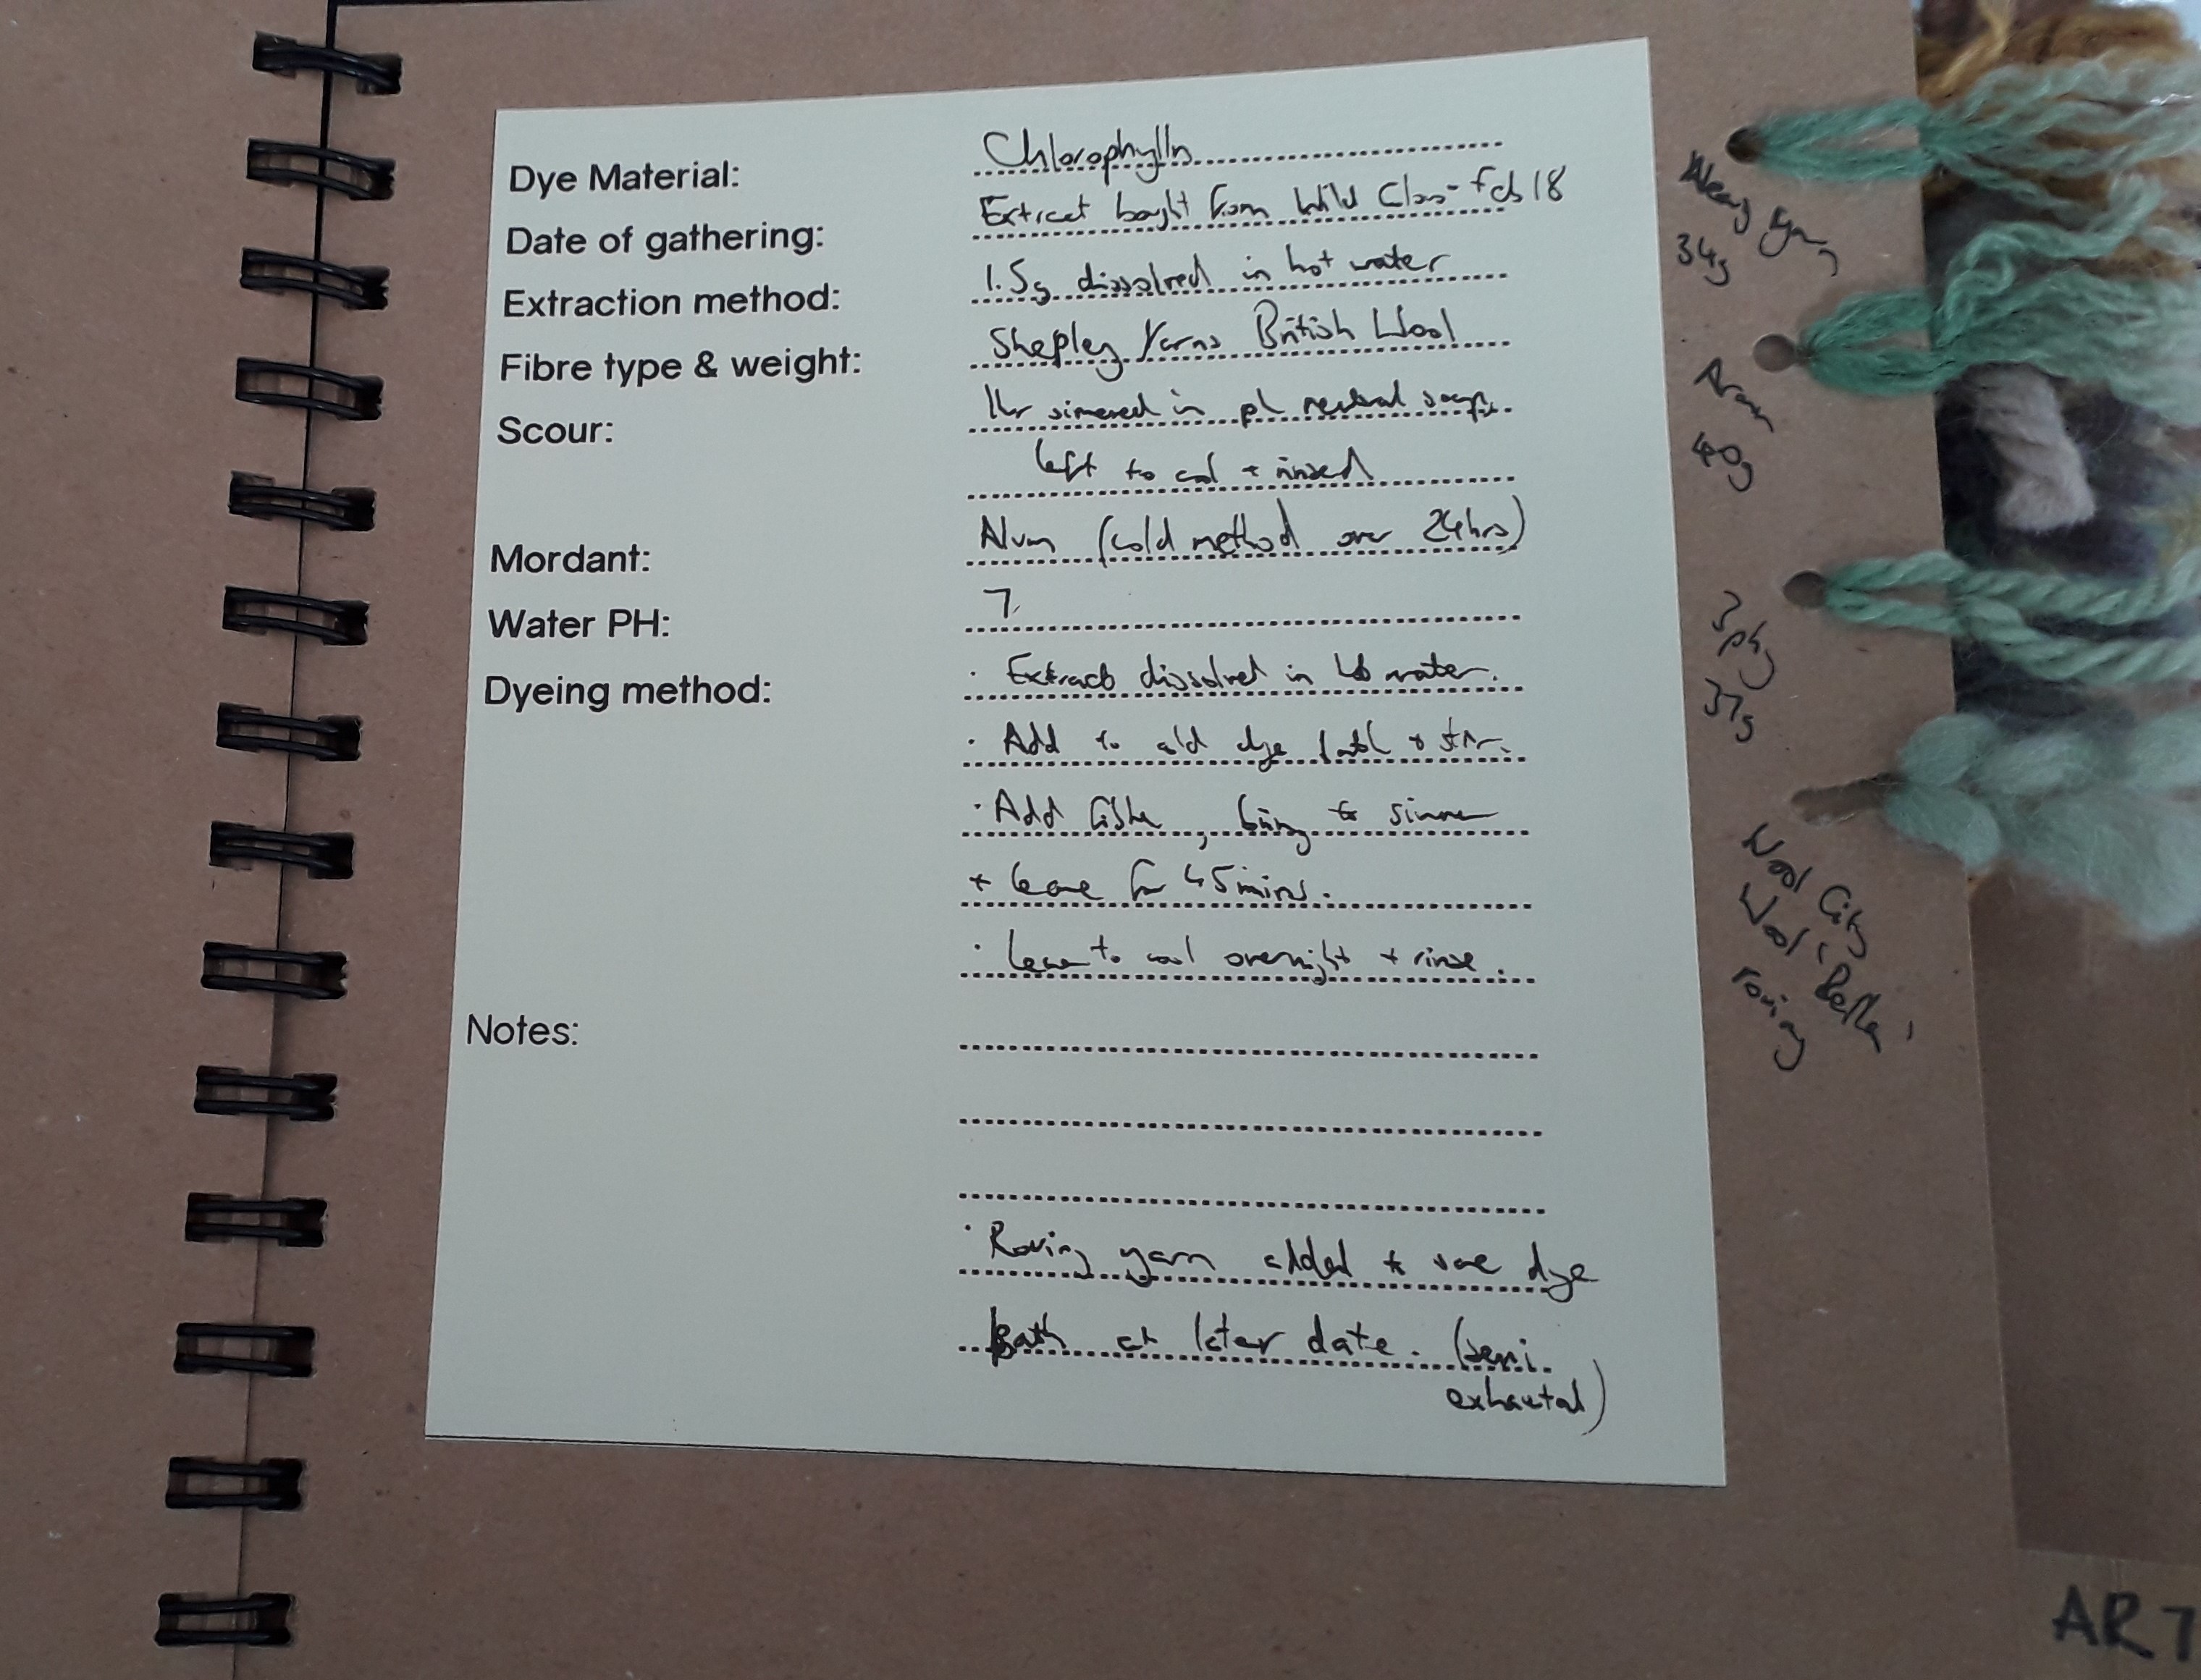
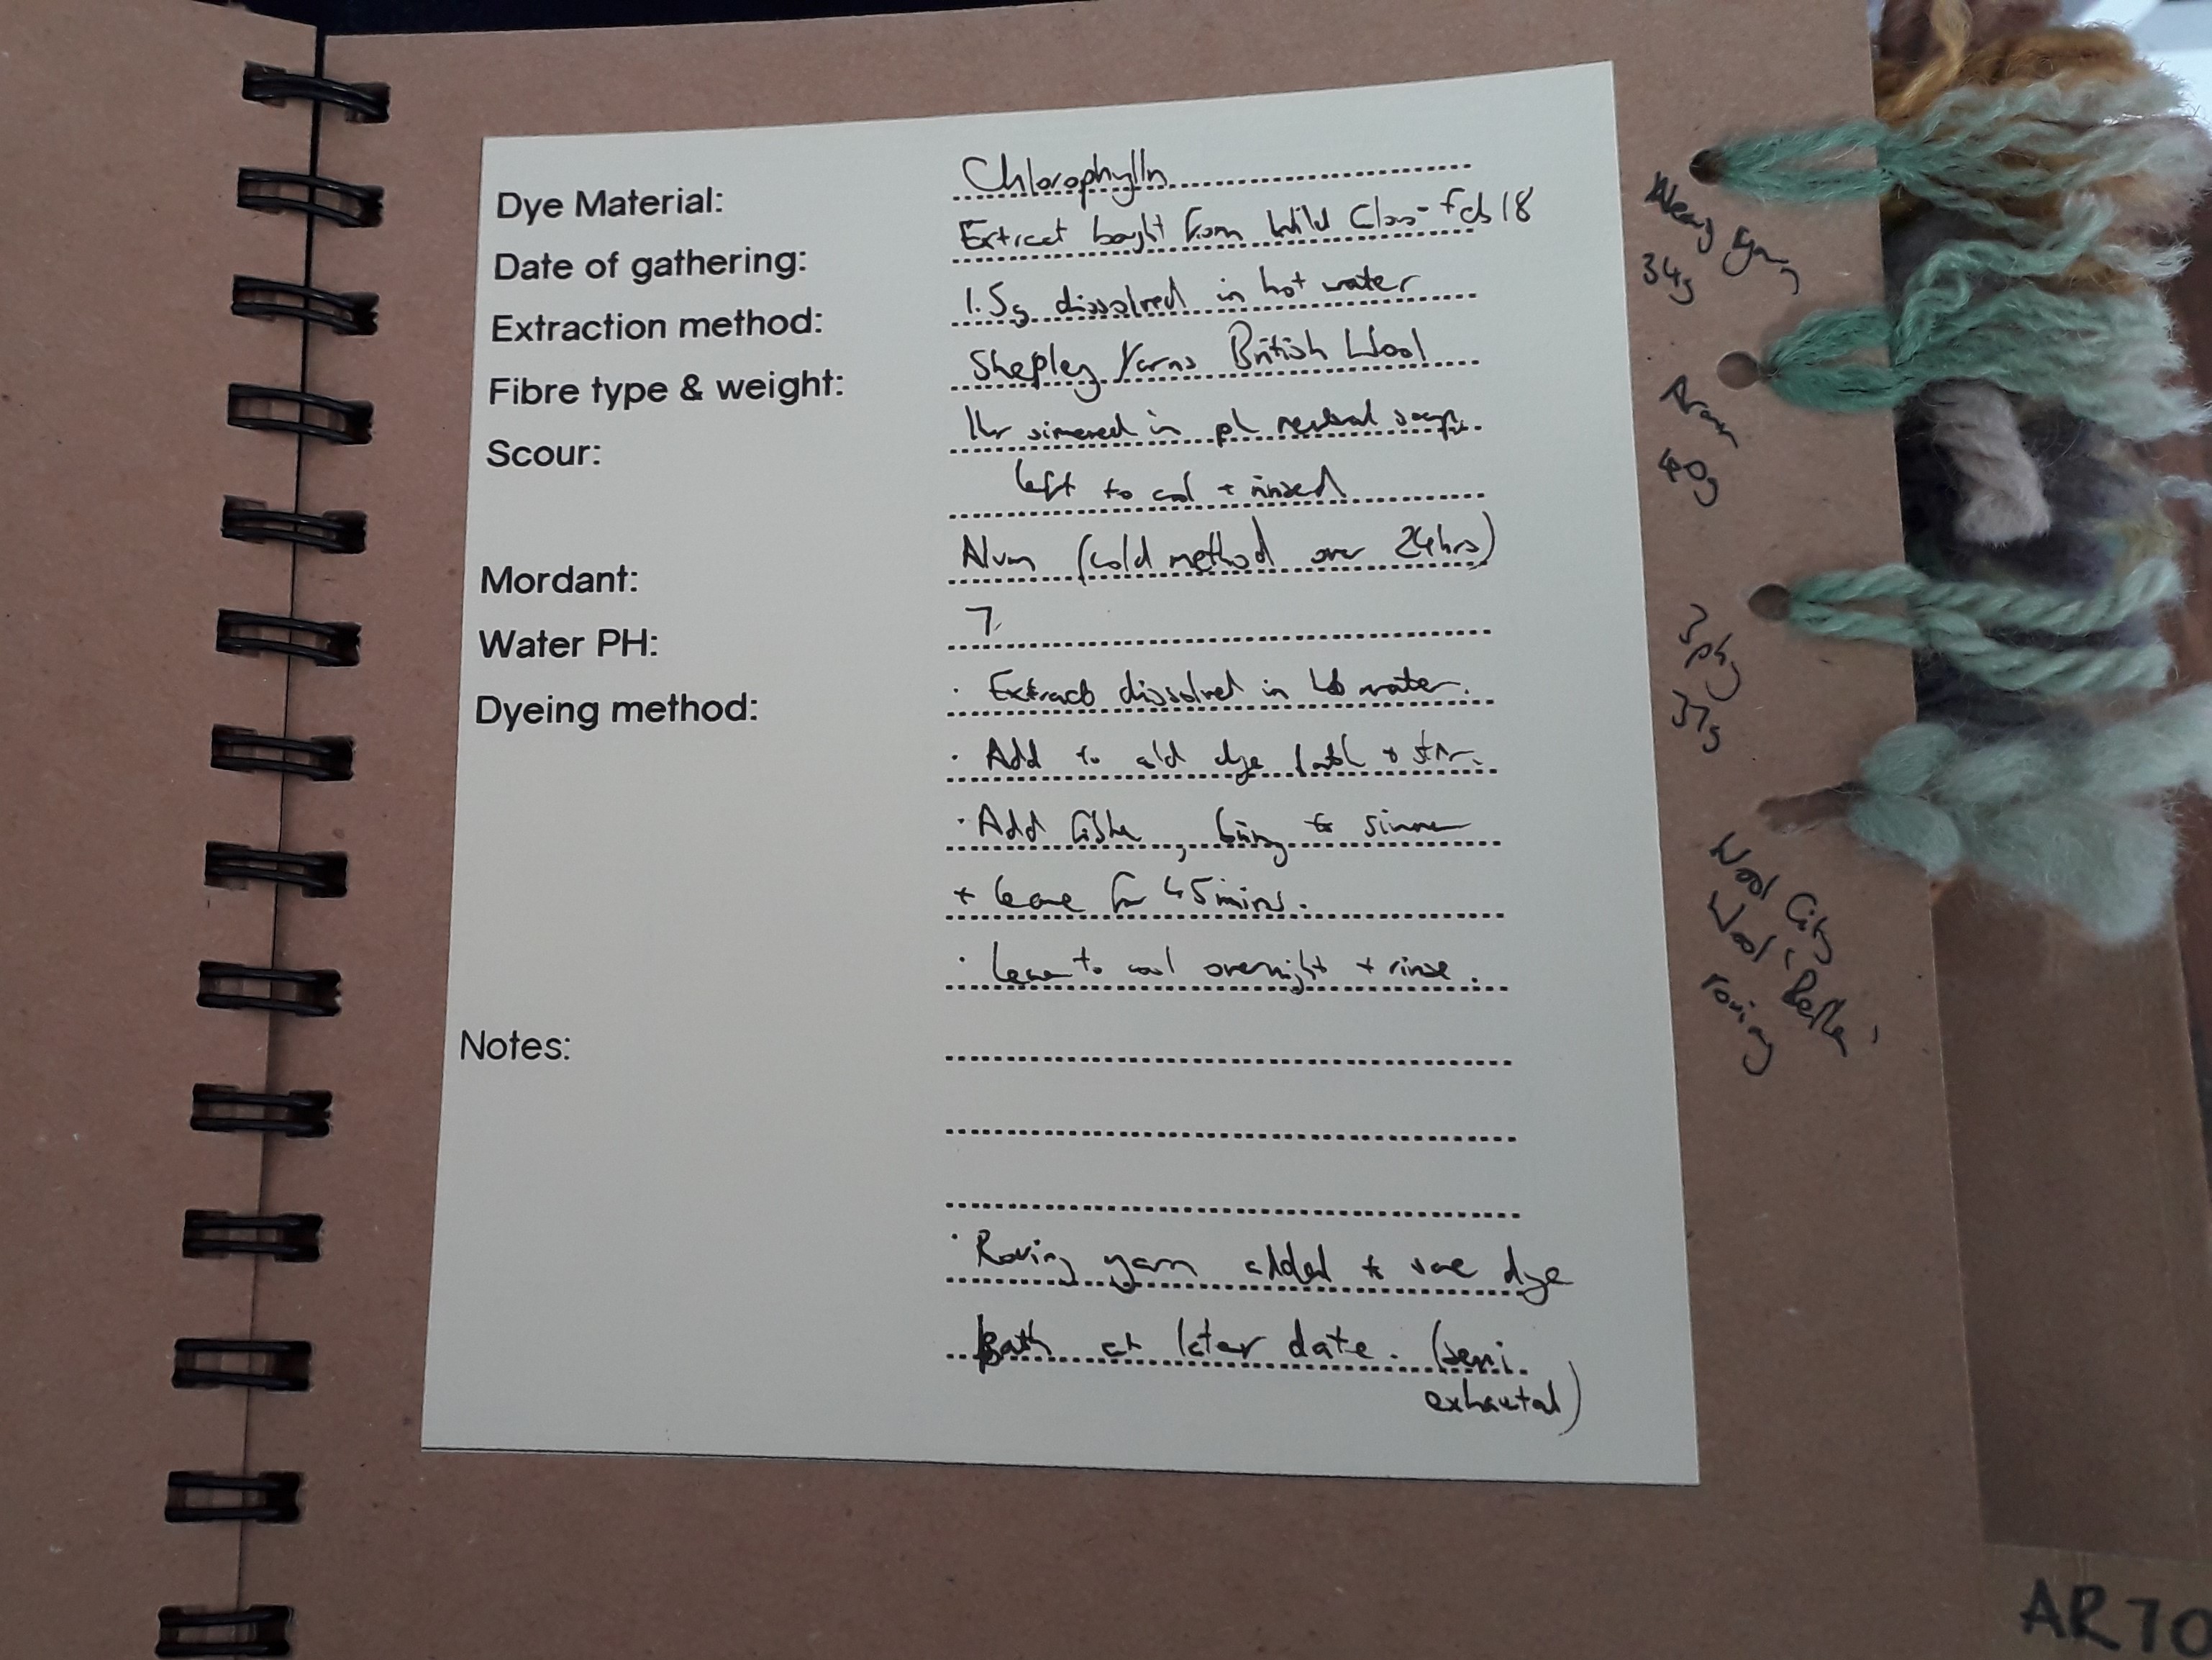
I spotted this plant dyeing workshop held in Bristol with Ria Burns a while ago. I’ve had a little foray into plant dyeing a while back, not altogether successful, but I think doing this course has given me some confidence to try again. I’ve been imagining the dolls dressed in linens, cottons and silks in those lovely subtle colours you only get with plant dyes.
In the introduction Ria talked about when to mordant your fabric/yarn and how. There are three types of plant dyes,
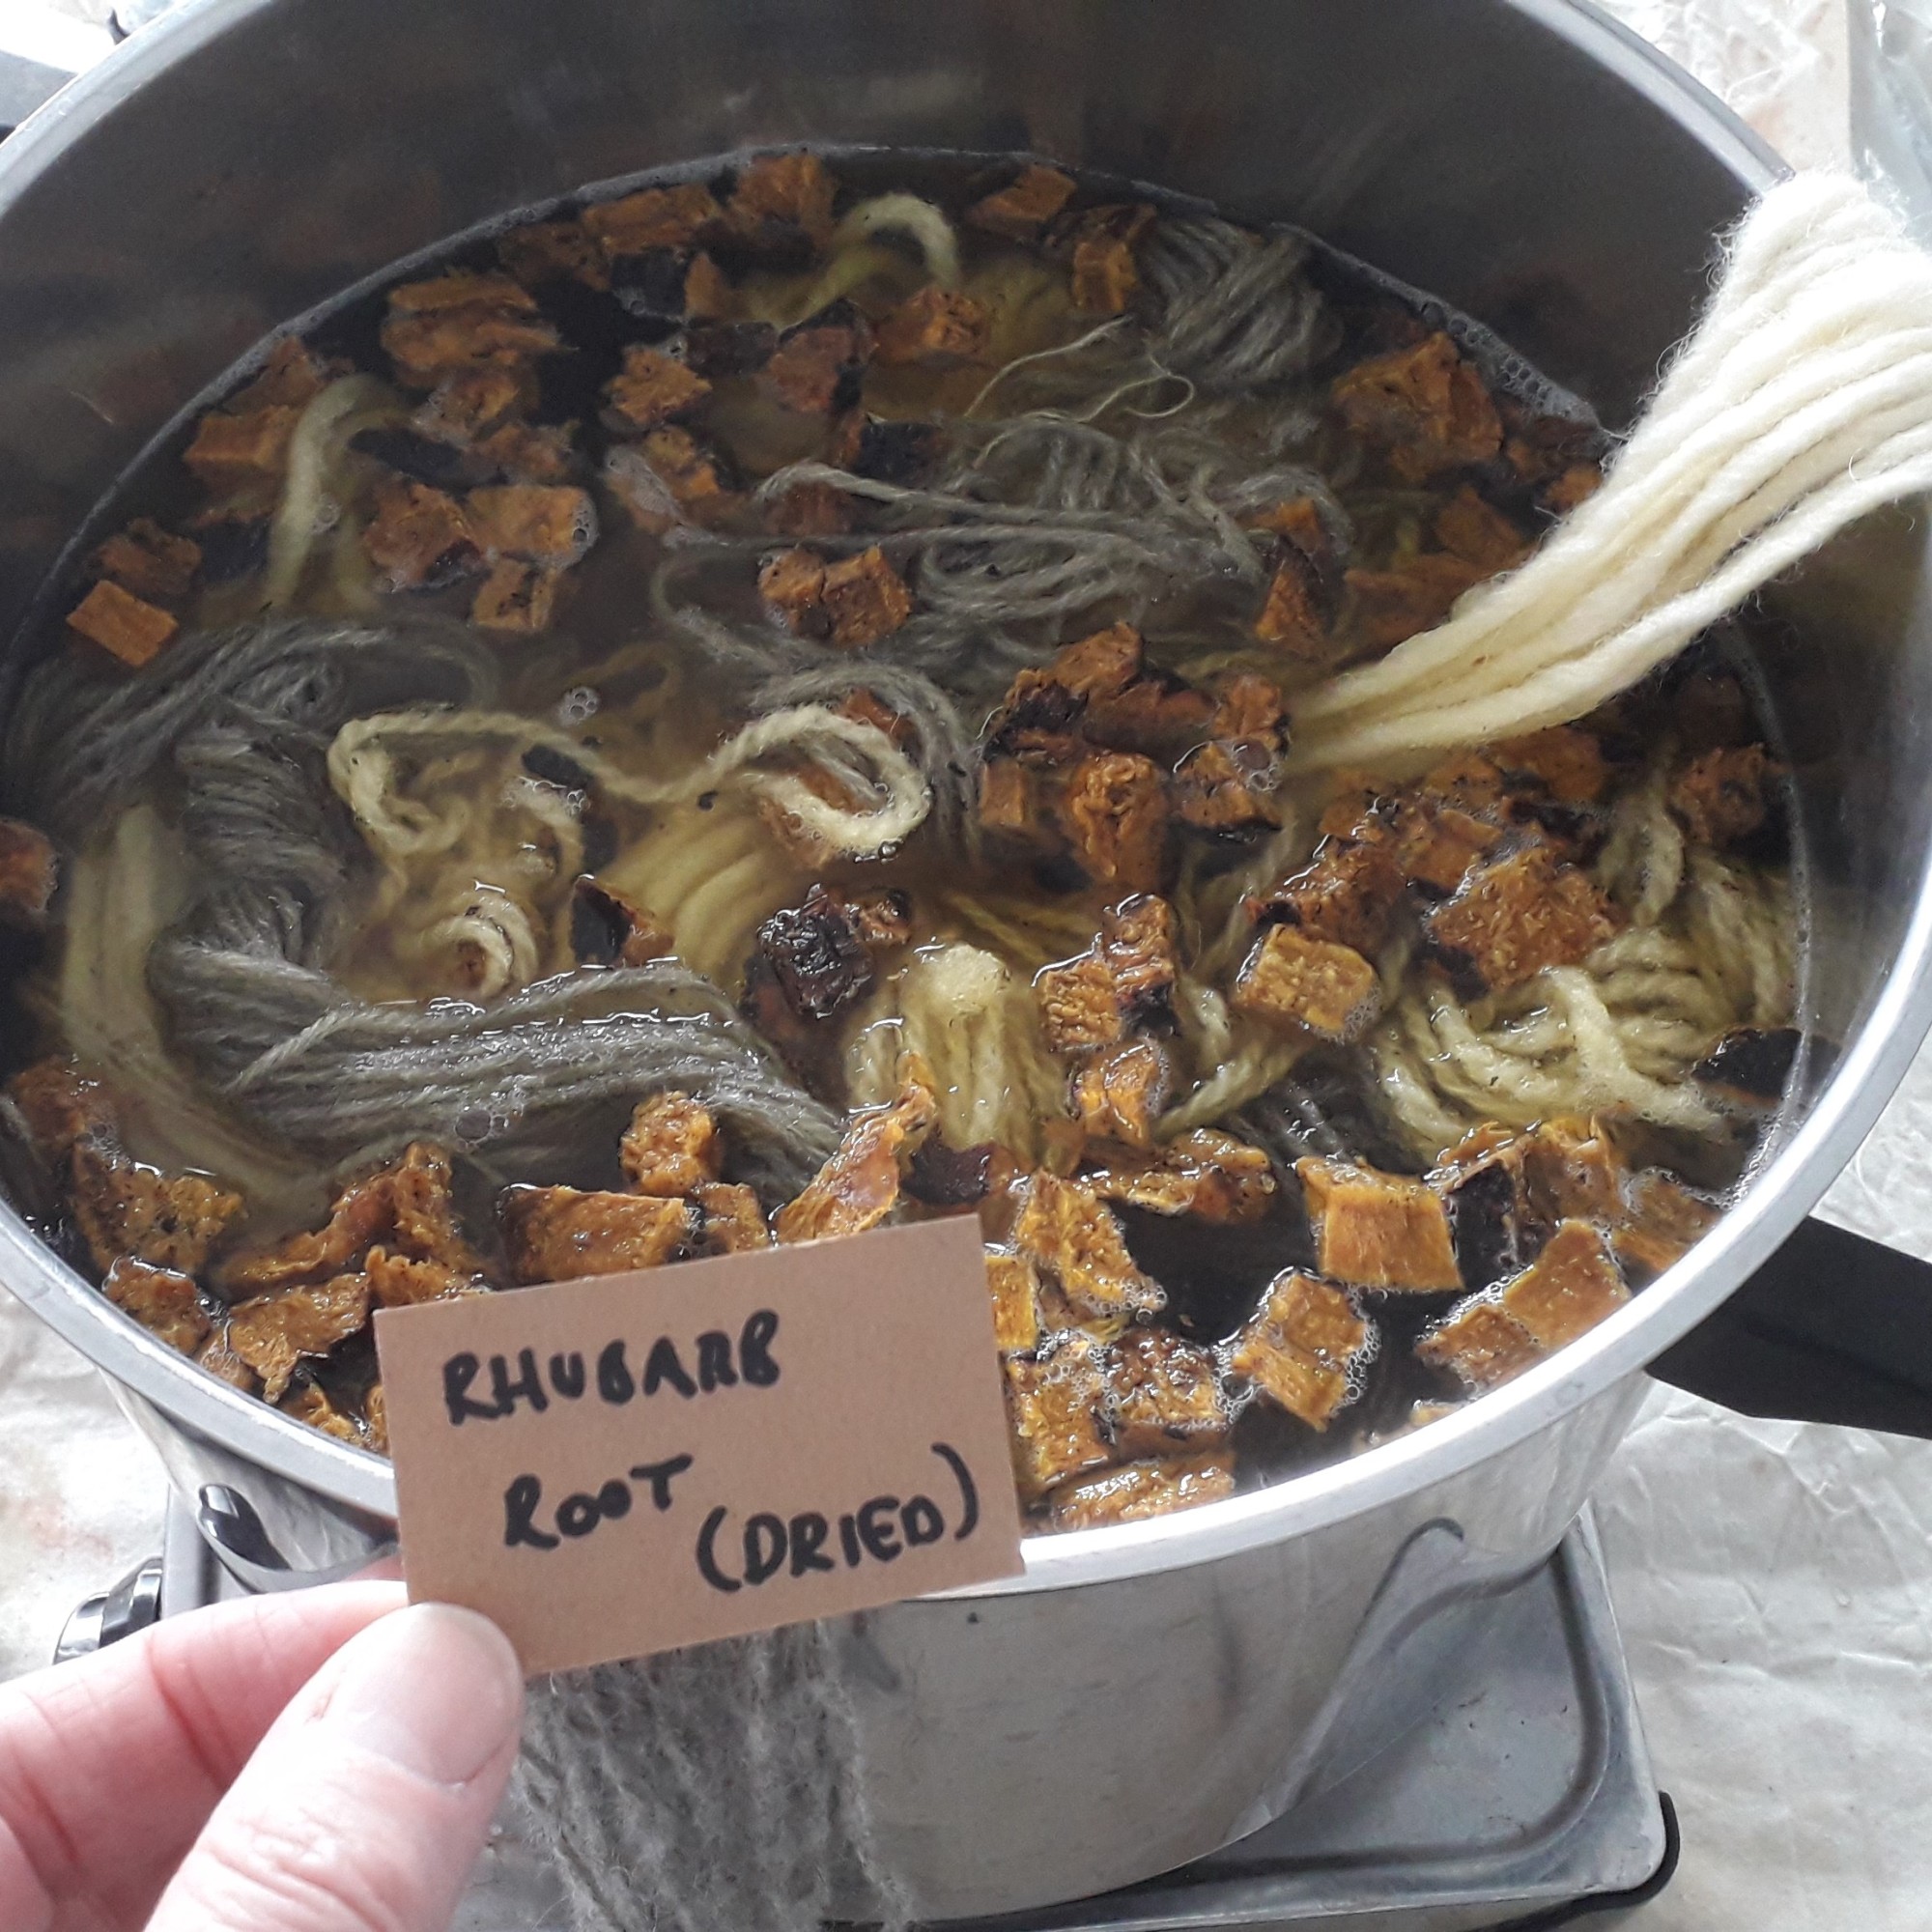
1 . Substantive such as walnuts, pomegranate skins and tree bark, which have there own natural tannins and you do not need to mordant the fabric/yarn.
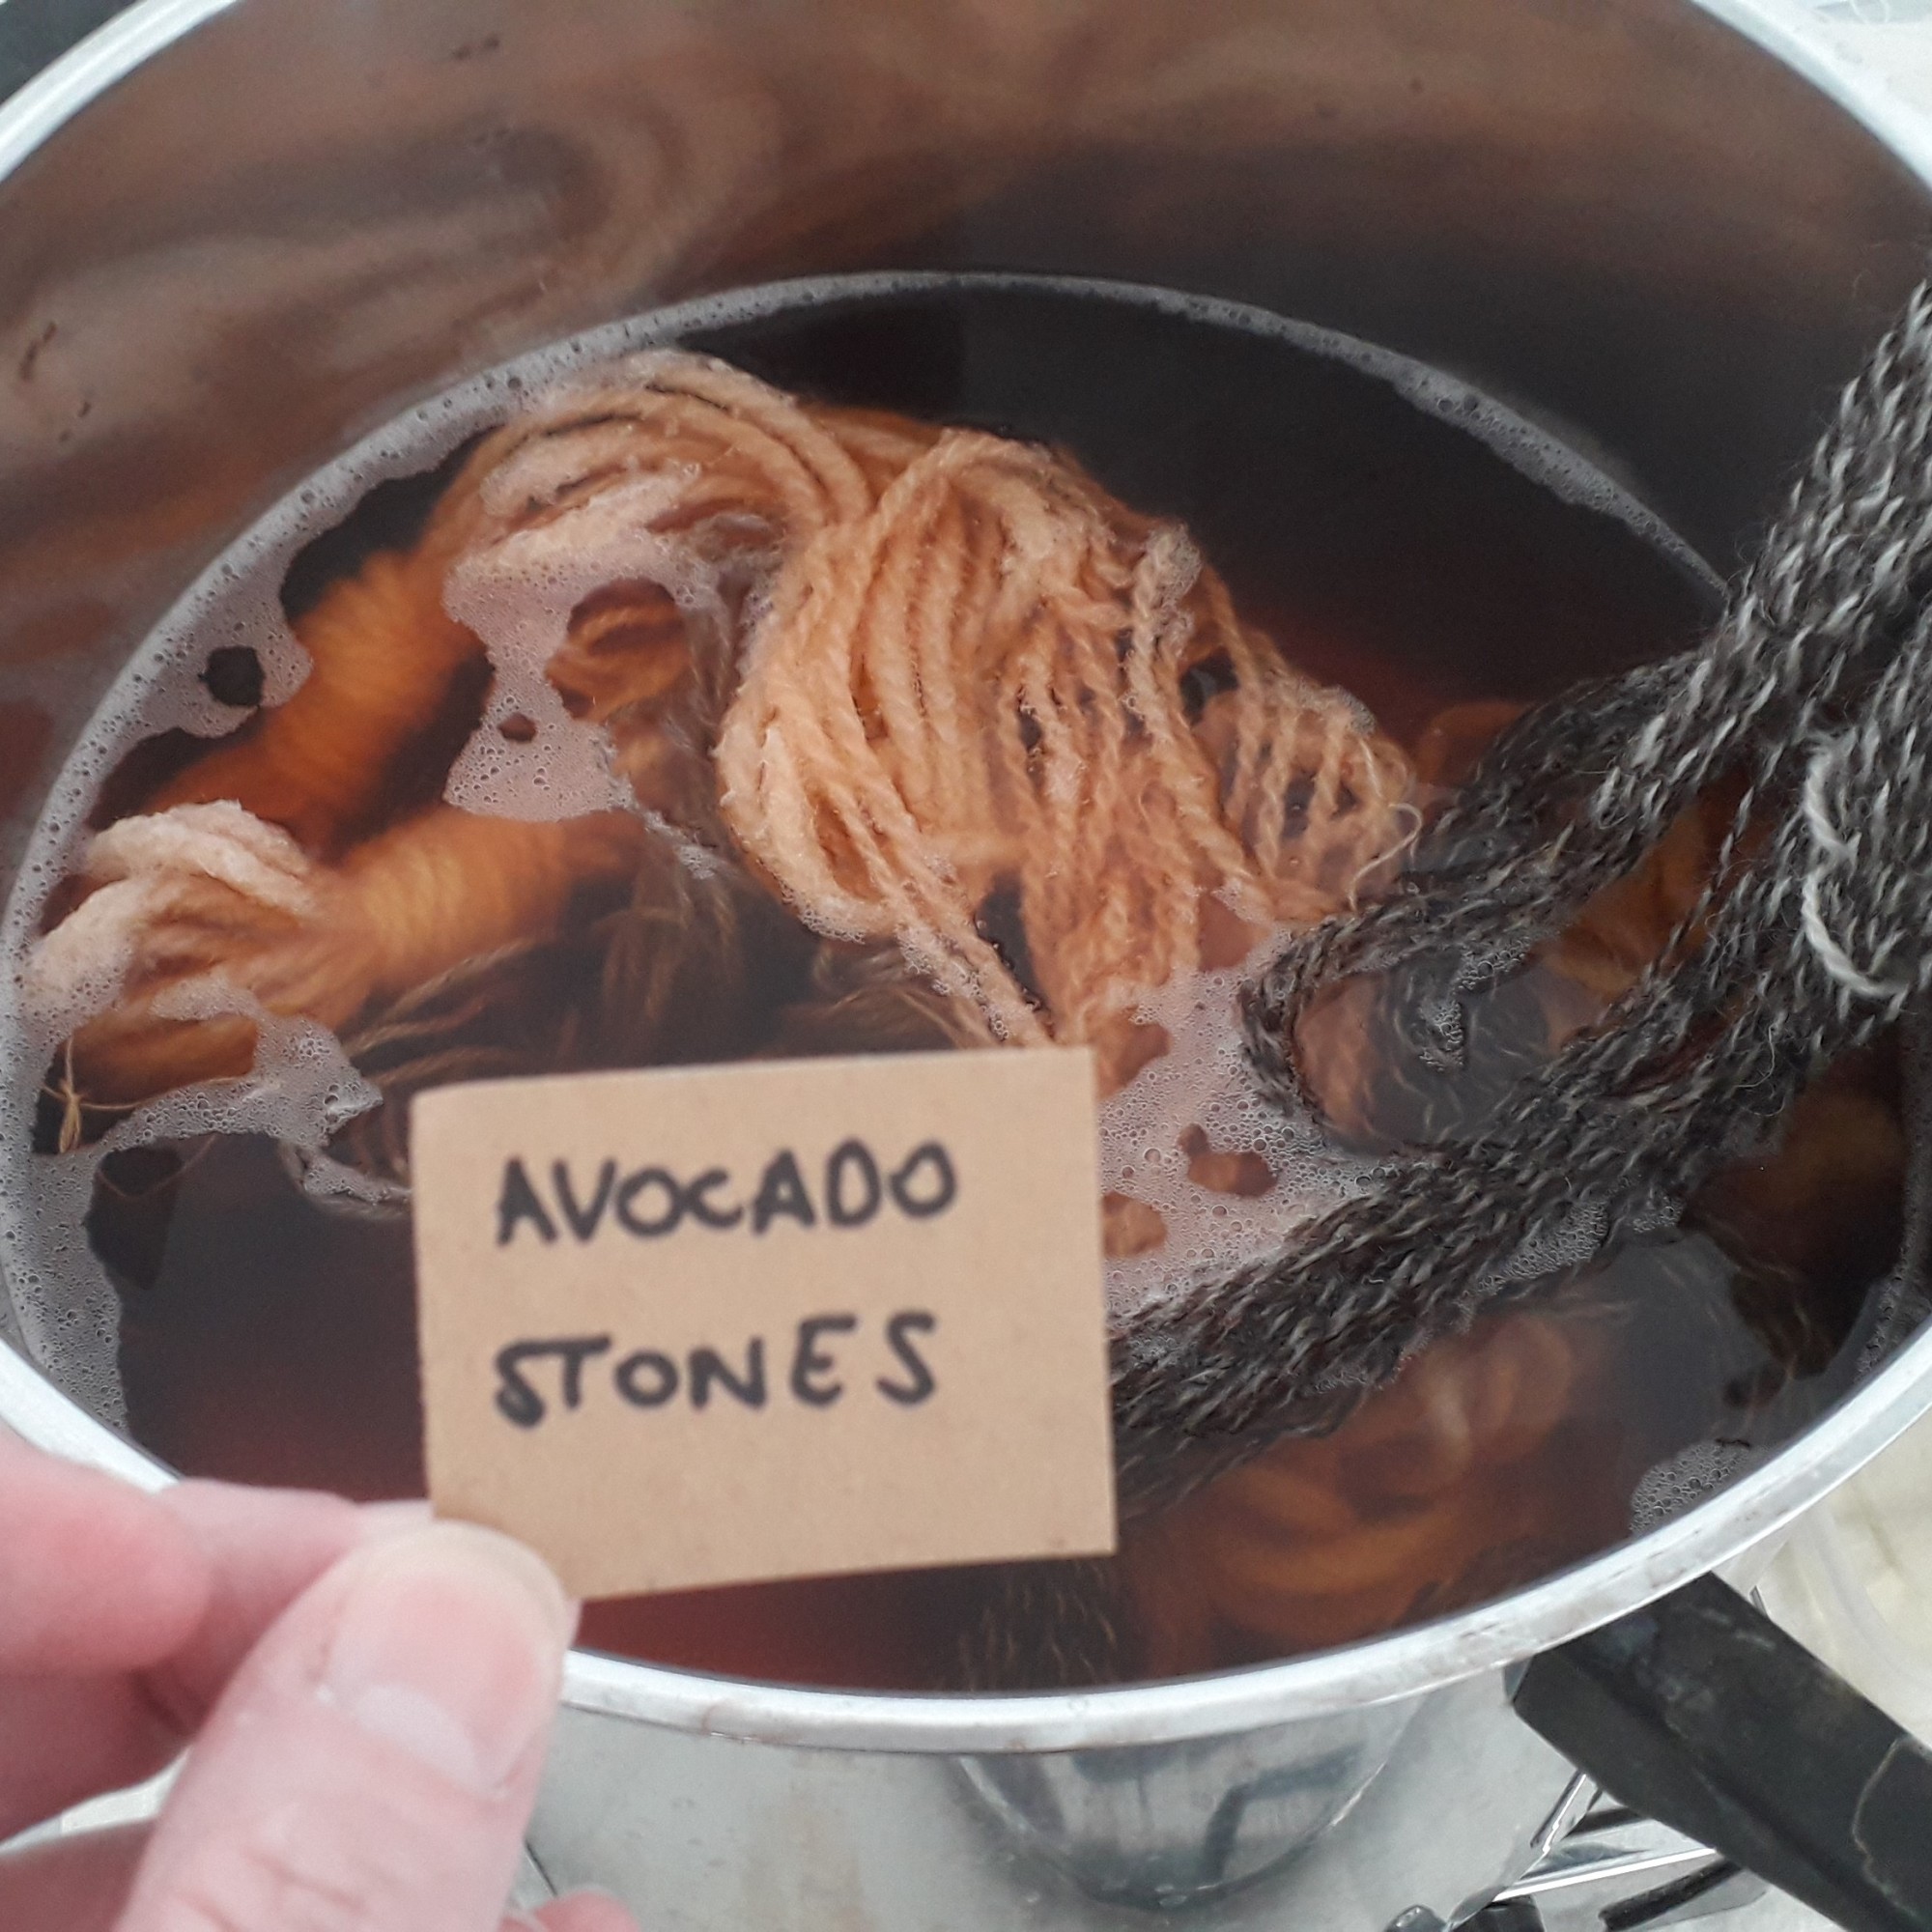
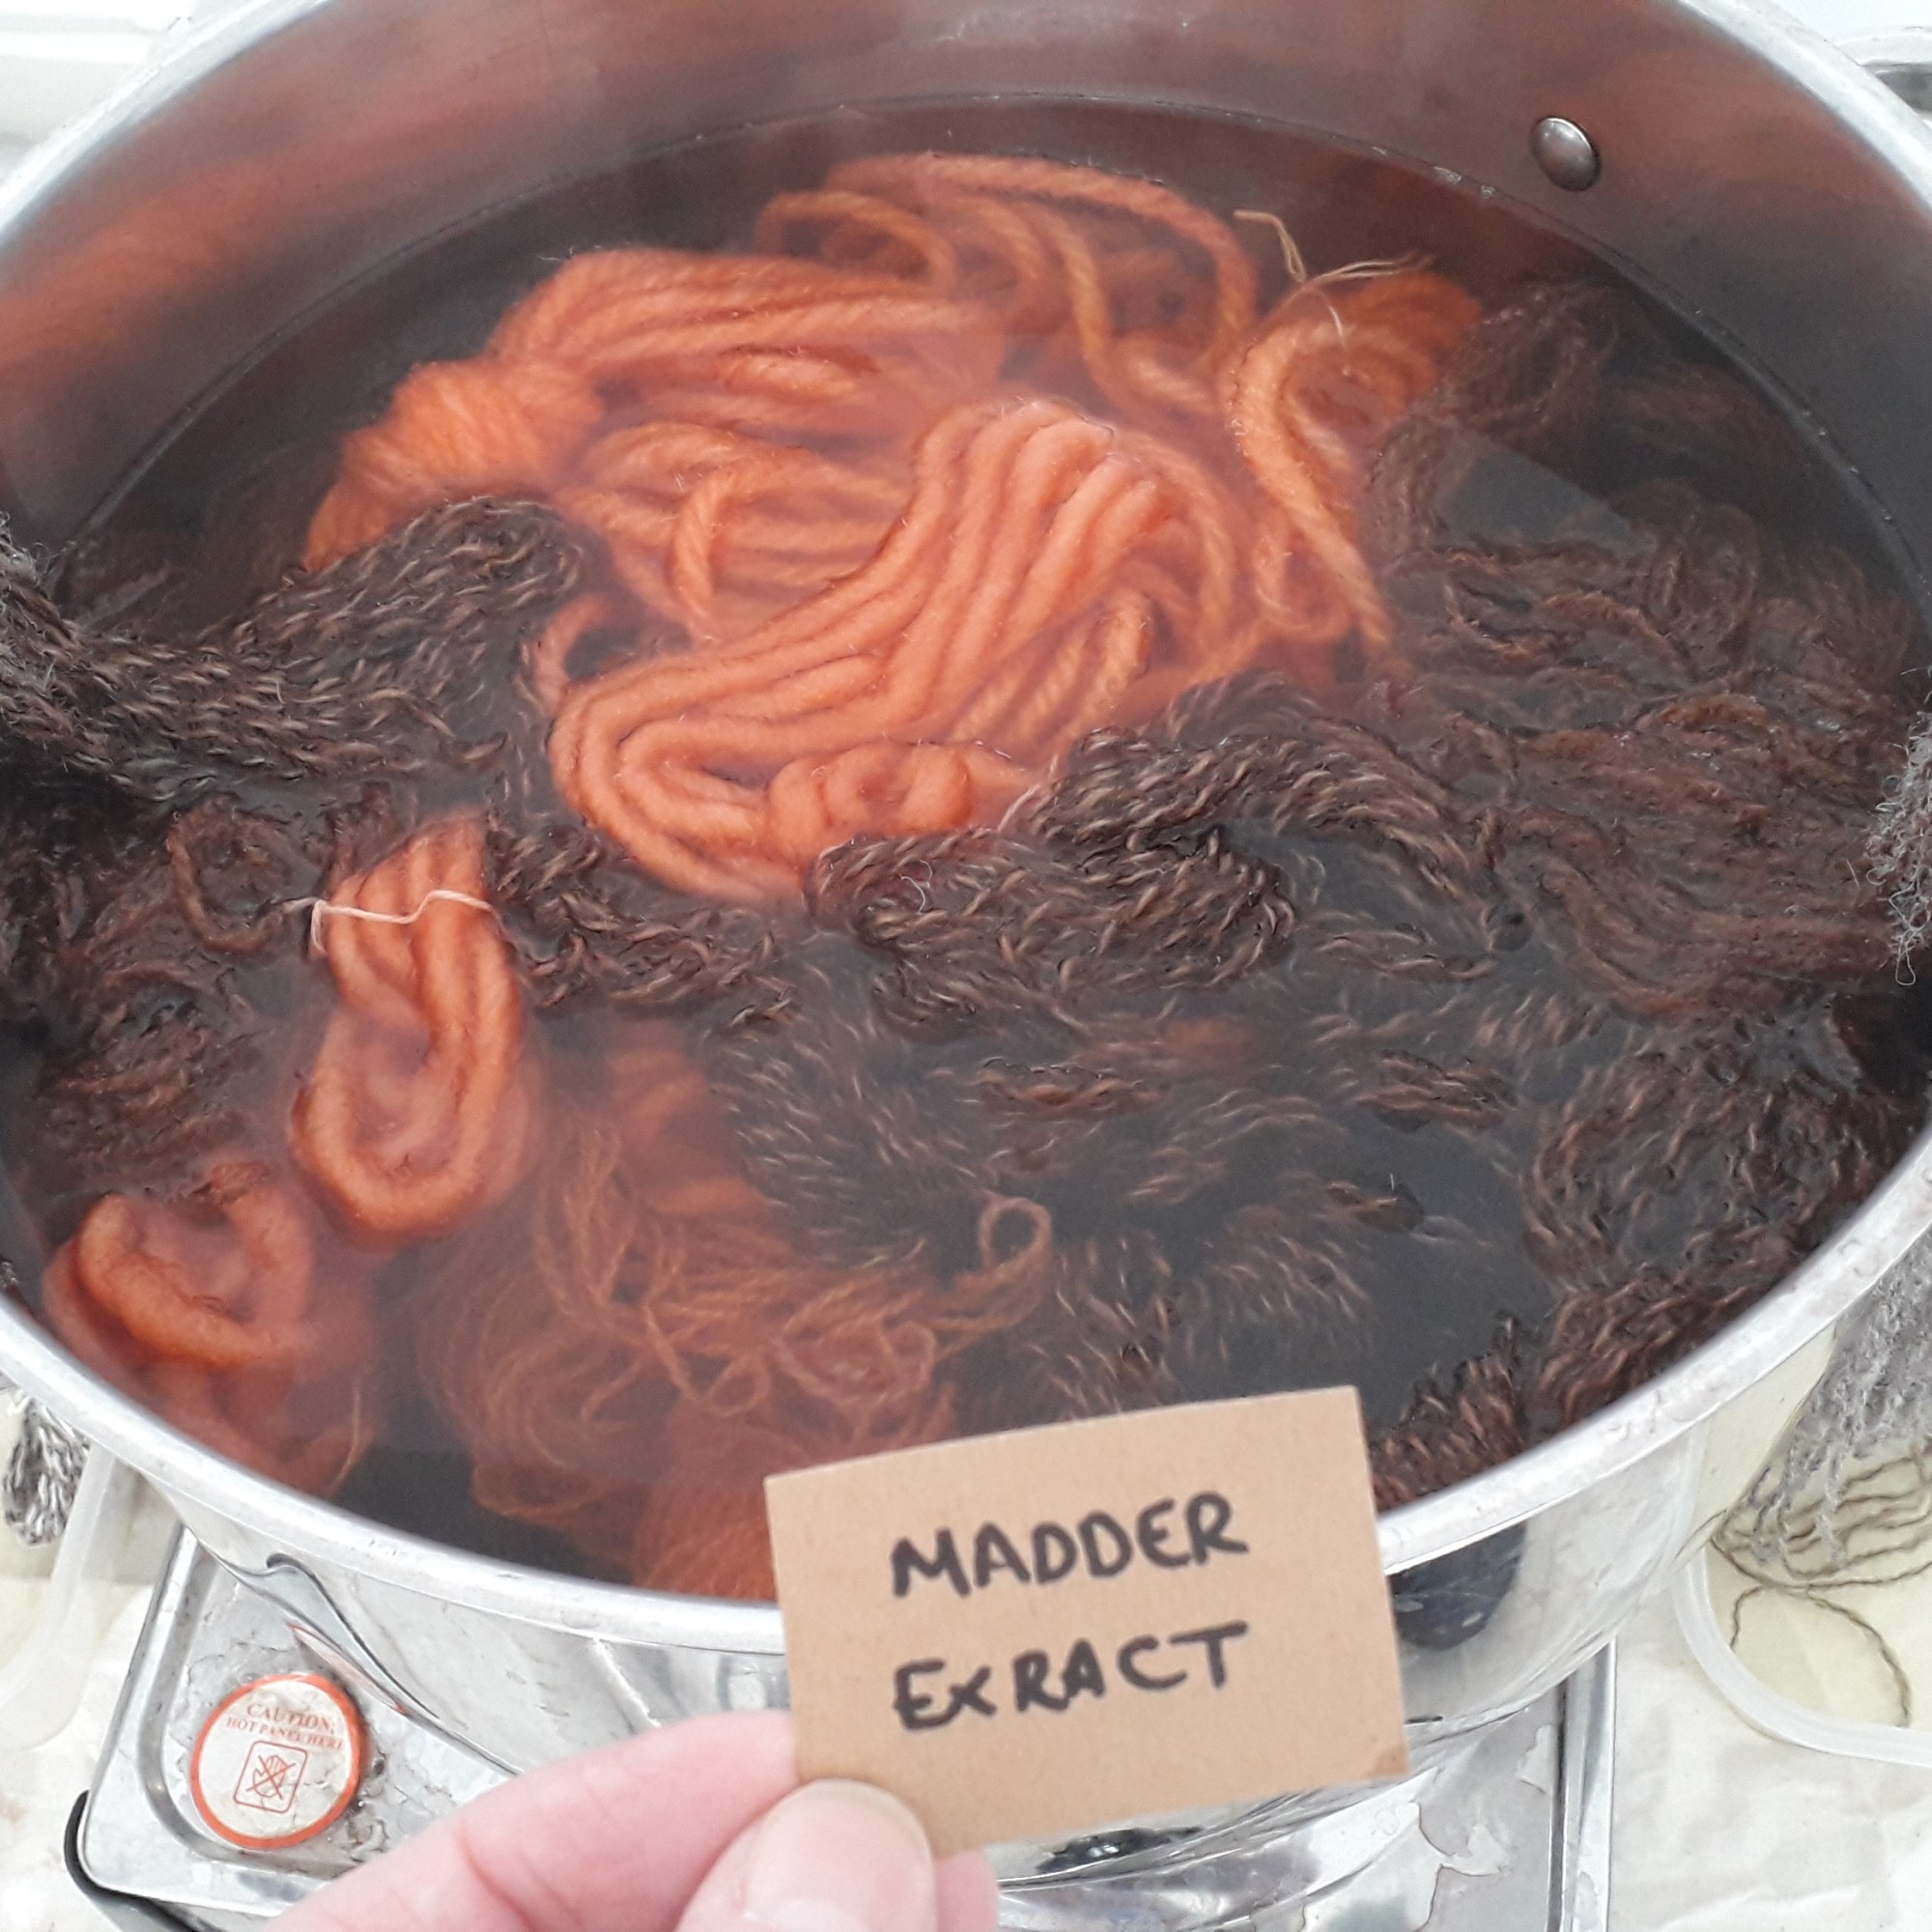
2. Adjective such as avocado, madder, onion skins and weld which require you to mordant the fabric/yarn
3. Fugitive such as red cabbage, beetroot and berries, basically don’t bother the colour will not last whatever you do!
We were given an array of mini skeins of yarn, all British breeds ranging from a super chunky roving Cheviot wool to a 4 ply lambswool a mixture of Shetland and Romney grey.
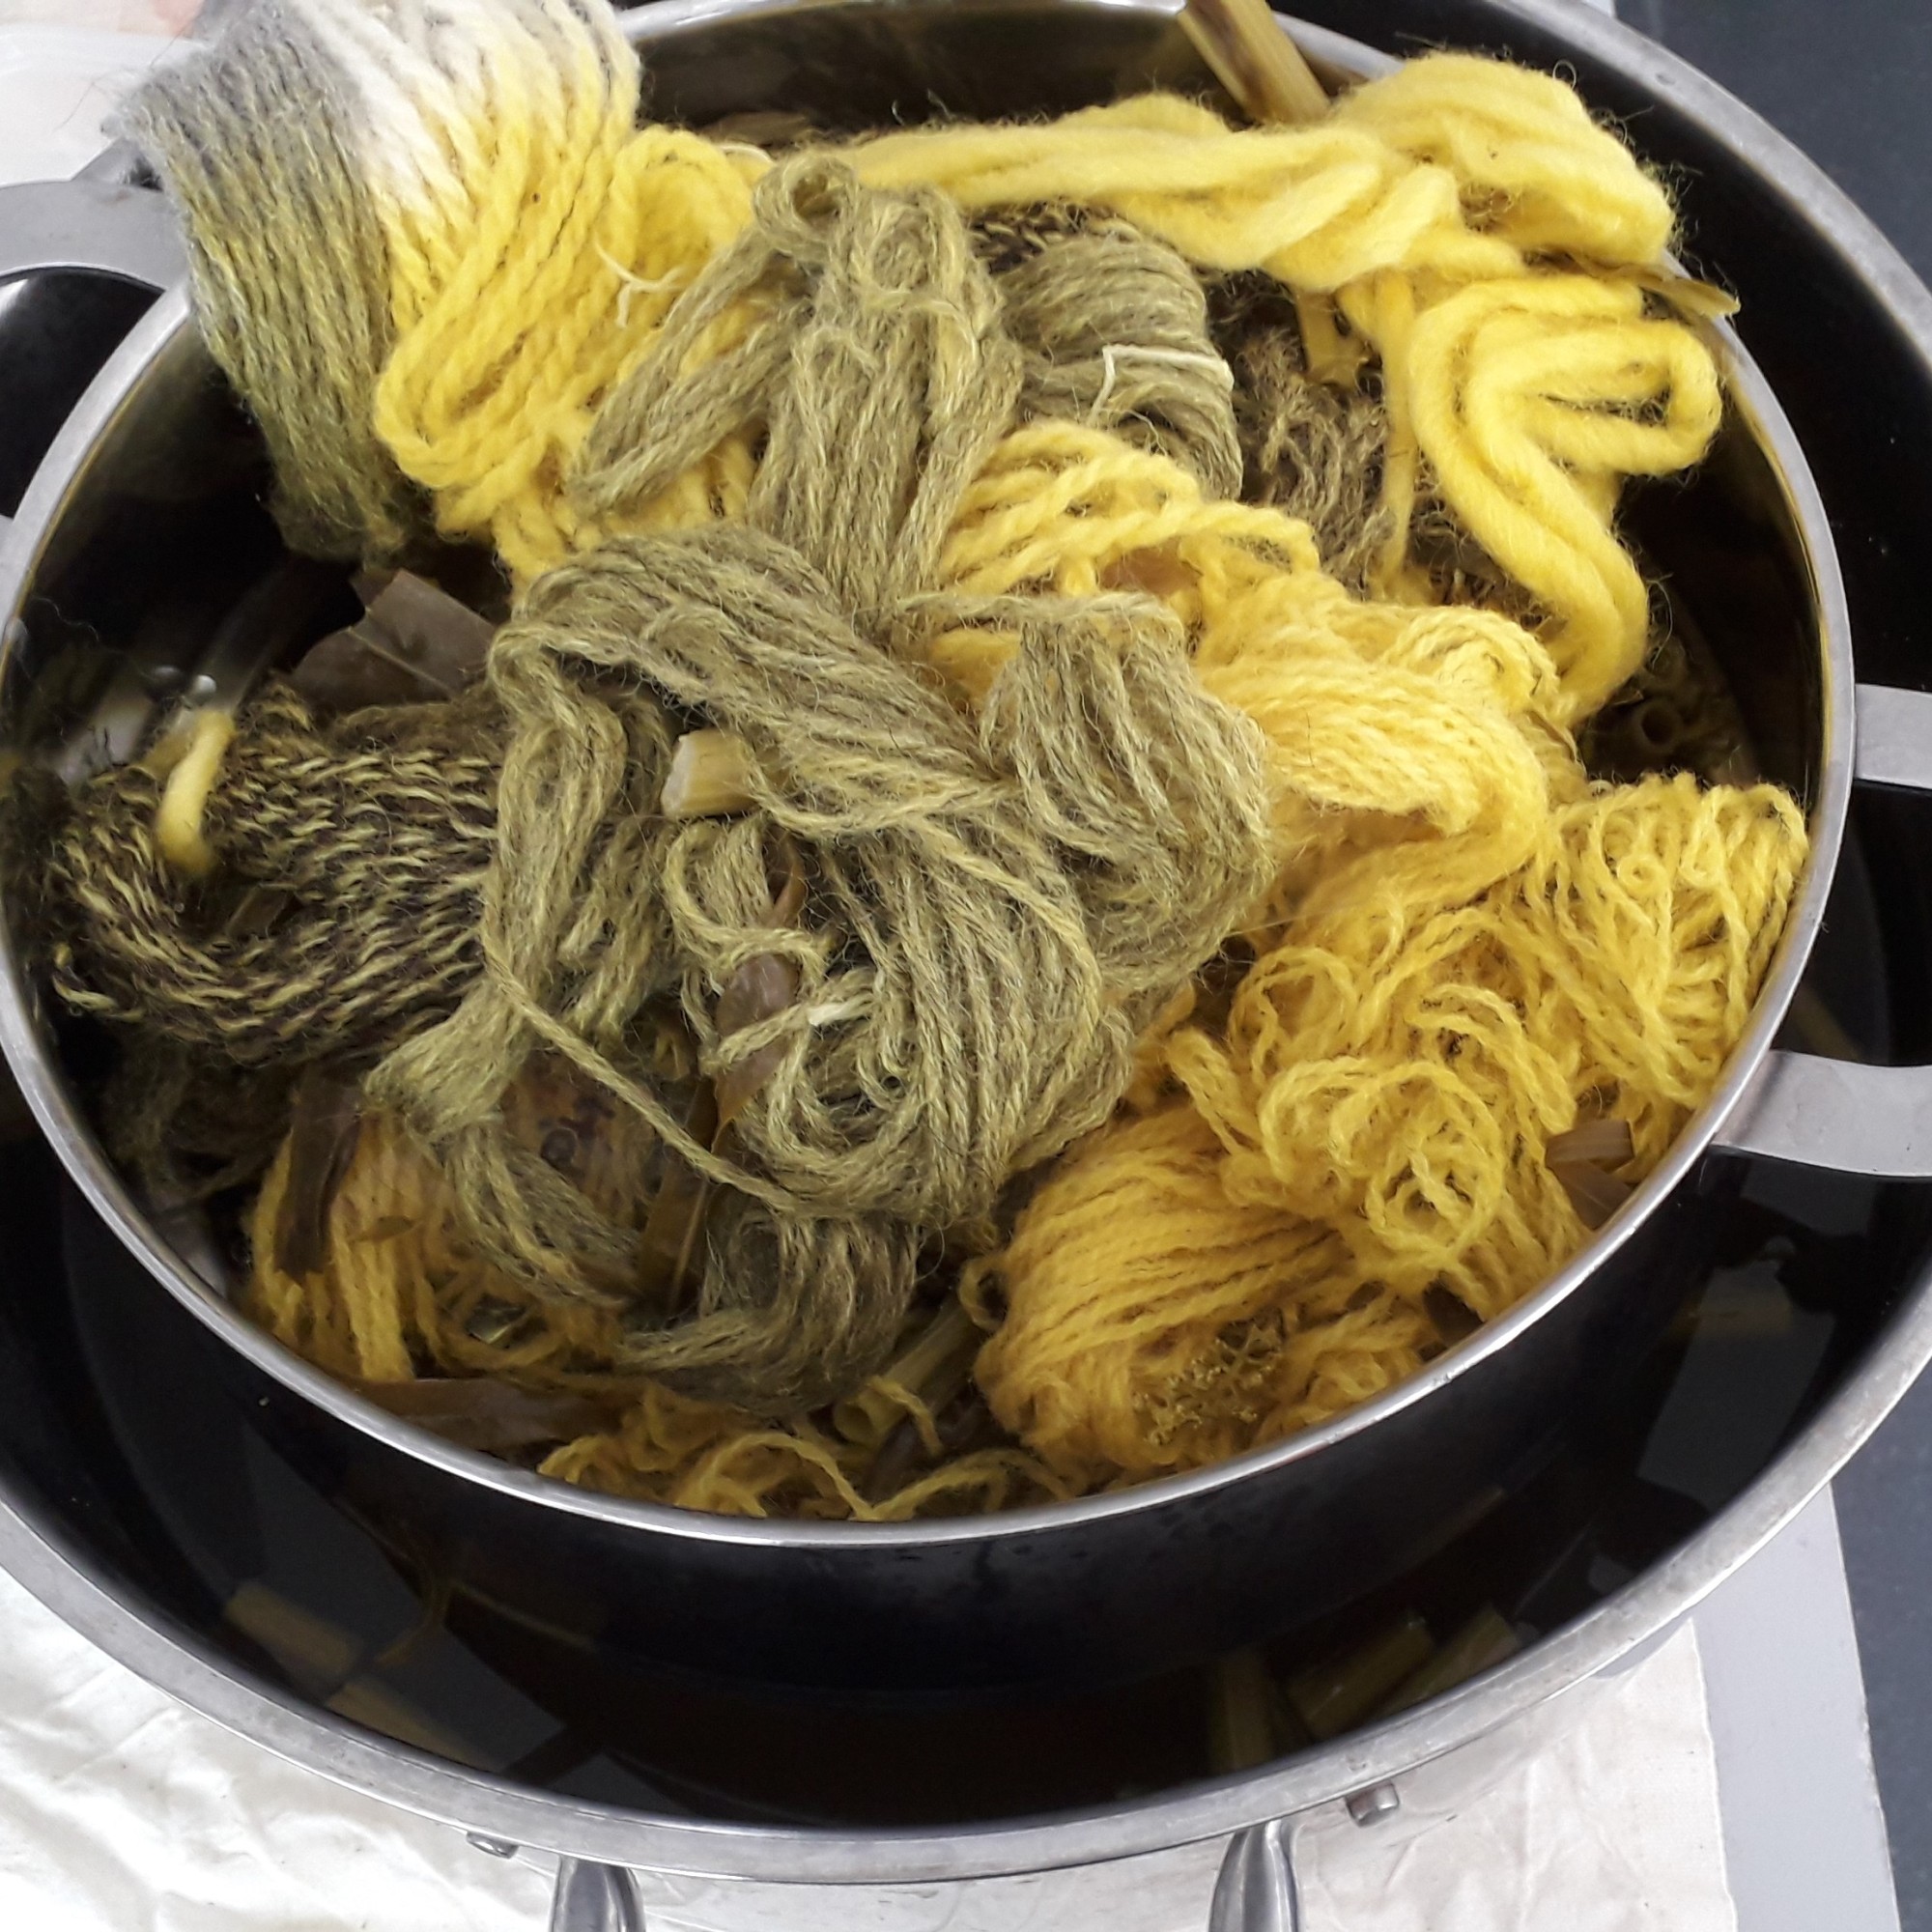
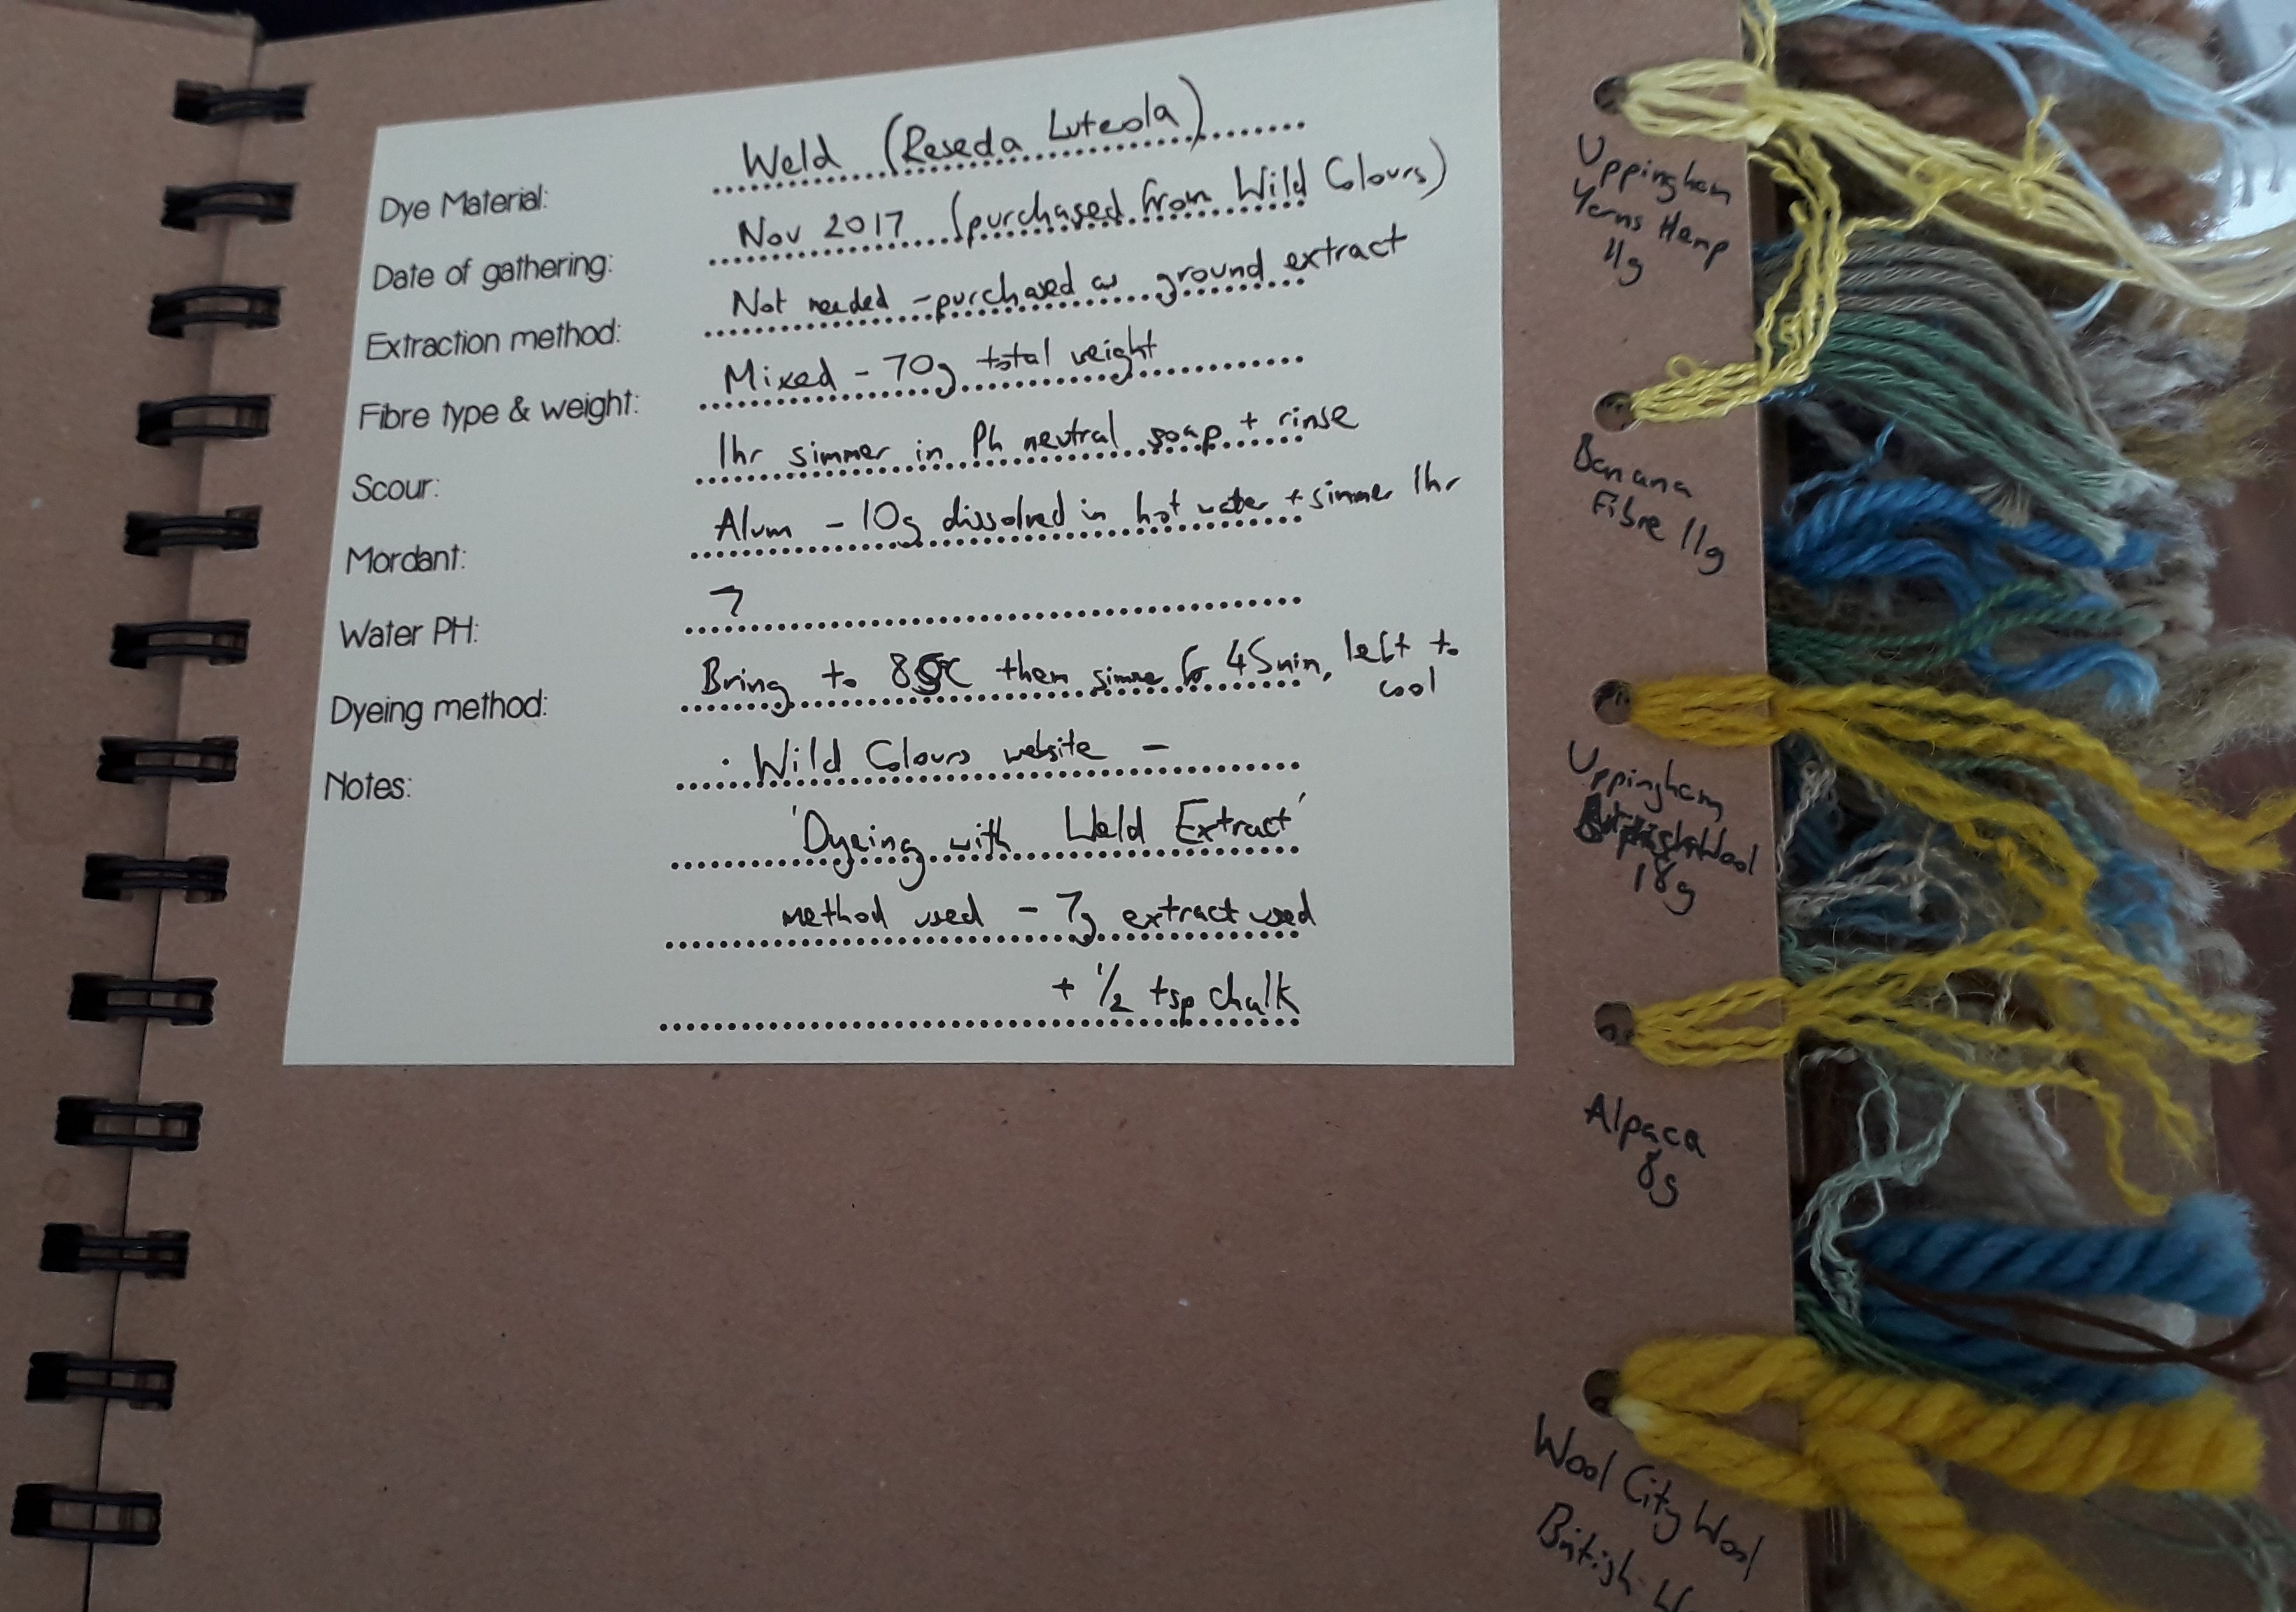
Four pots of dyes were gently simmering, and we chose which yarn we wanted in each pot. There were a couple of variations you could, you could leave the yarn half out the pot or you could knot the yarn, both gave a final variegated result. The fresh weld was literally picked in the morning by Ria before the class. The avocado stones can be used again and again until they disintegrate. Top tip – store them in your freezer until you need them.
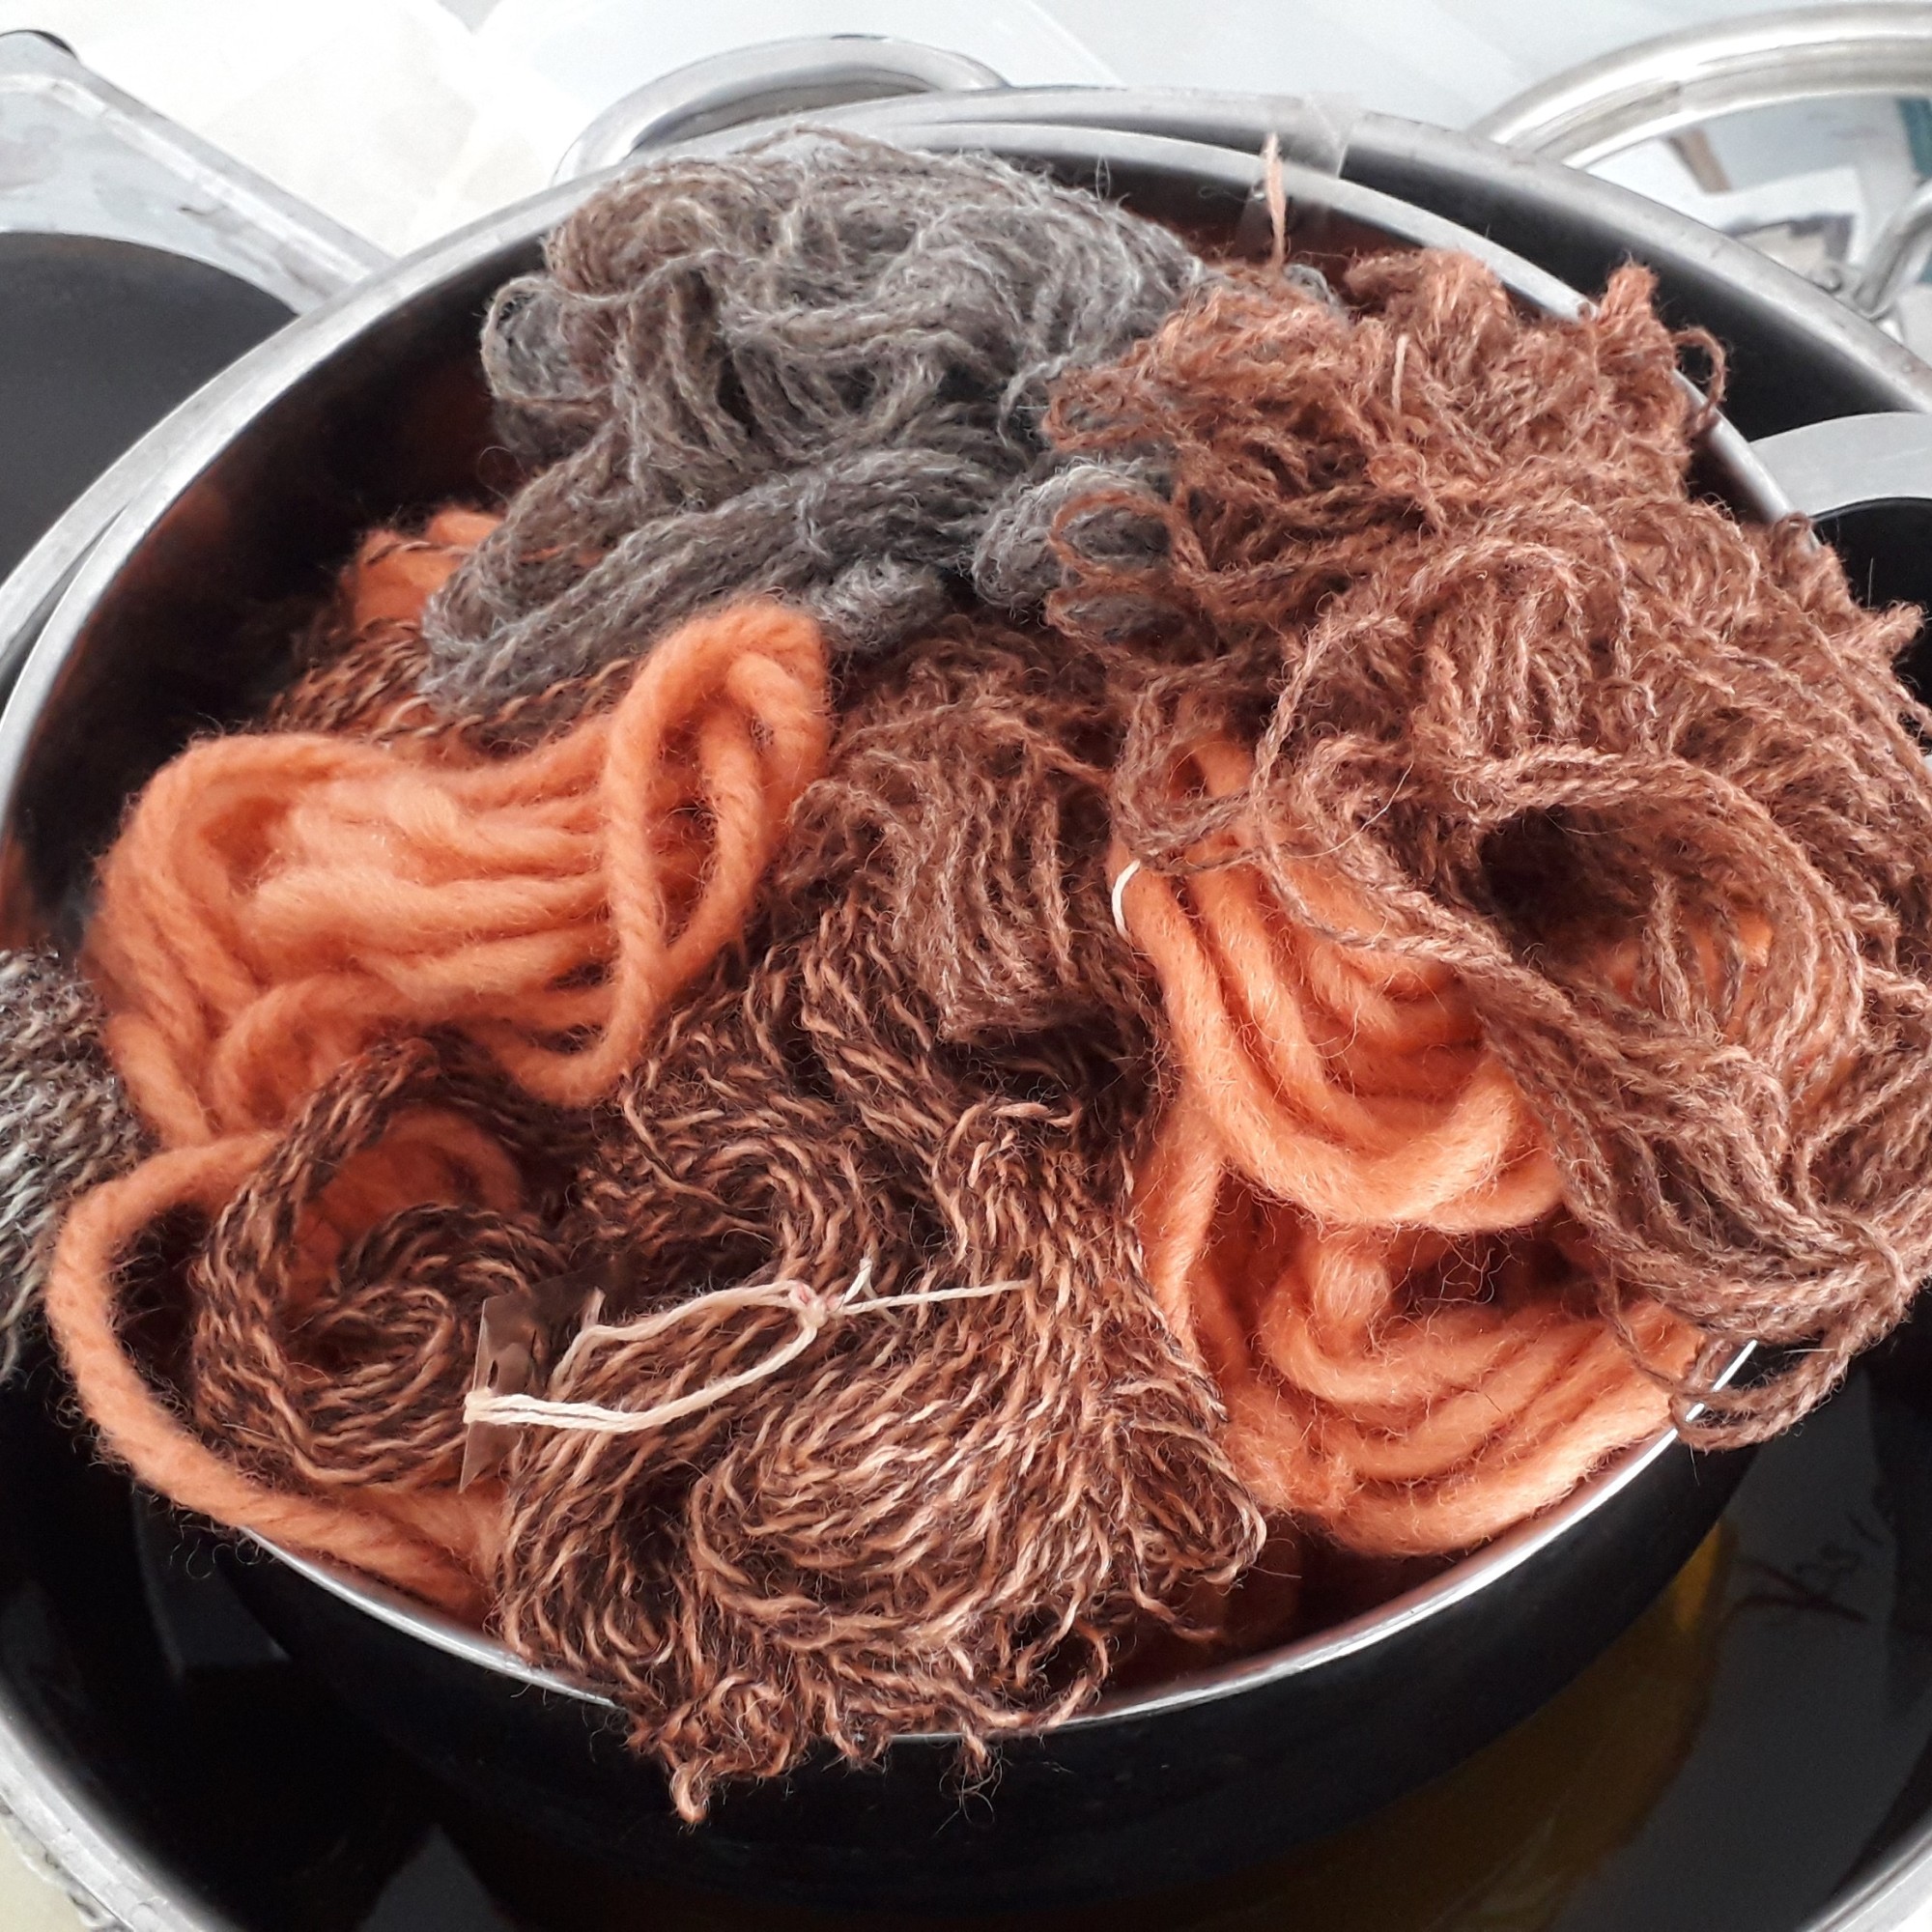
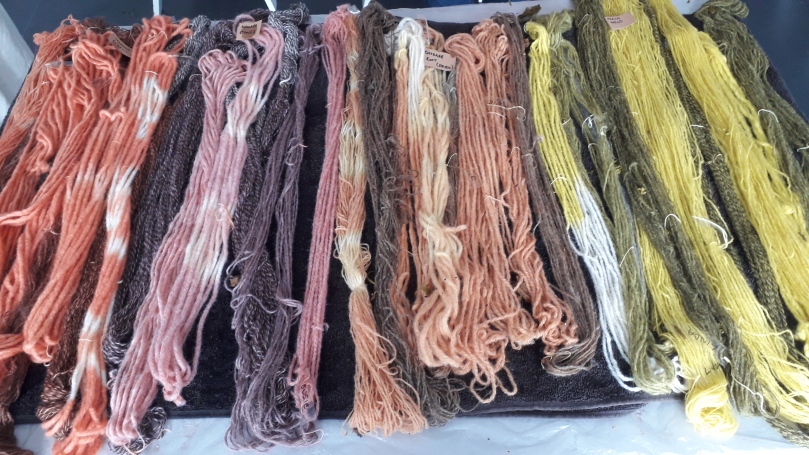
An added twist to the dyeing process was to add soda crystals part way through the simmering process. This changed the pH to more alkaline and changed the dye colour instantly. Most noticeable were the avocado stones which went pinker. As a group we decided all the pots except madder should go alkaline. Once they’d simmered for an hour or so we then drained them. How fabulous do they look now?
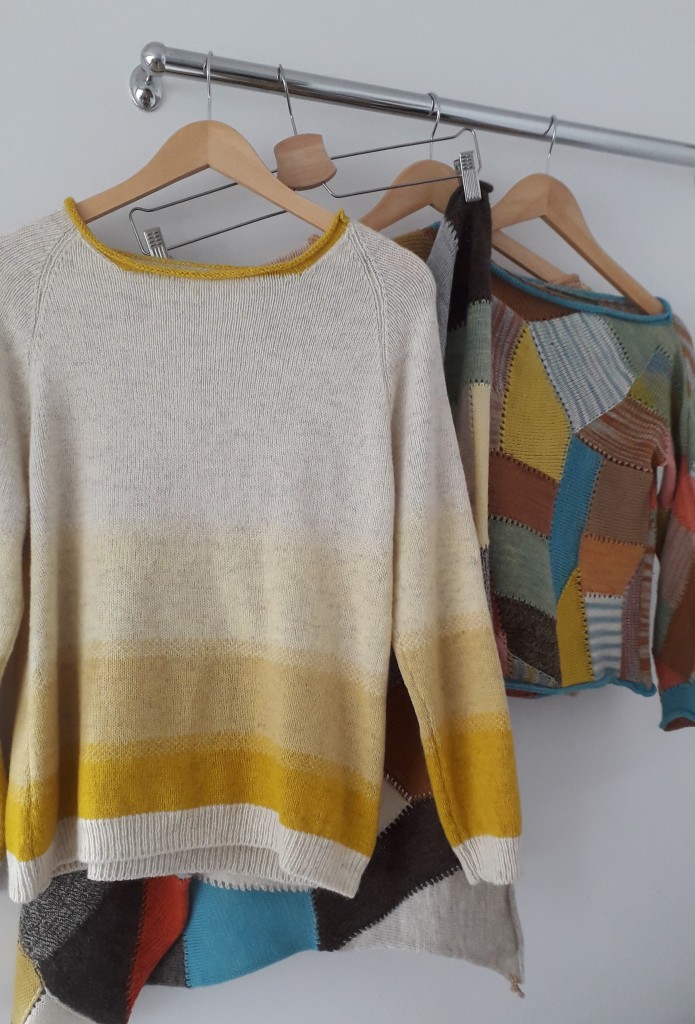
We took our precious bundles home to dry, then wash and make into wonderful things.
From left to right madder, avocado, rhubarb root, weld.
There are so many variables in this process and Ria kept note books of her ‘recipes’, they were lovely to read.
My plans for plant dyeing as I don’t have a garden include madder, as you can get it in powder form, avocado stones as I eat these, onion skins because, well that should be easy and anything else I can forage.
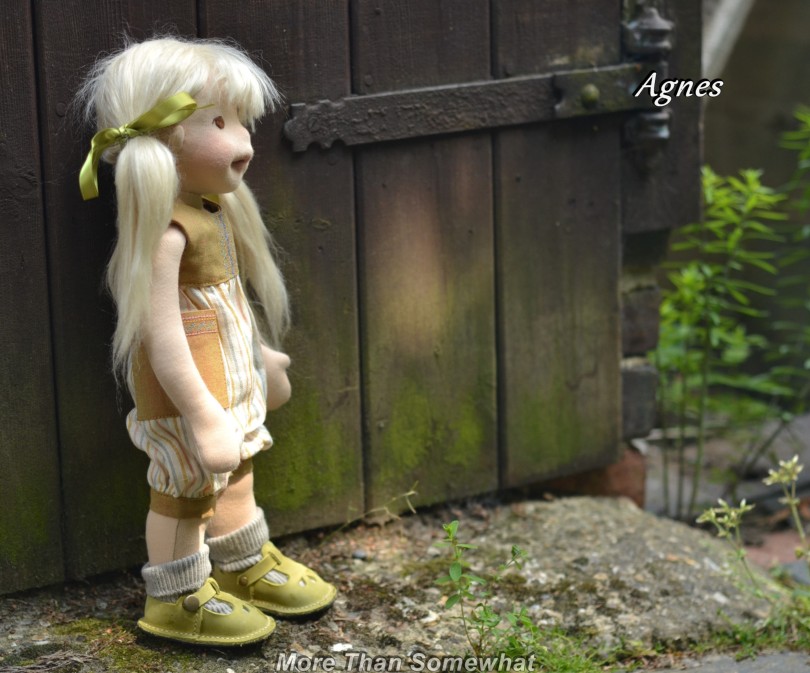
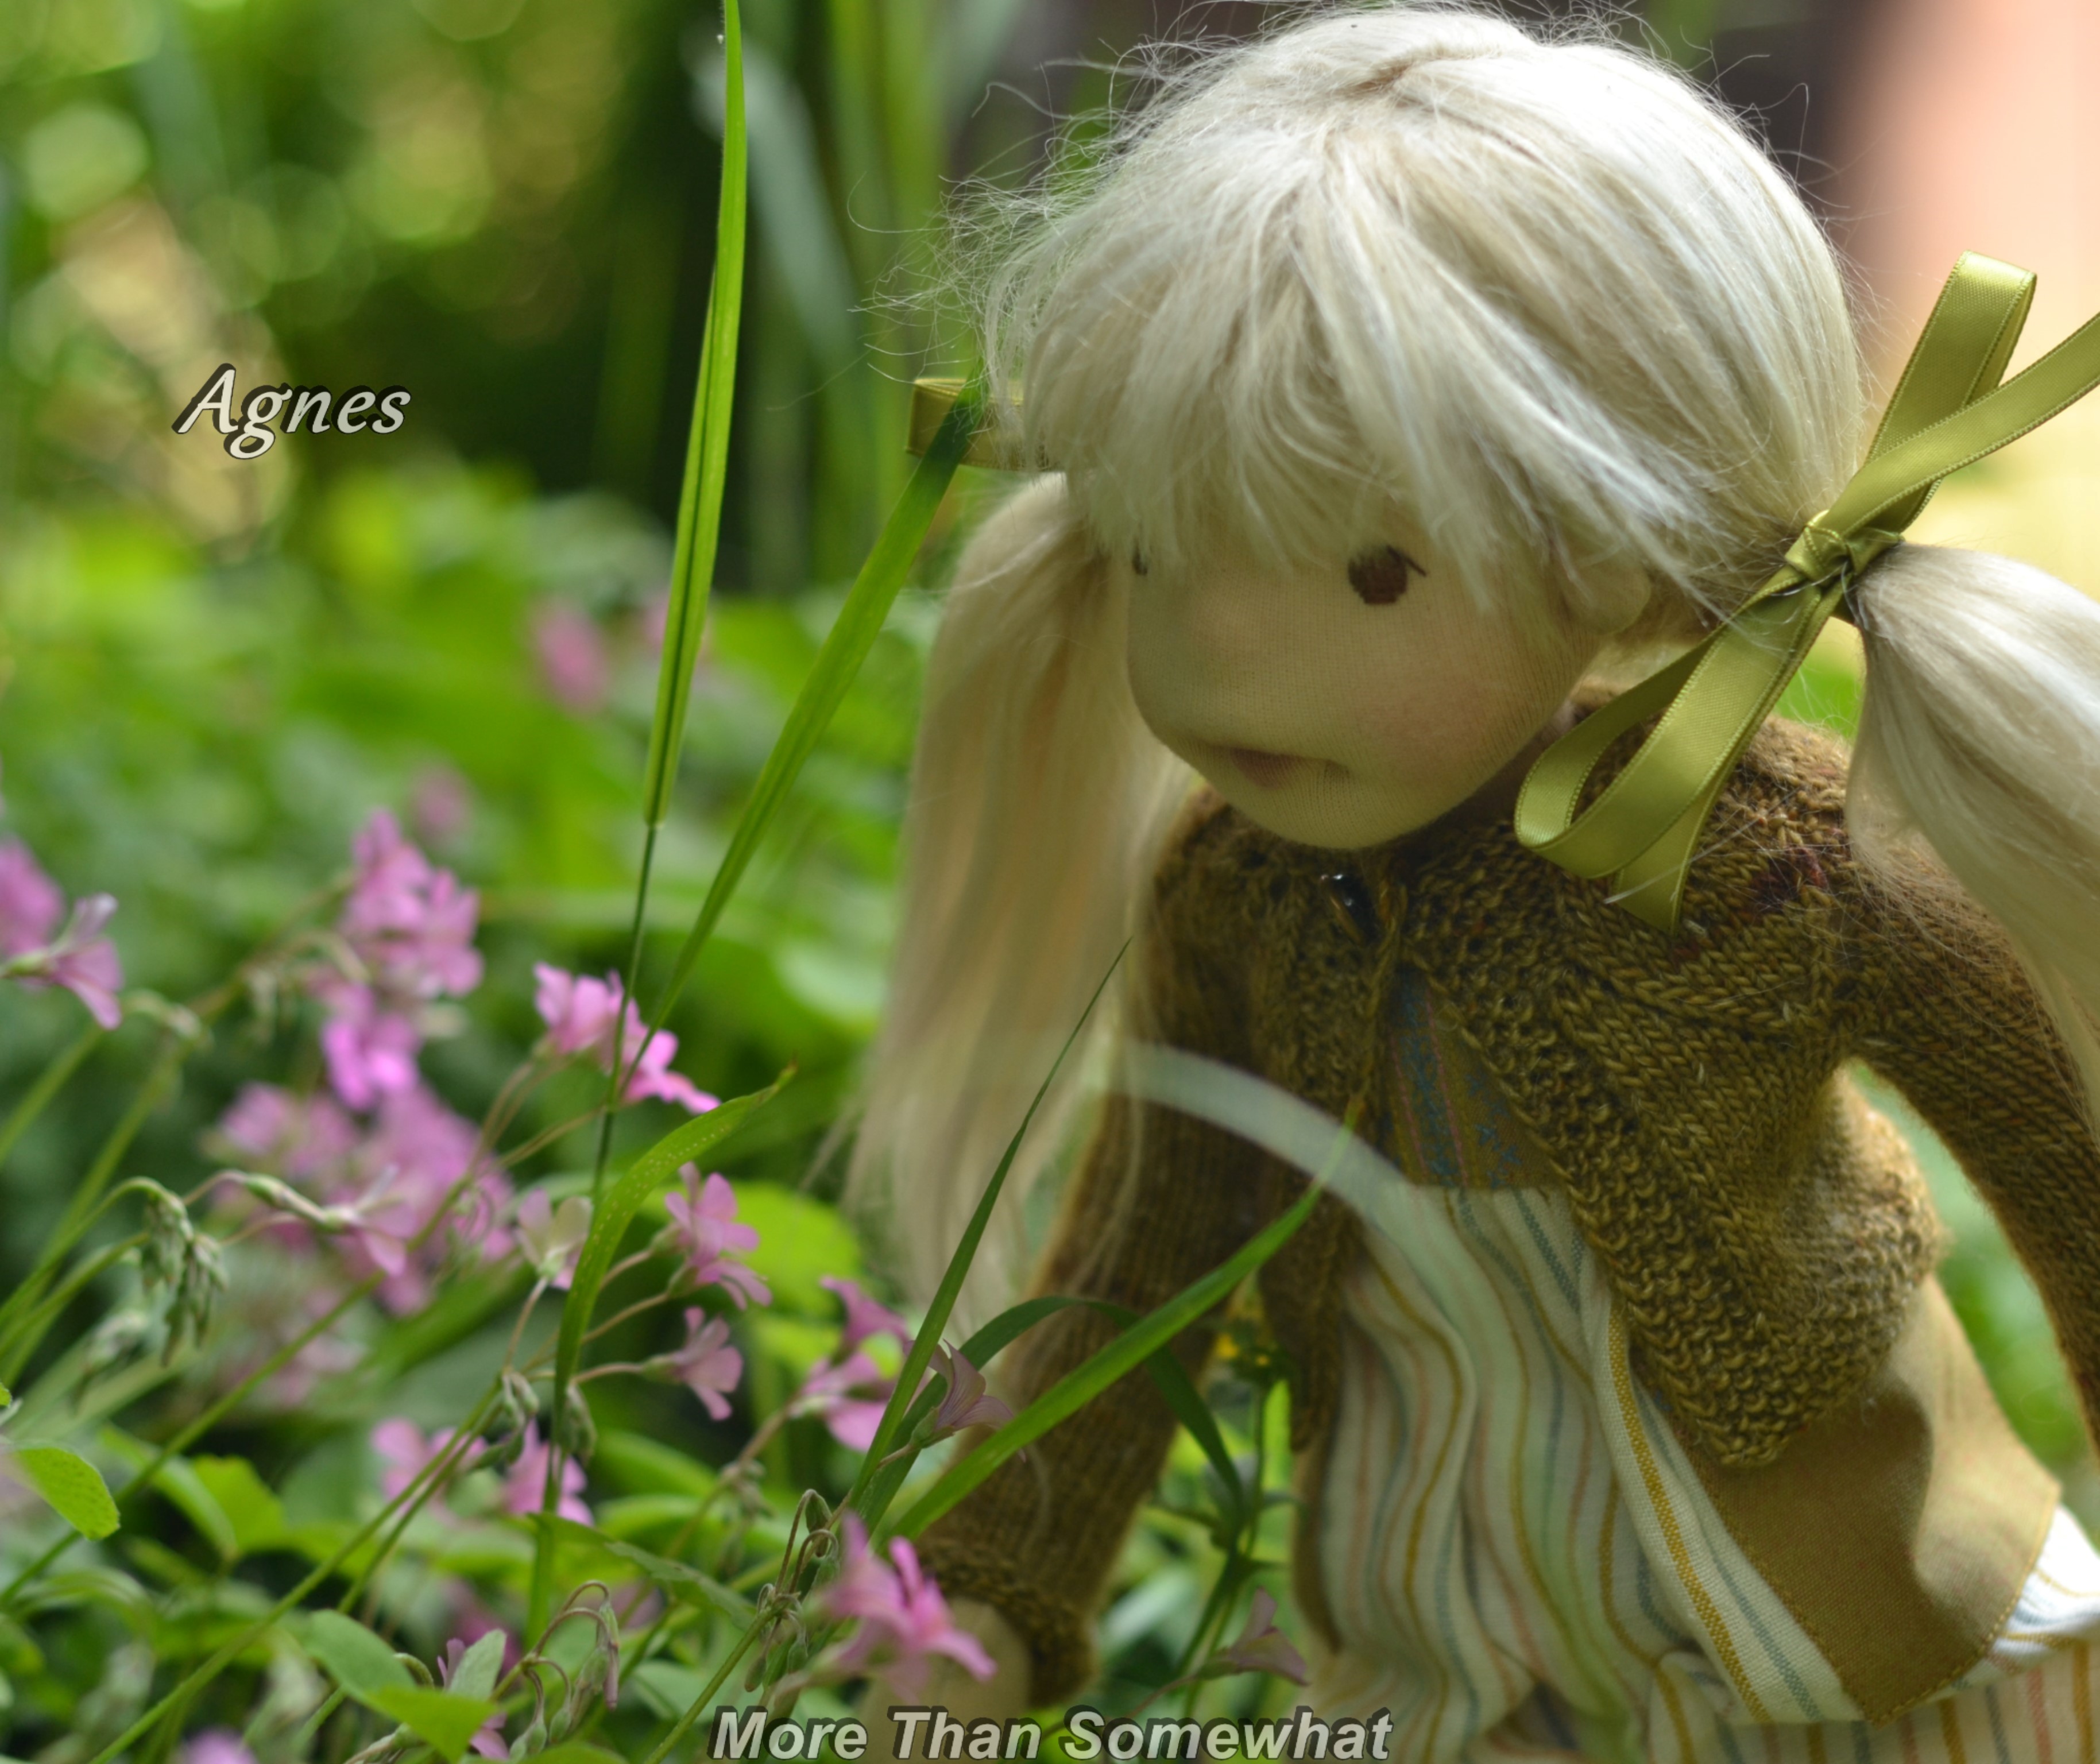
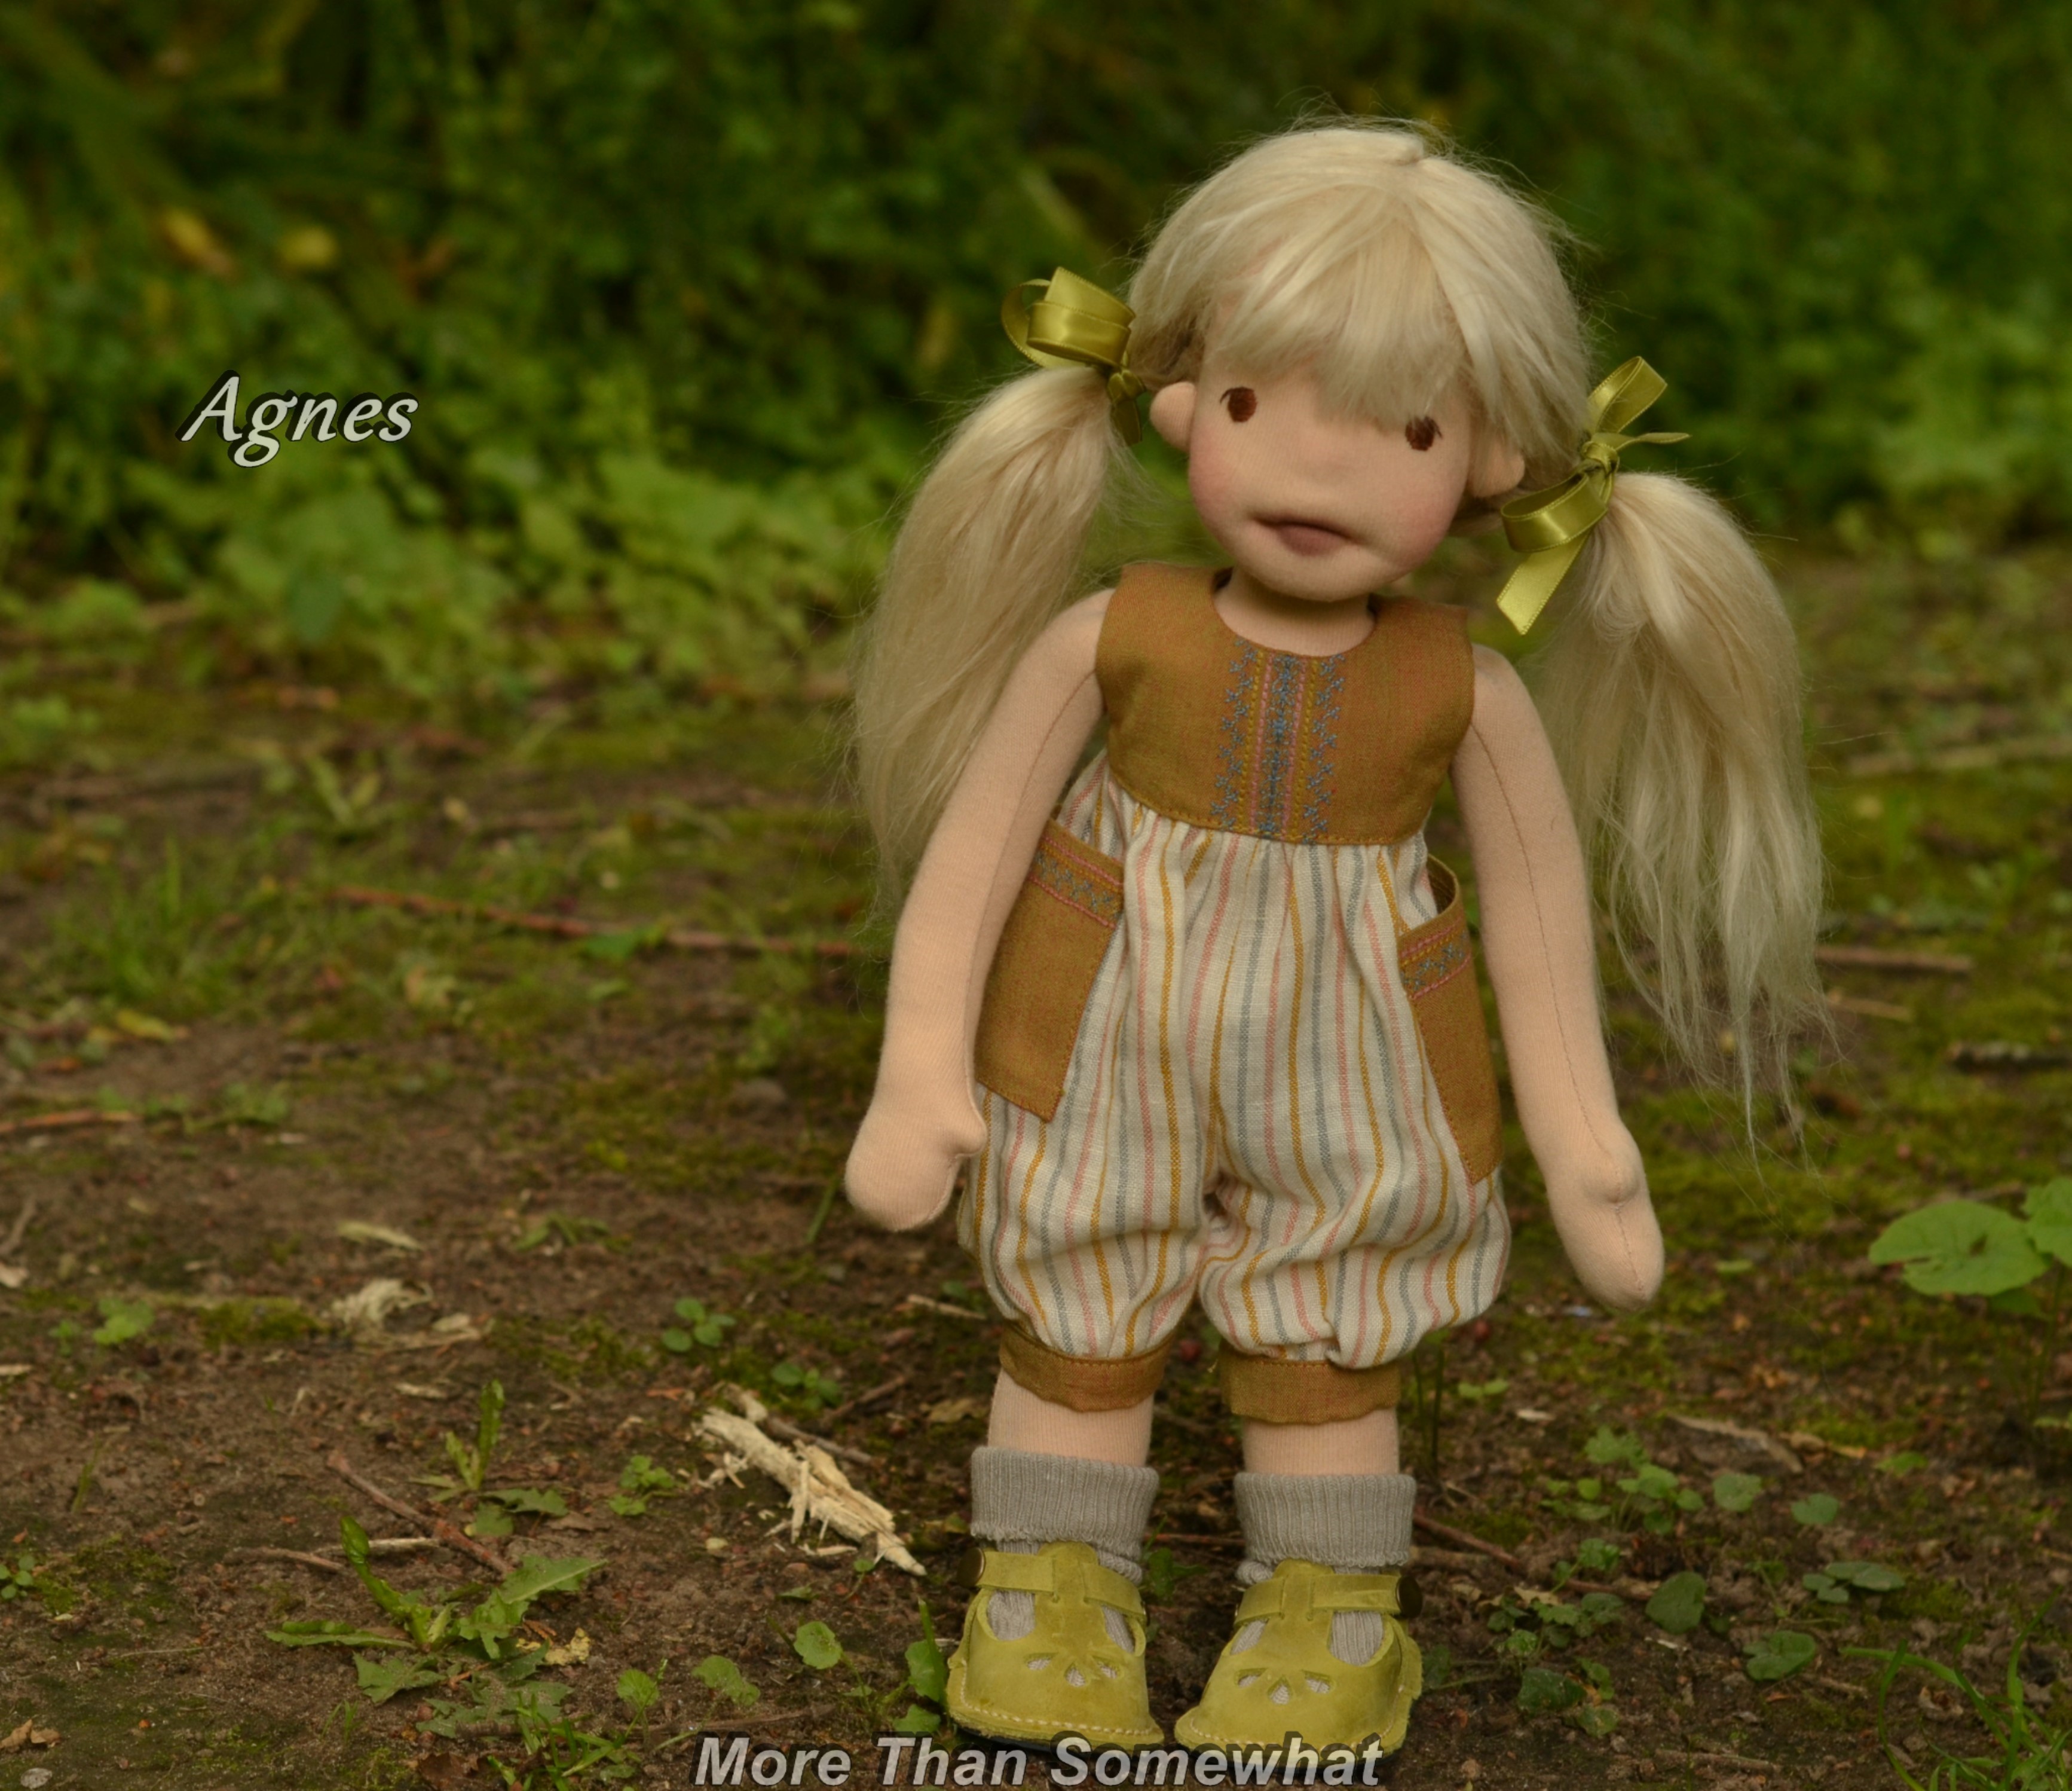
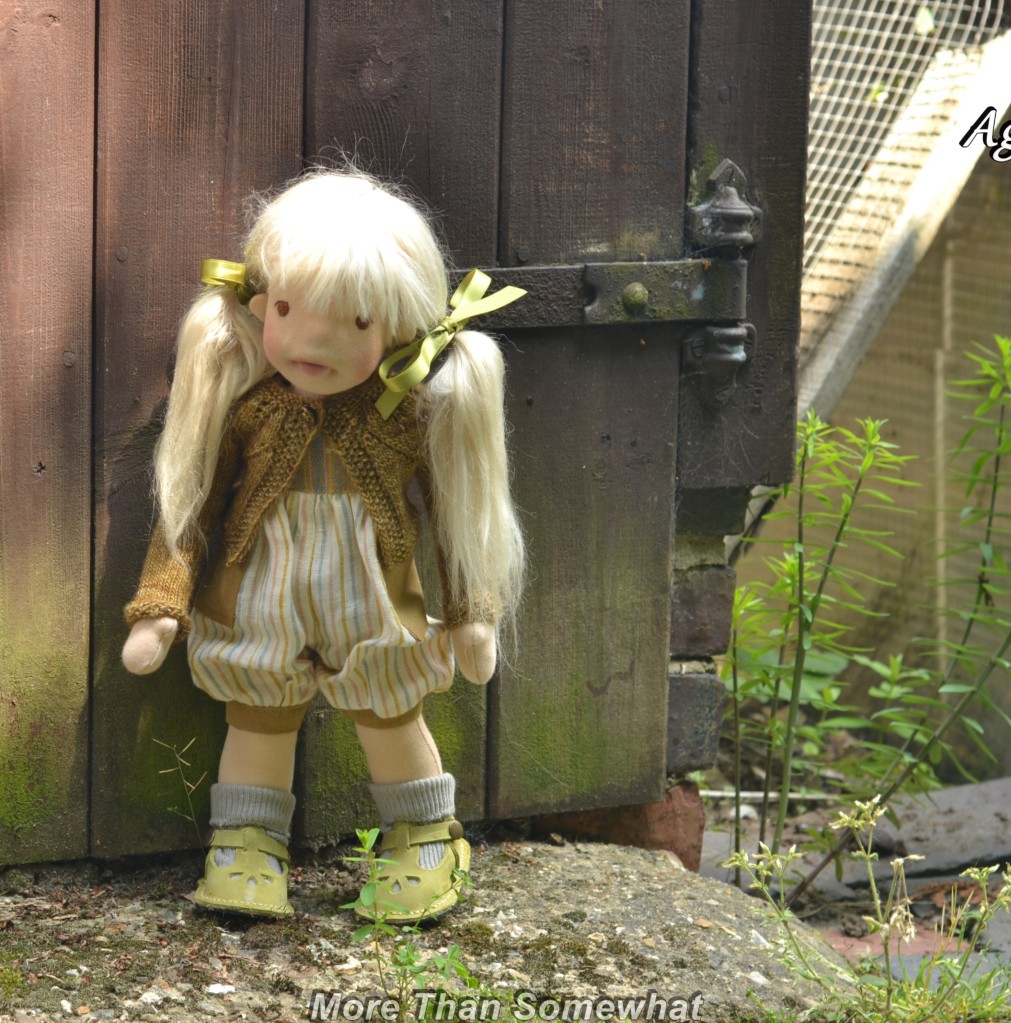
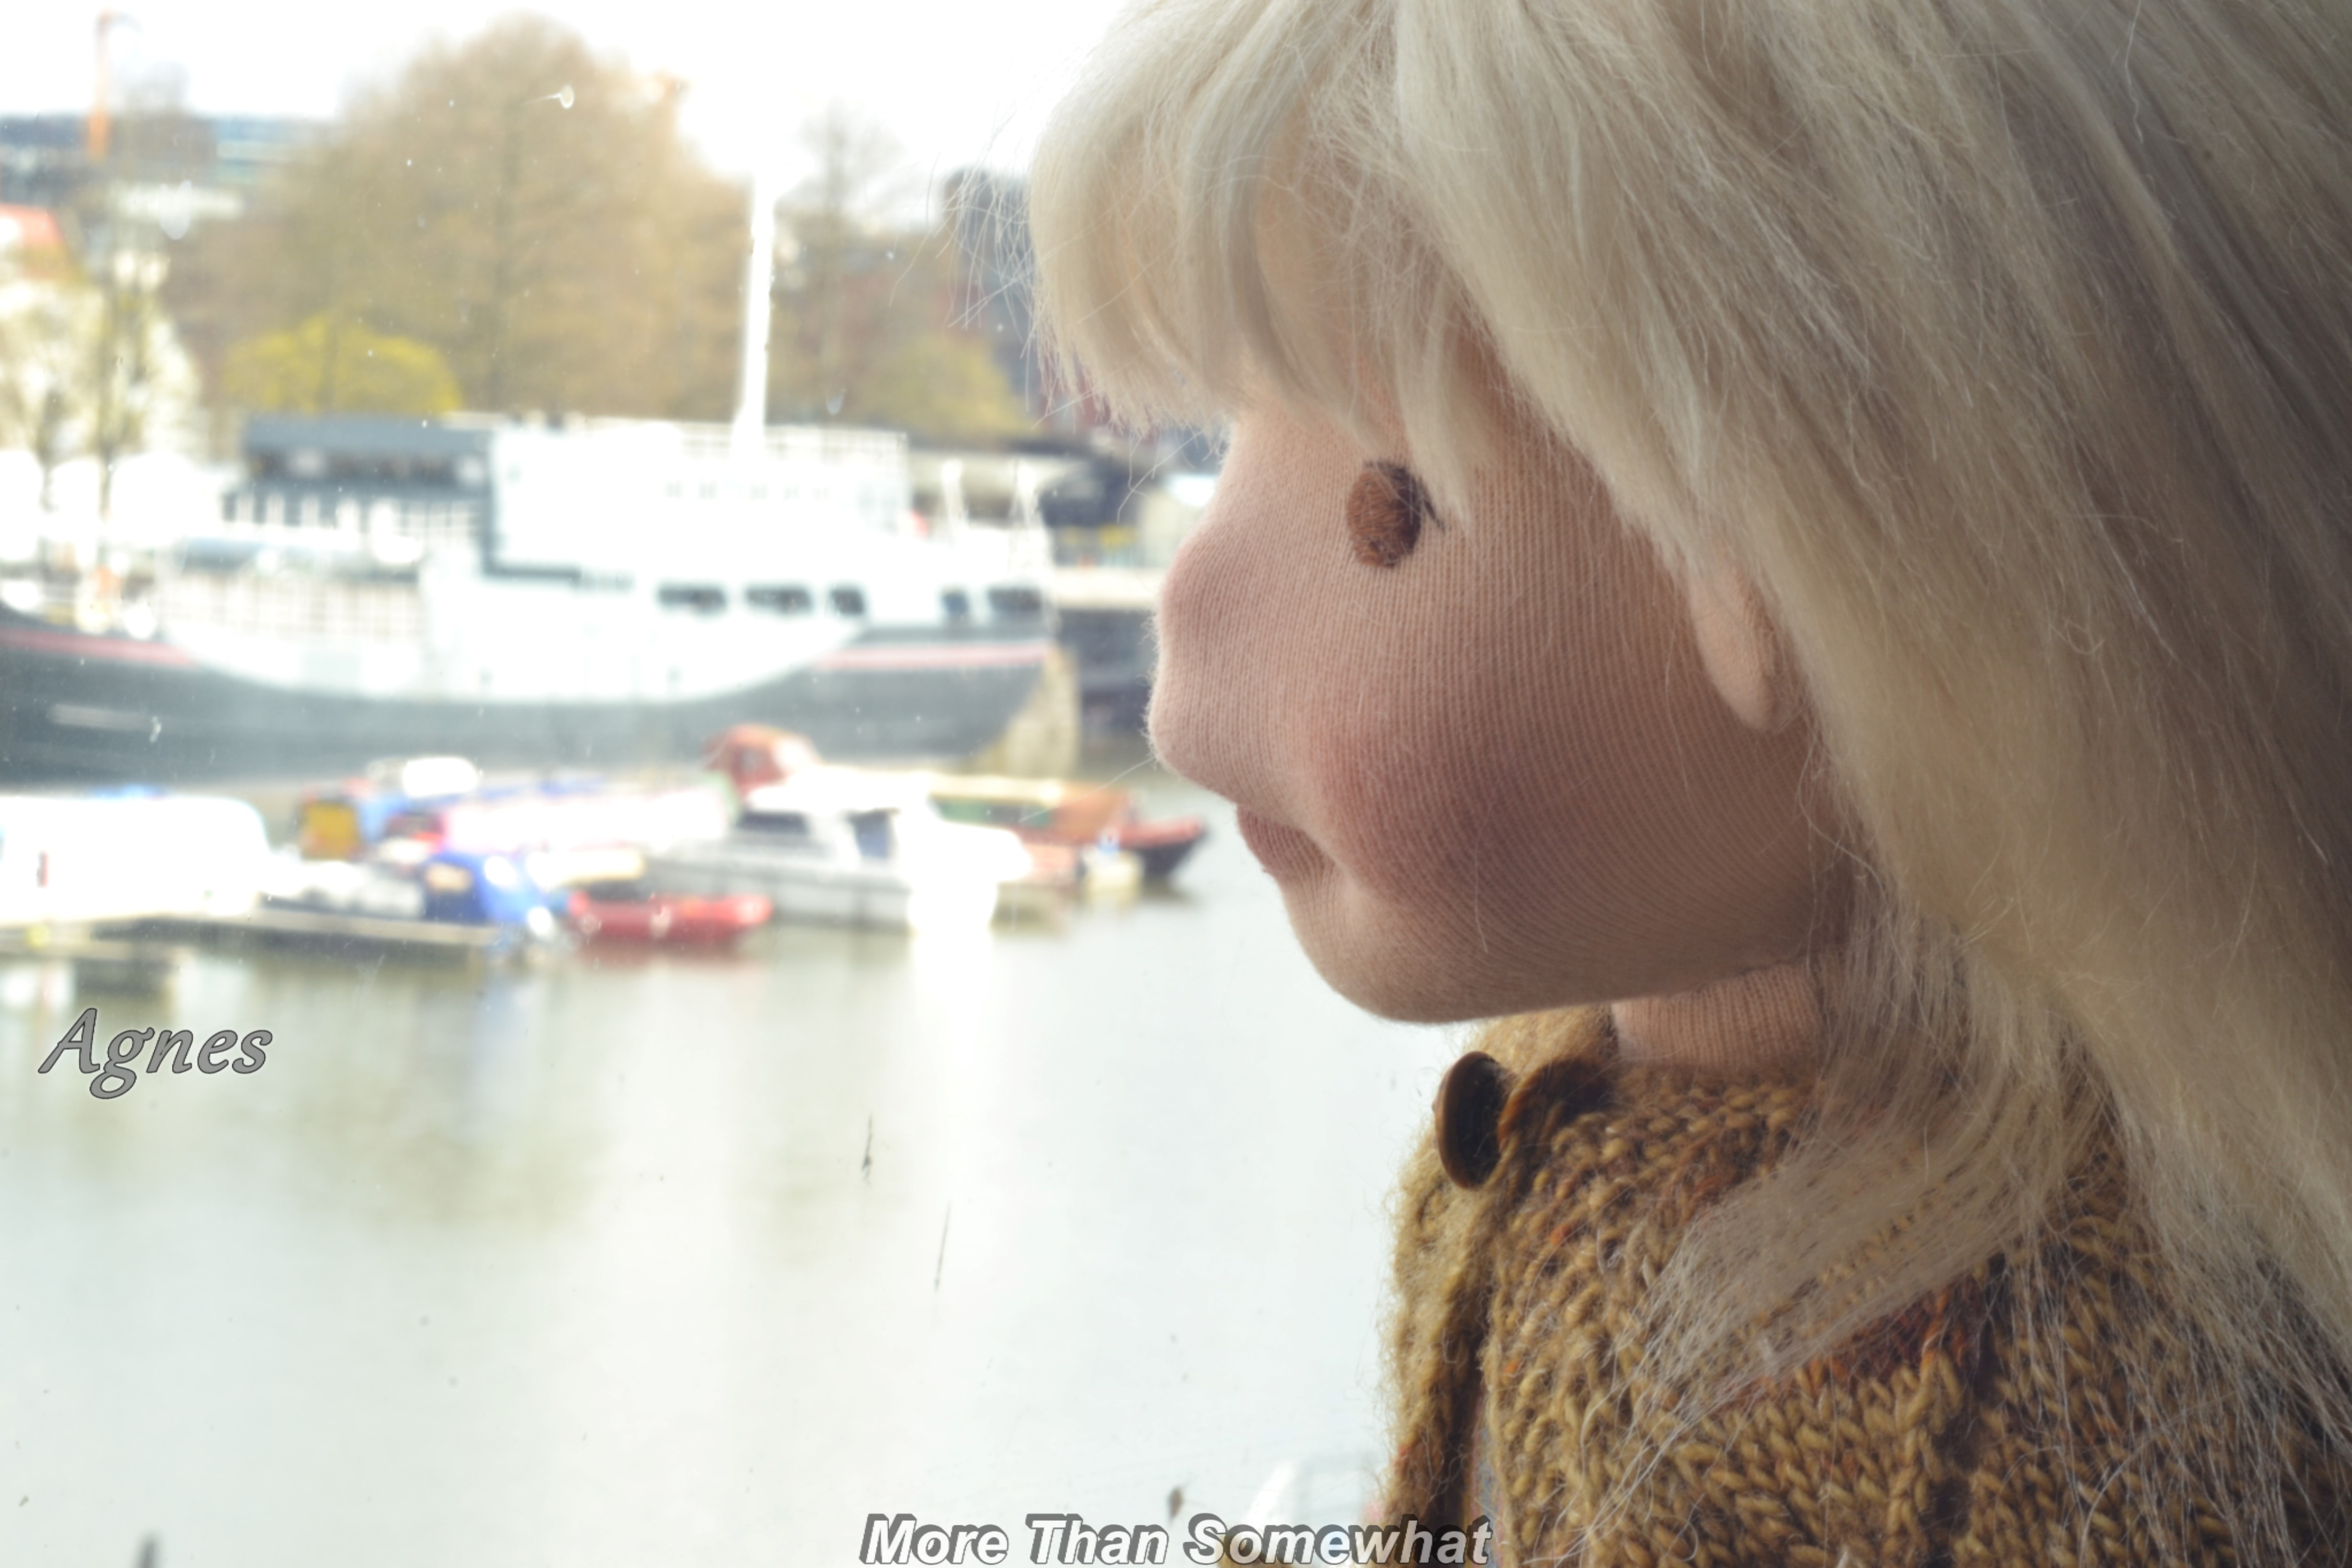
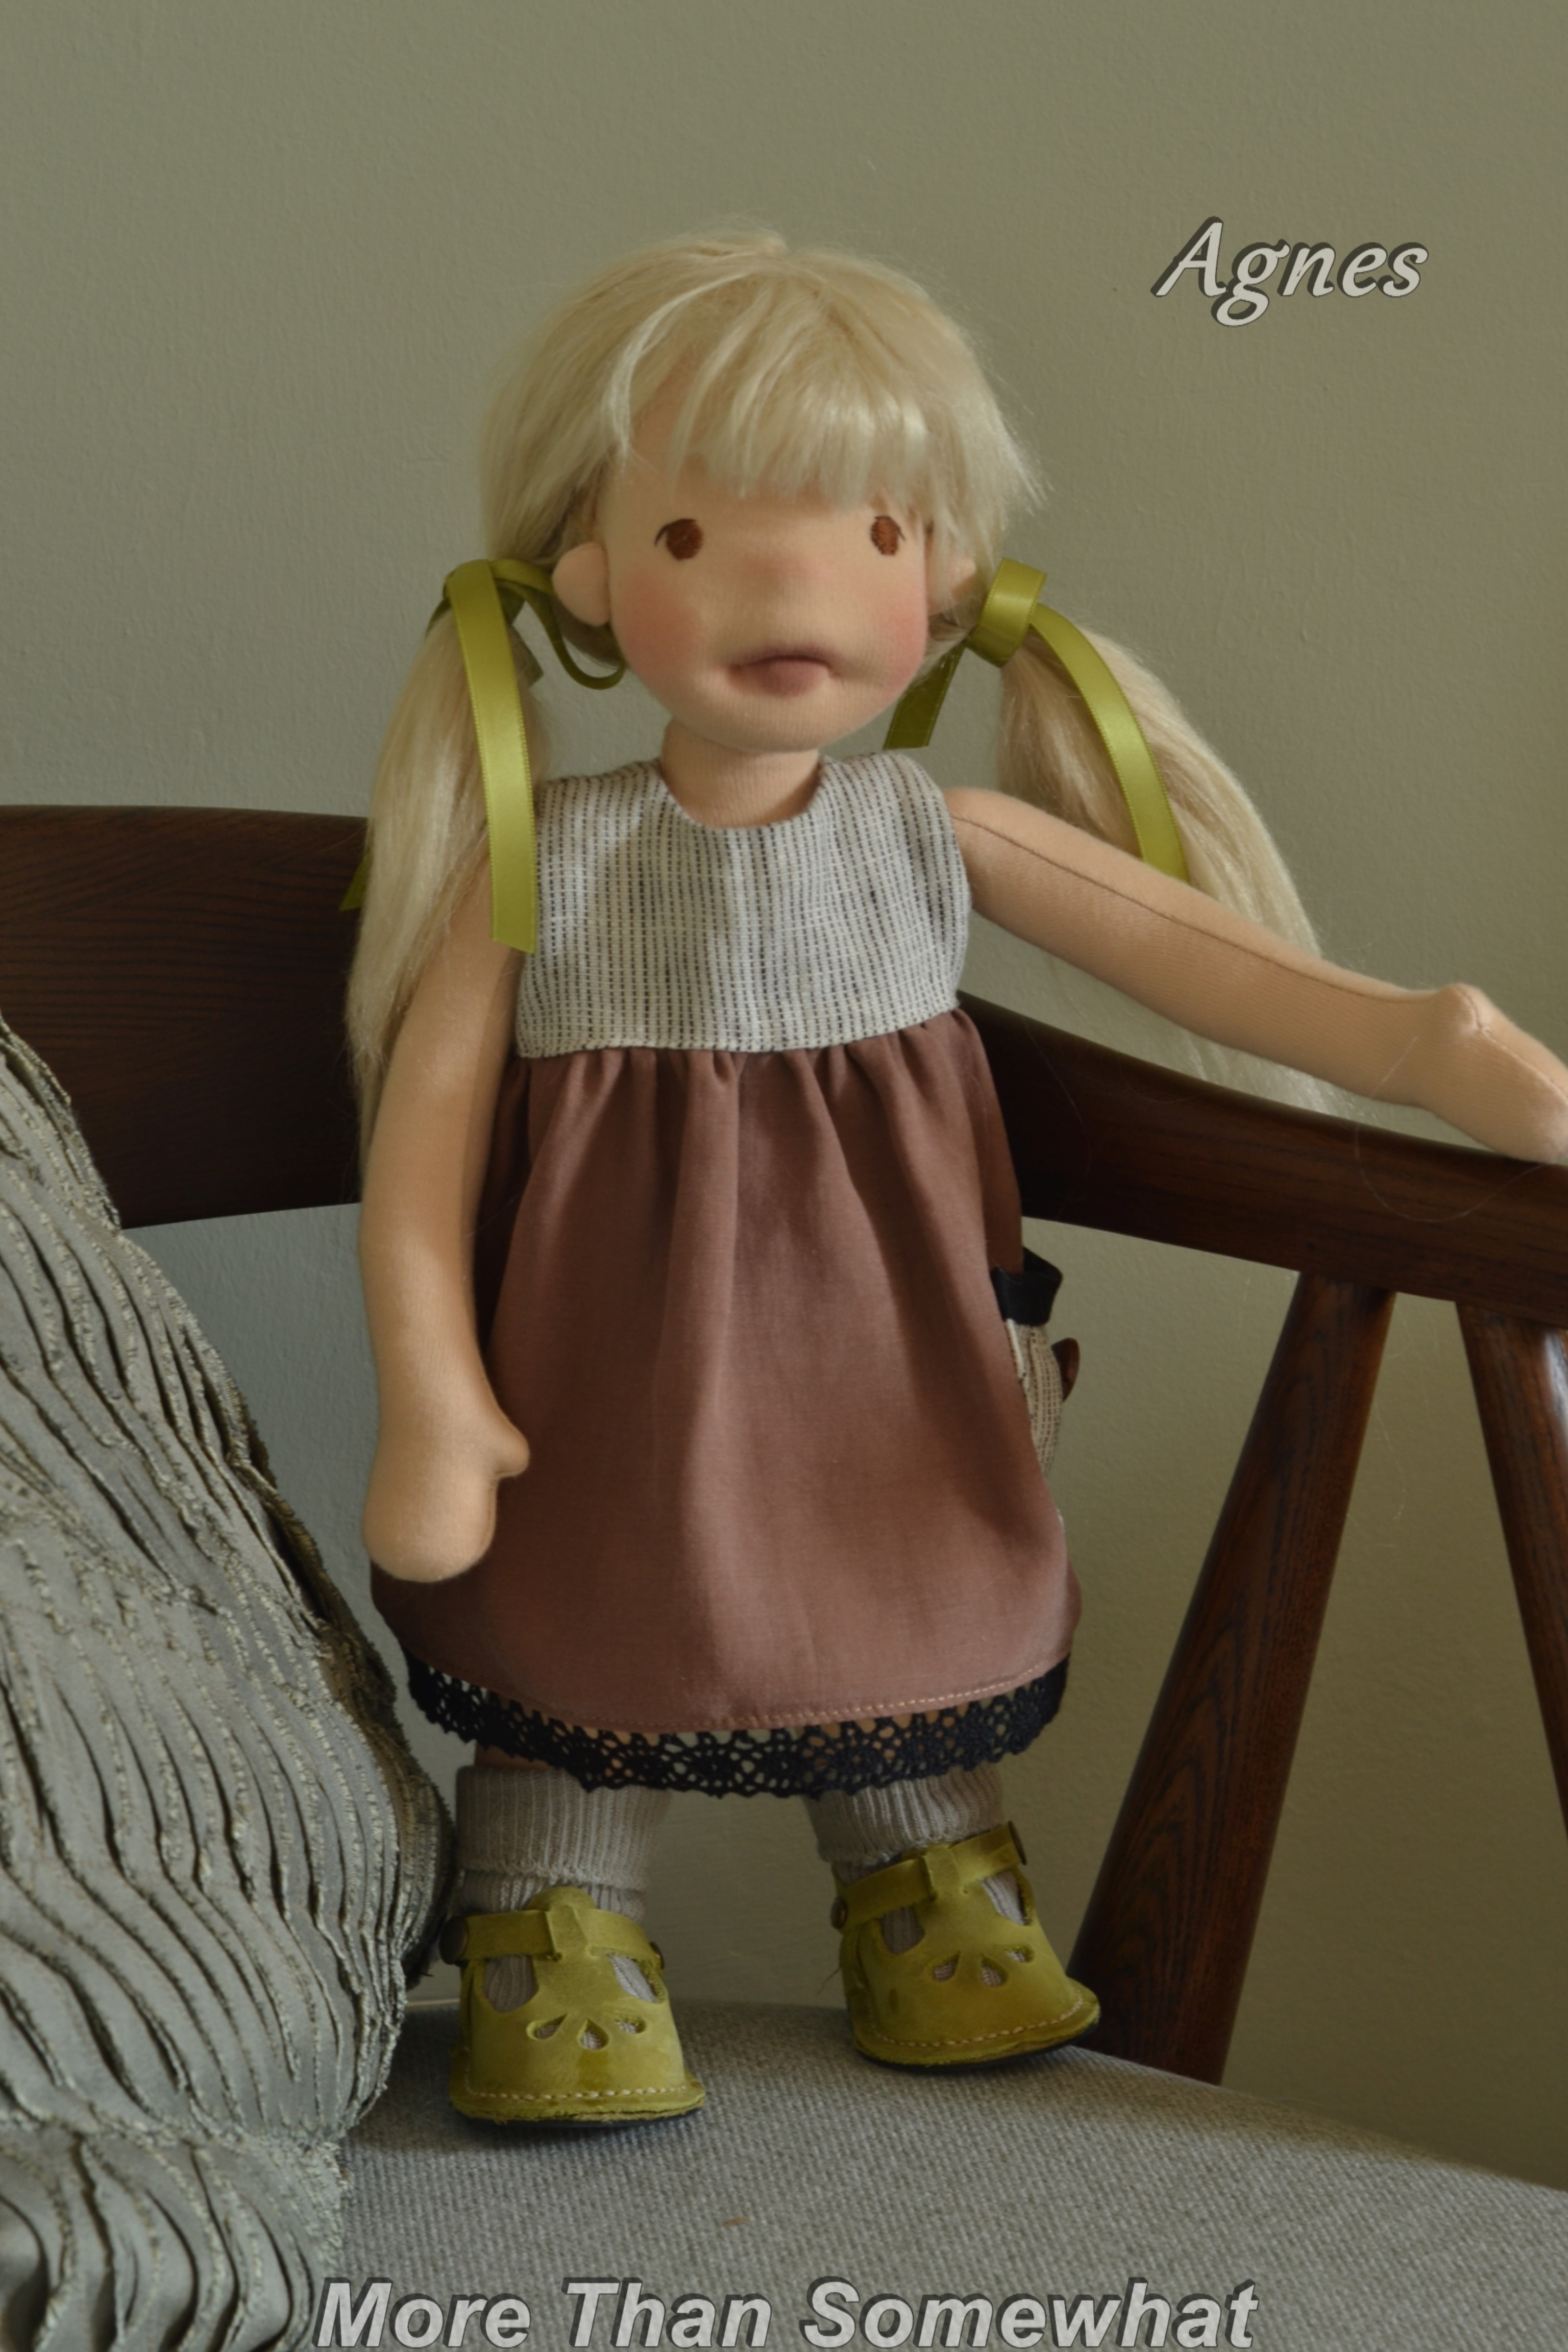
On a weekend trip to London I took time to take some photos of Agnes out in the Summer sun in my mum’s garden. Here in the rockery smelling the wild flowers and searching for bugs. To be honest the bugs found Agnes more than she found them, I had to gently blow them off her!
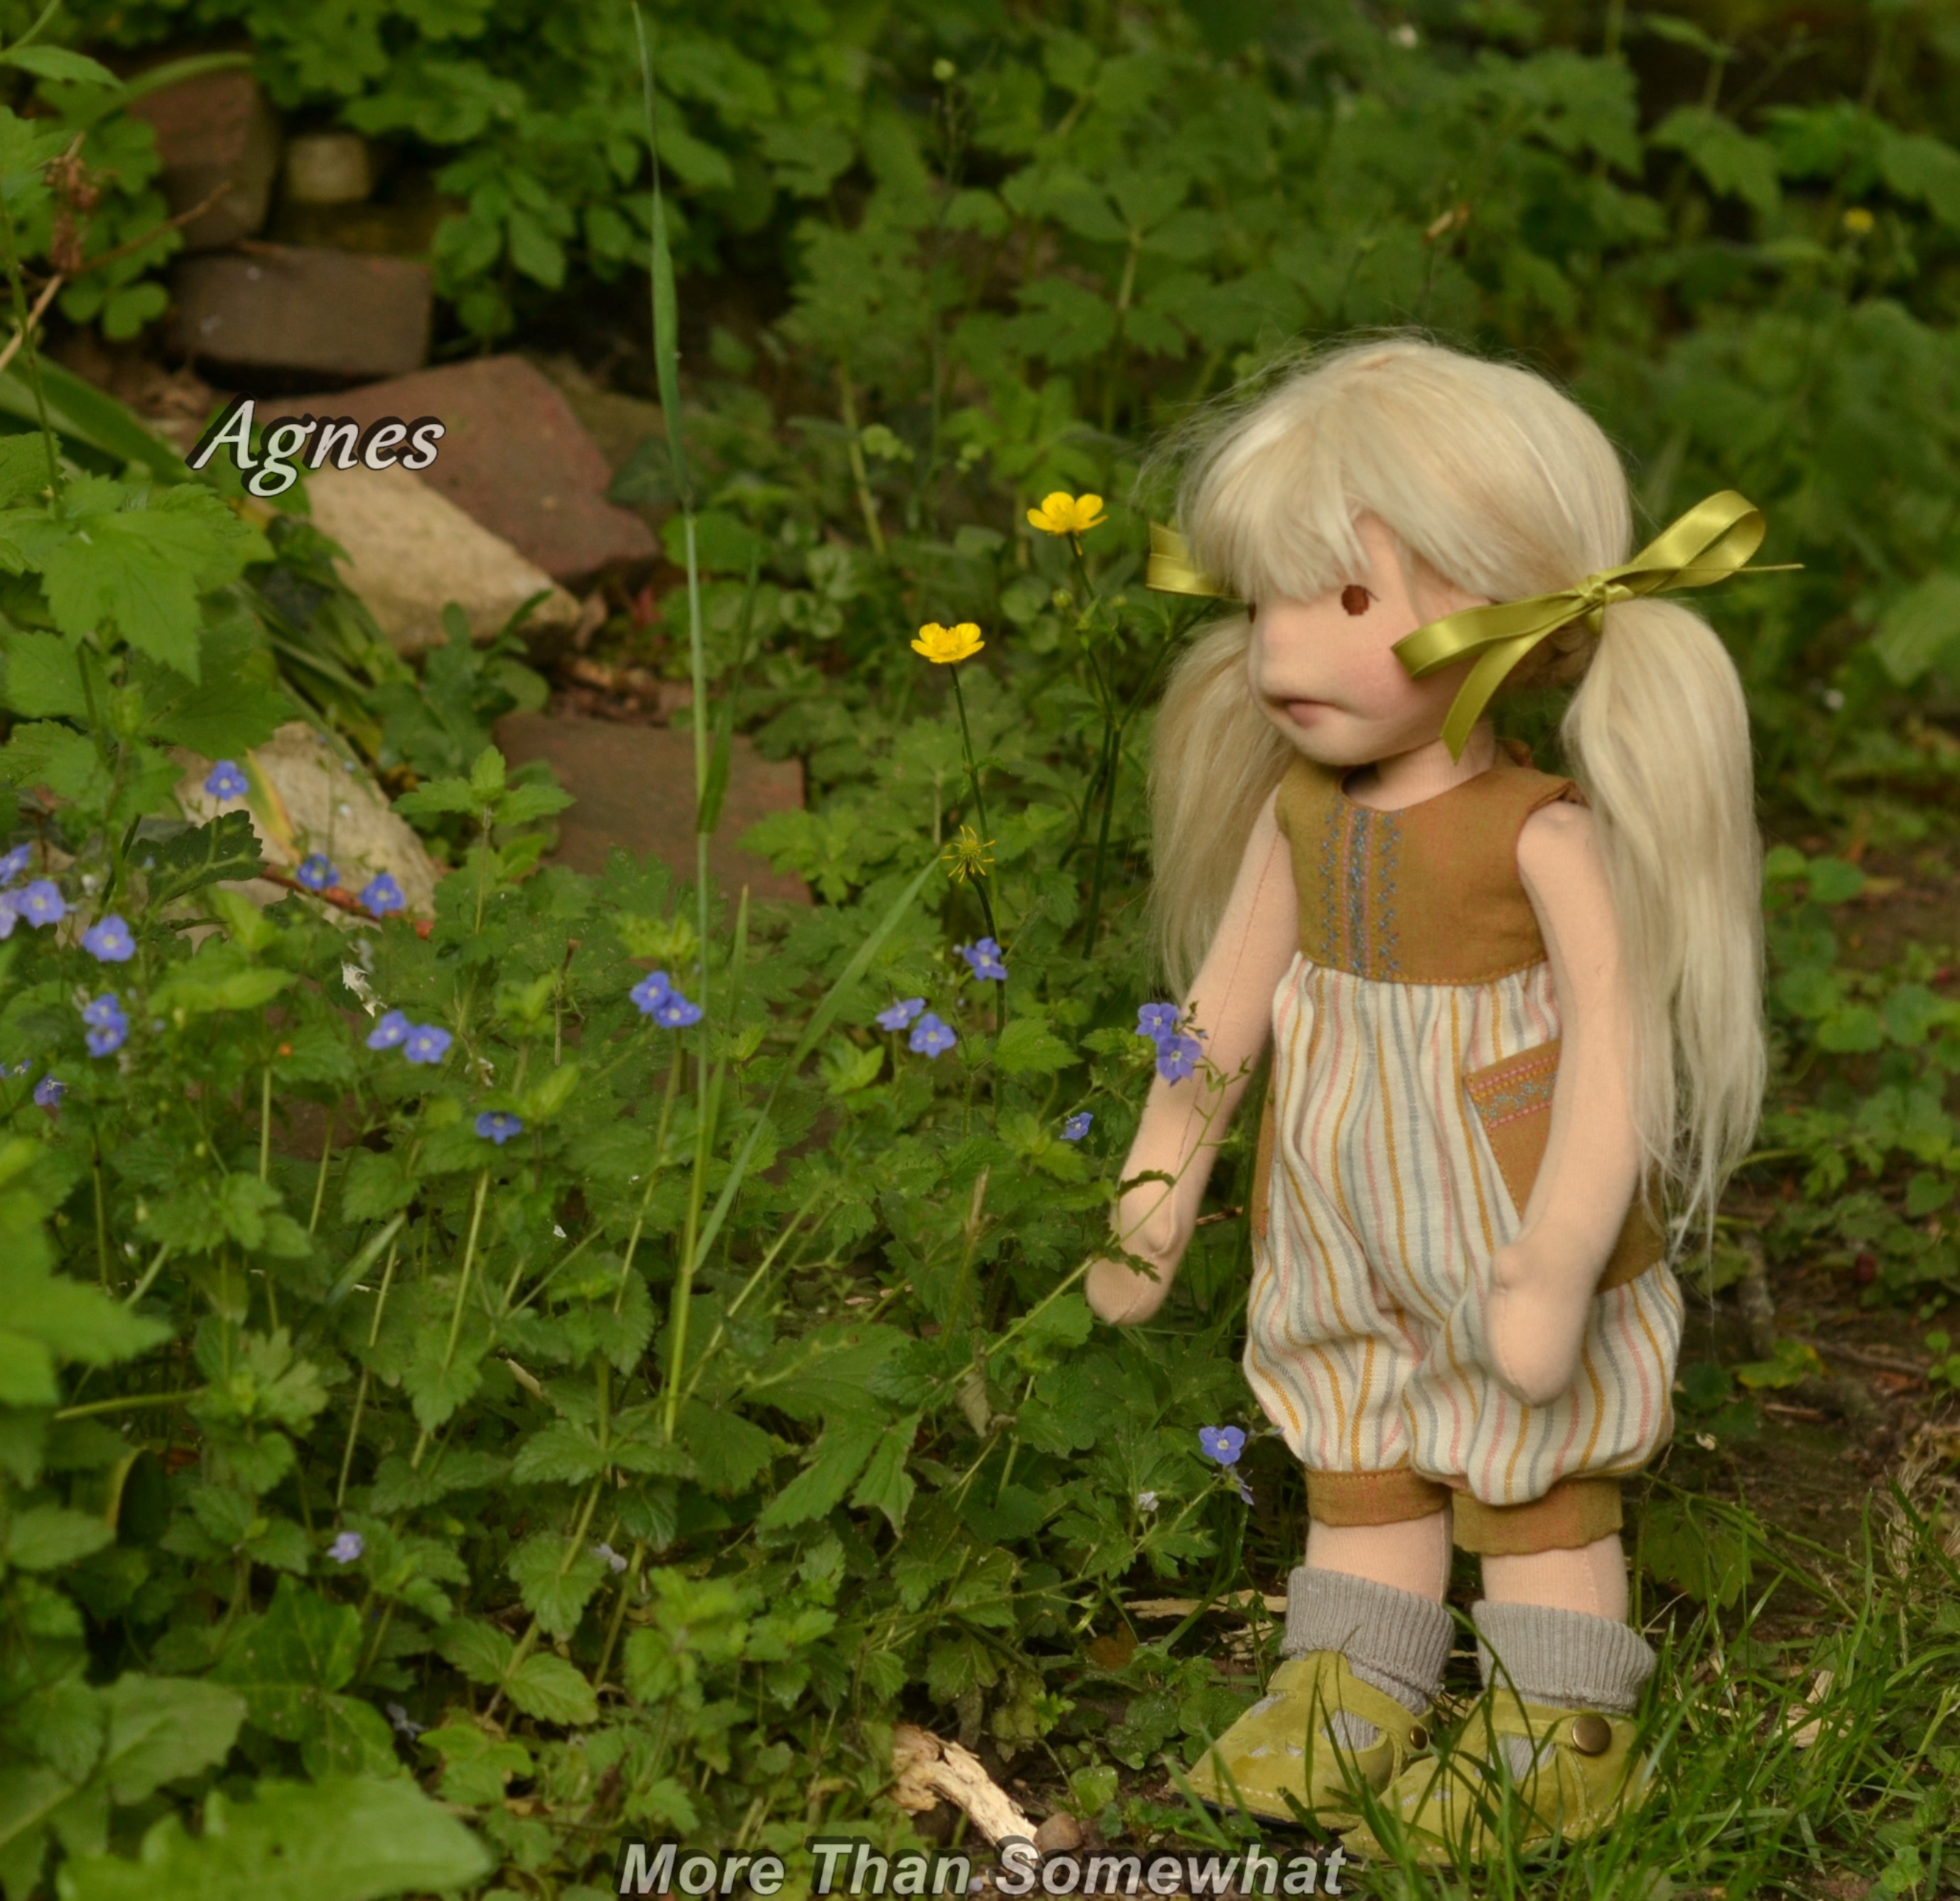
Among the ferns and a little pond there are plenty more wild flowers to discover, blue, pink and yellow.
Just past the rockery is the garden shed and the kitchen garden, now much overgrown, but great places for adventures.
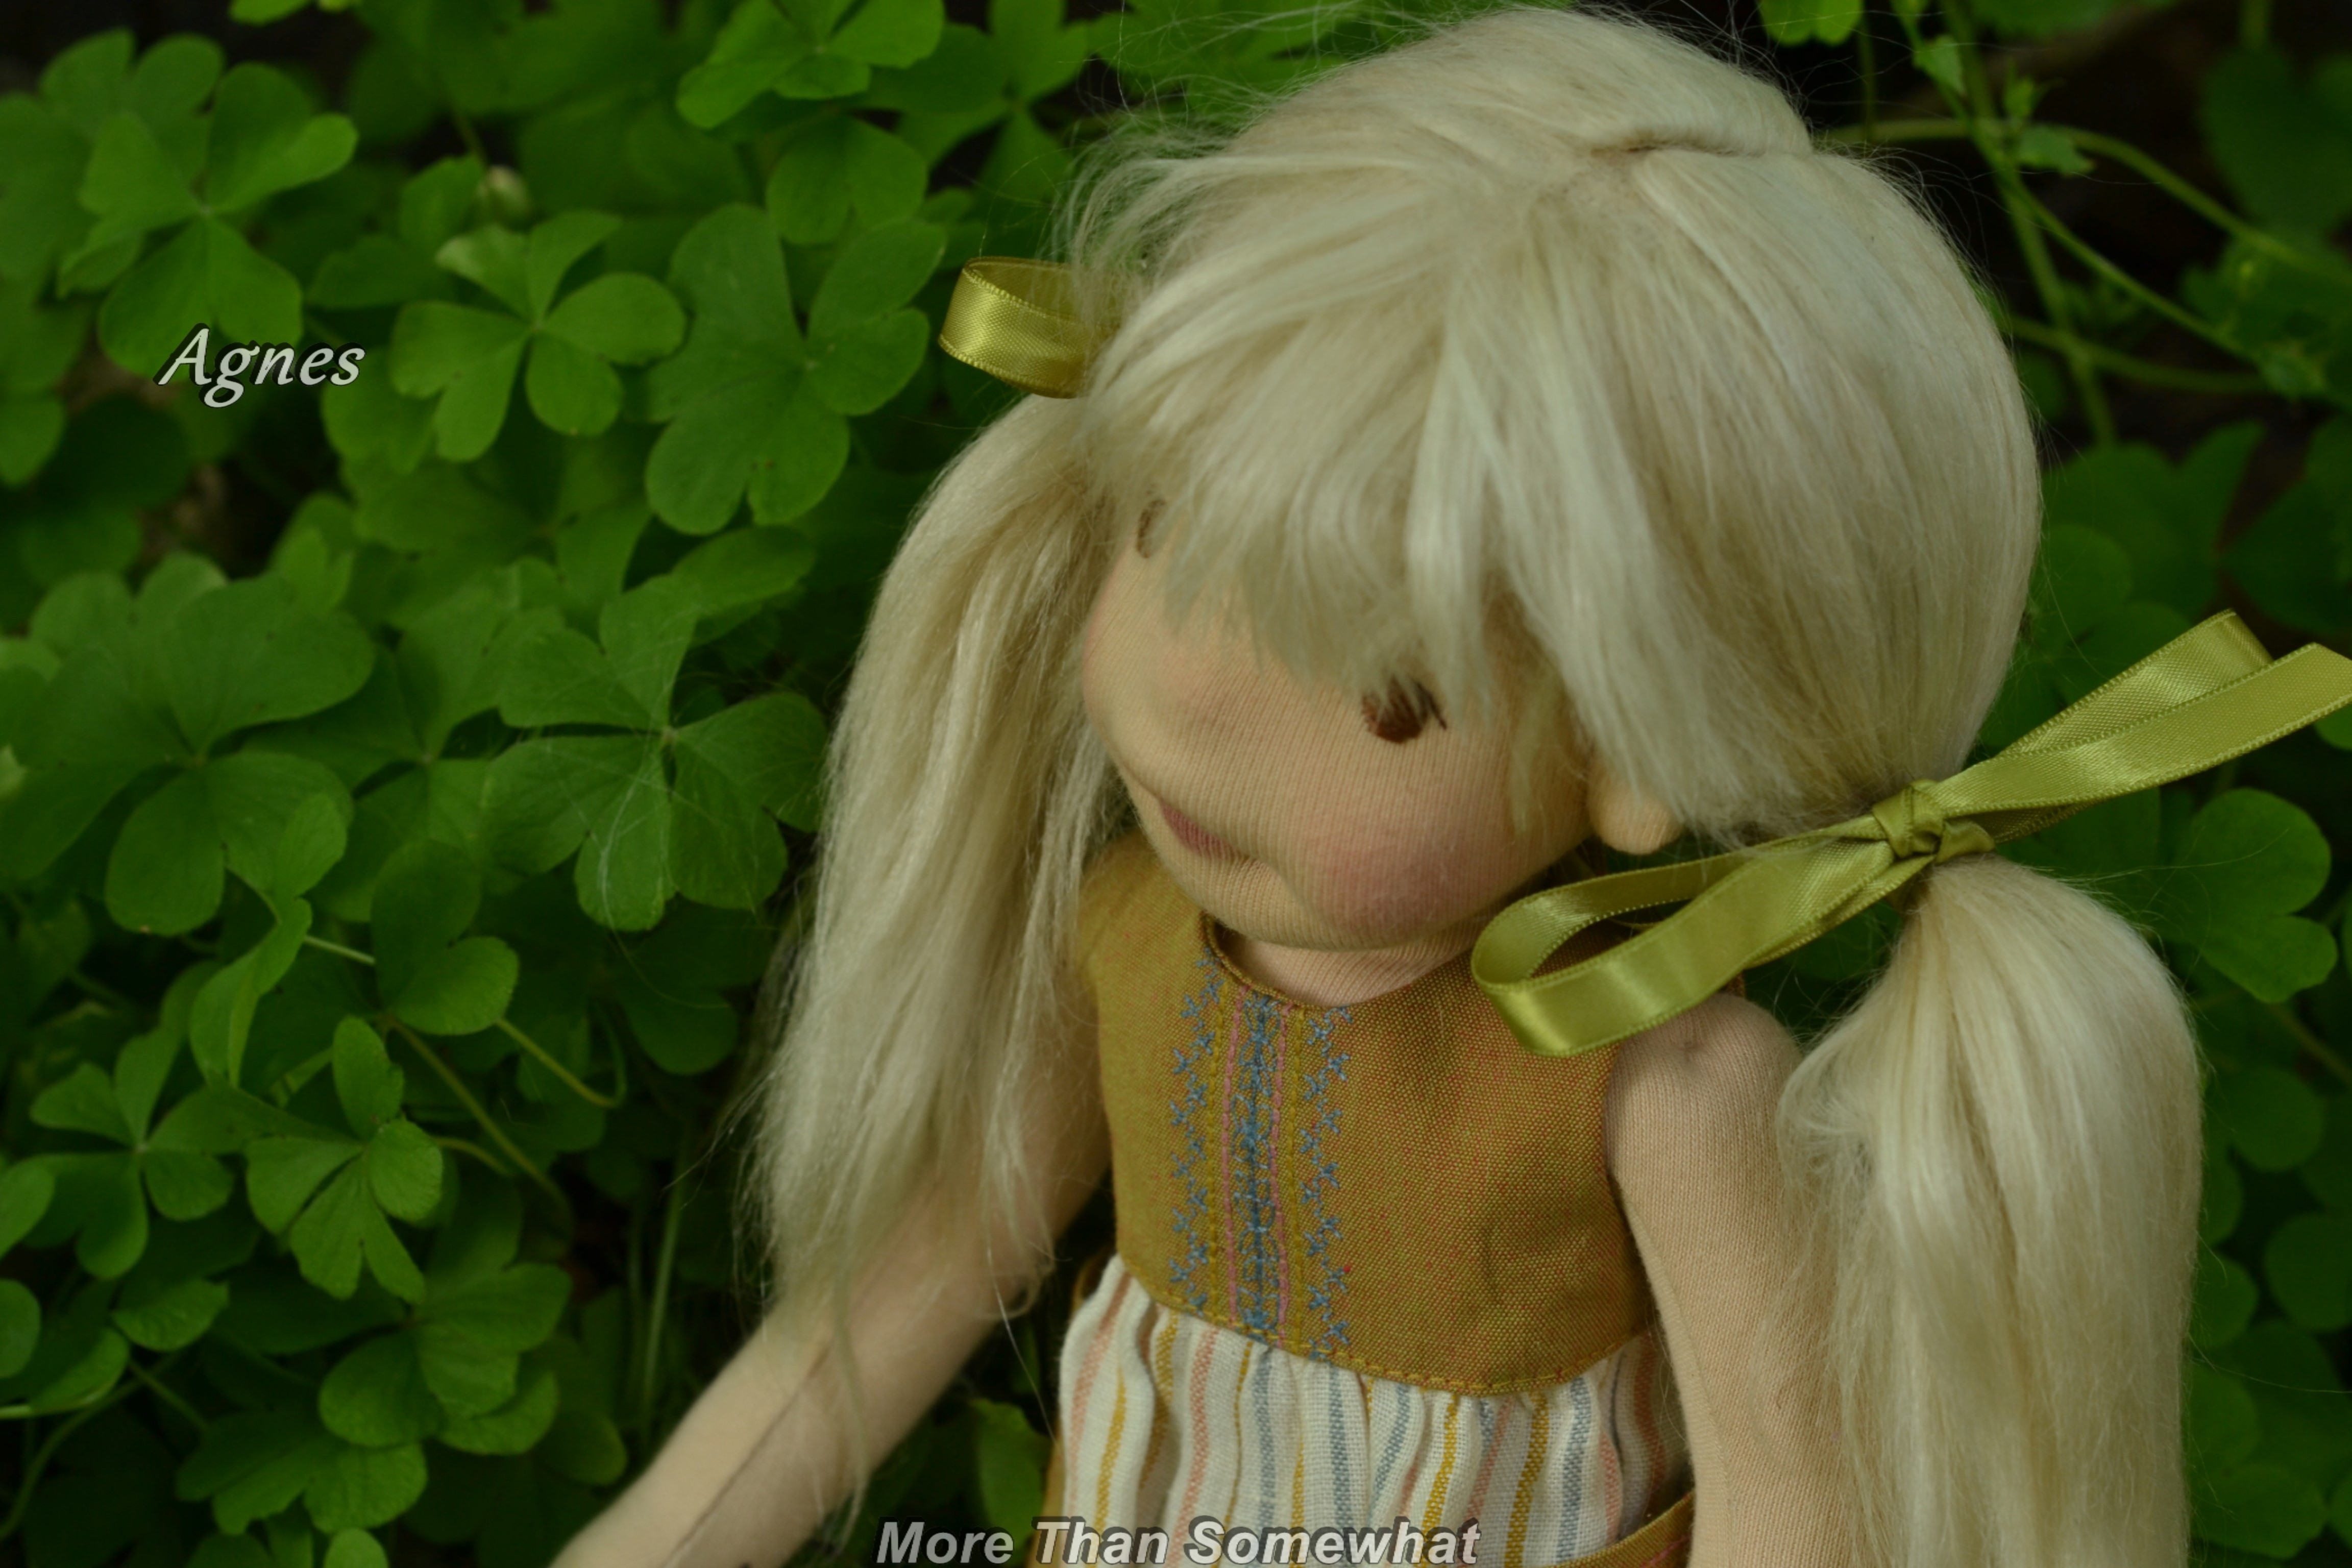
If you would like to give Agnes a home please visit my Etsy shop
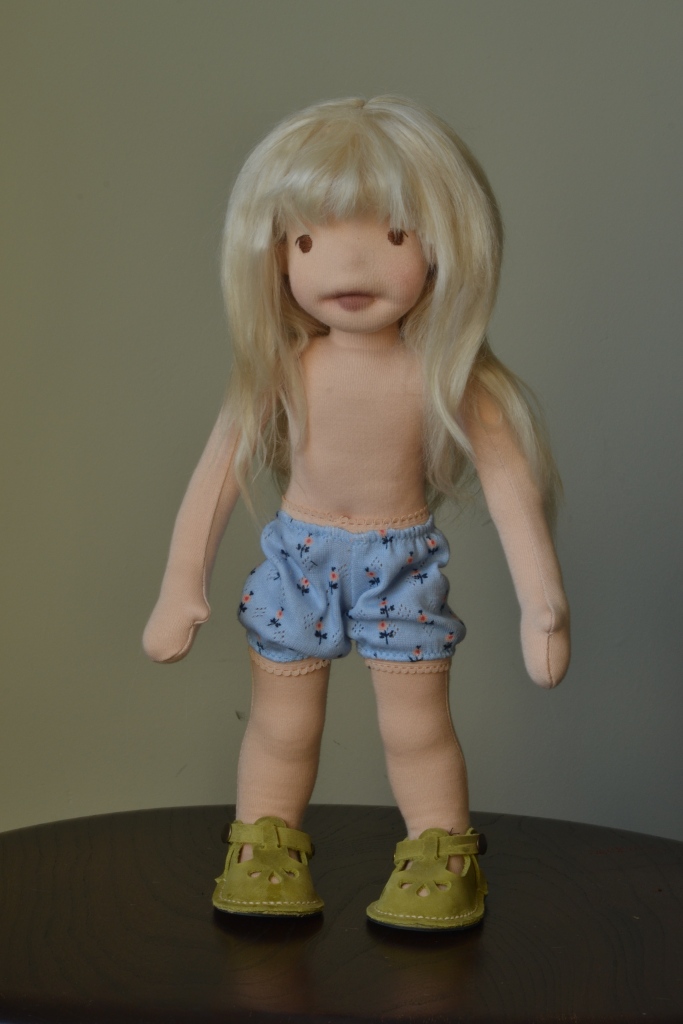
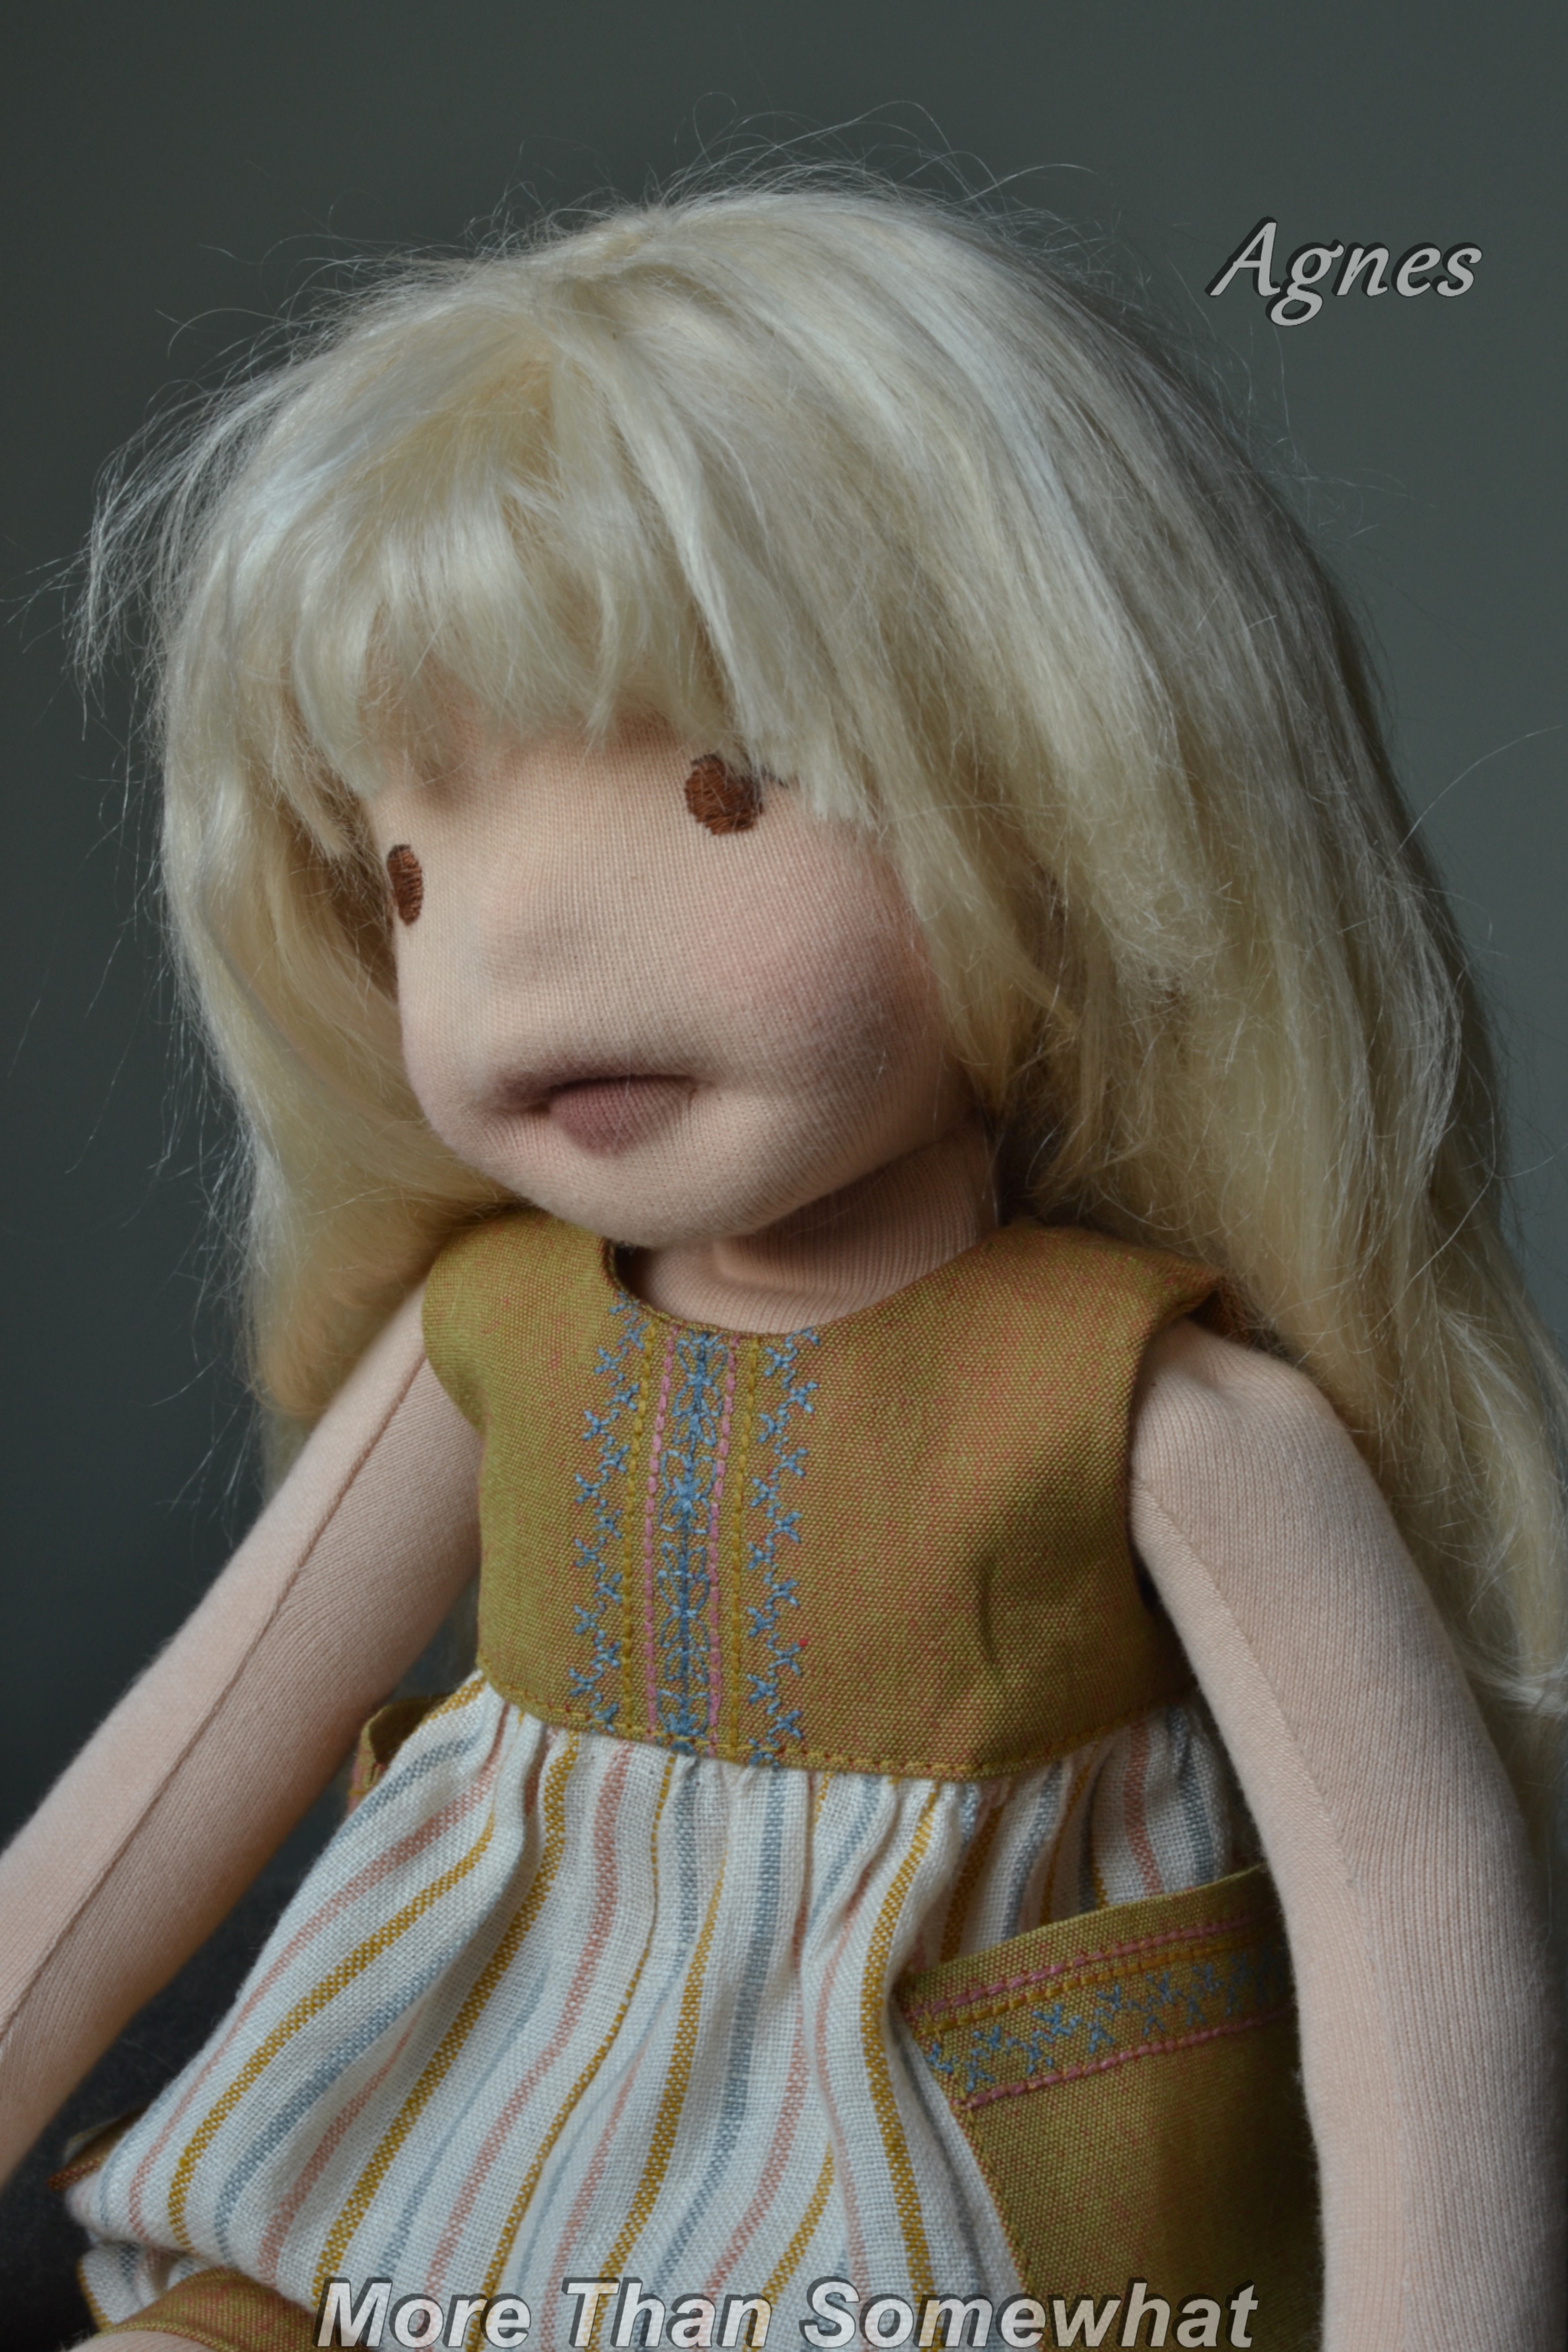
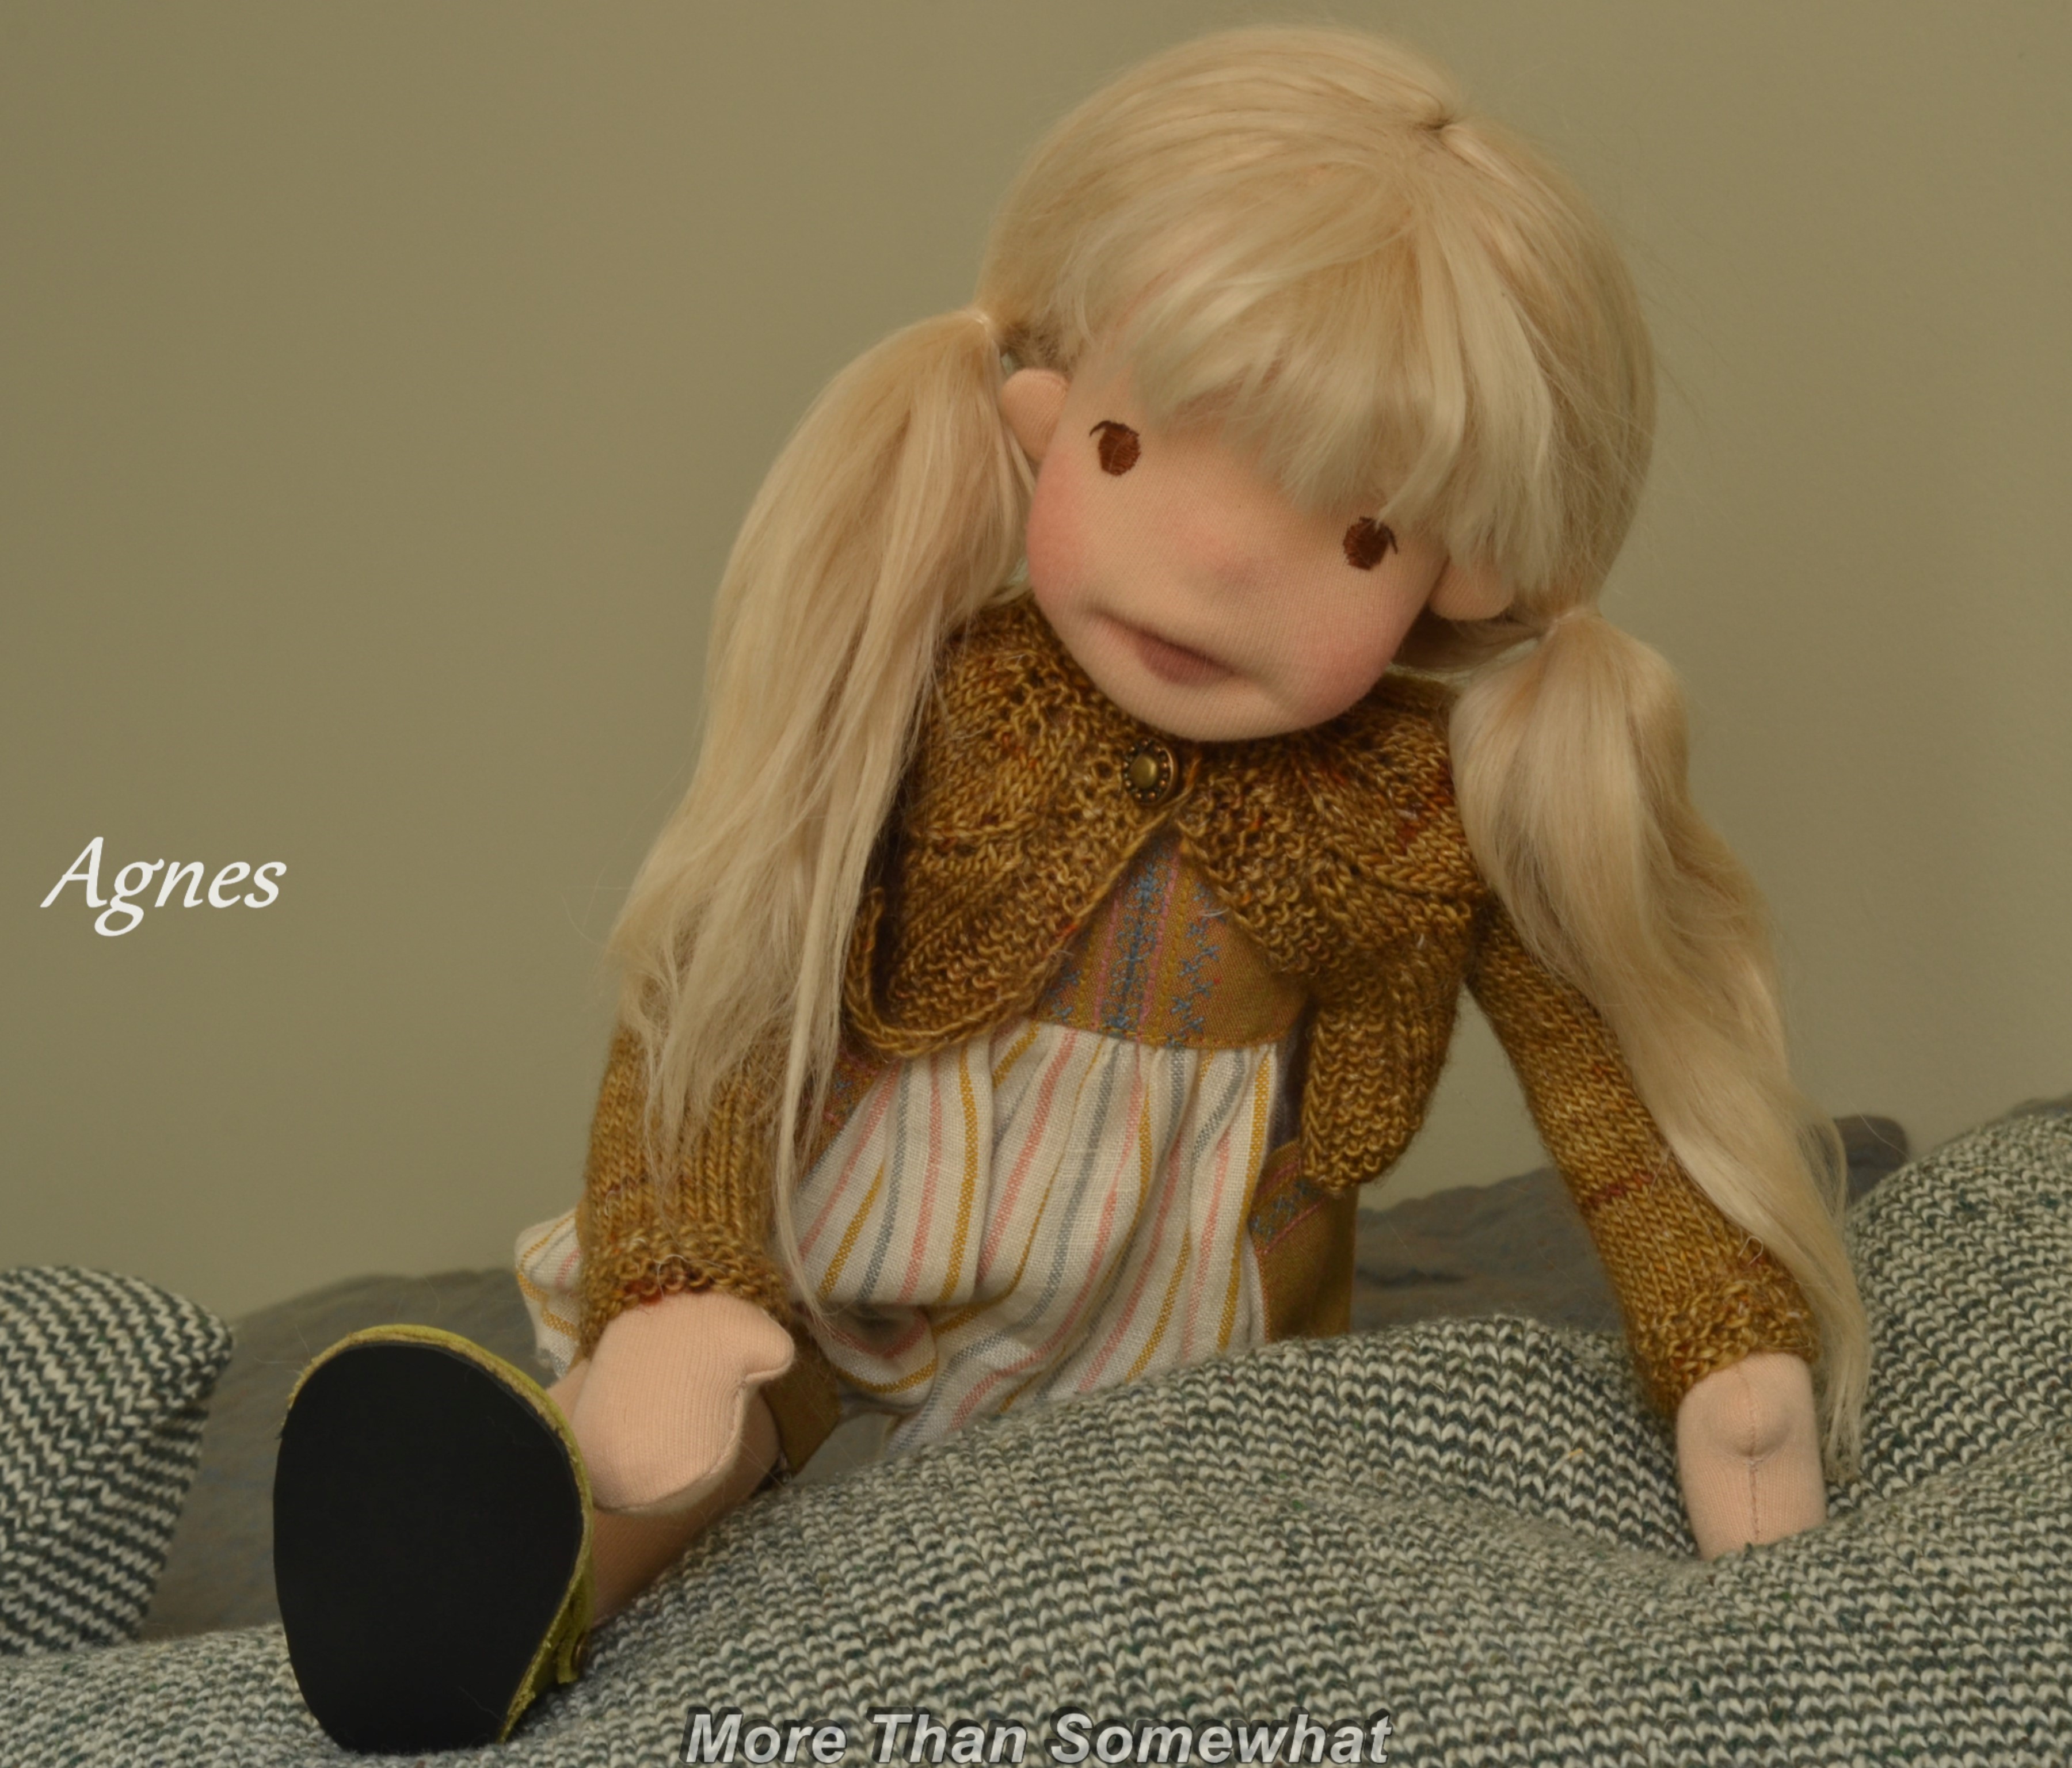
I did decapitate Agnes and gave her a larger body, legs and arms to to with her too big head. She now stands 38cm tall, and yes she really can stand. Here is the before and after pants shots to compare. She also has her own hair made with alpaca wool which I made into wefts. I gave her a centre parting using the method shown by Mozekyto it’s the first time I’ve done that and it worked well.
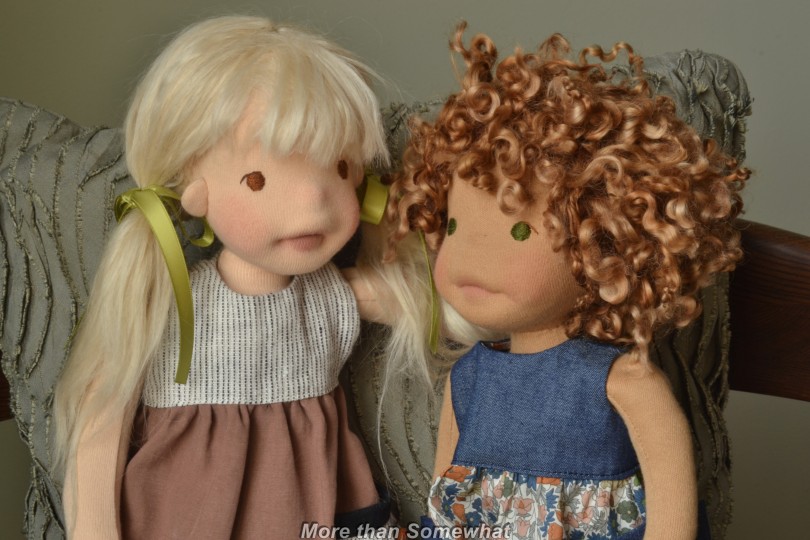
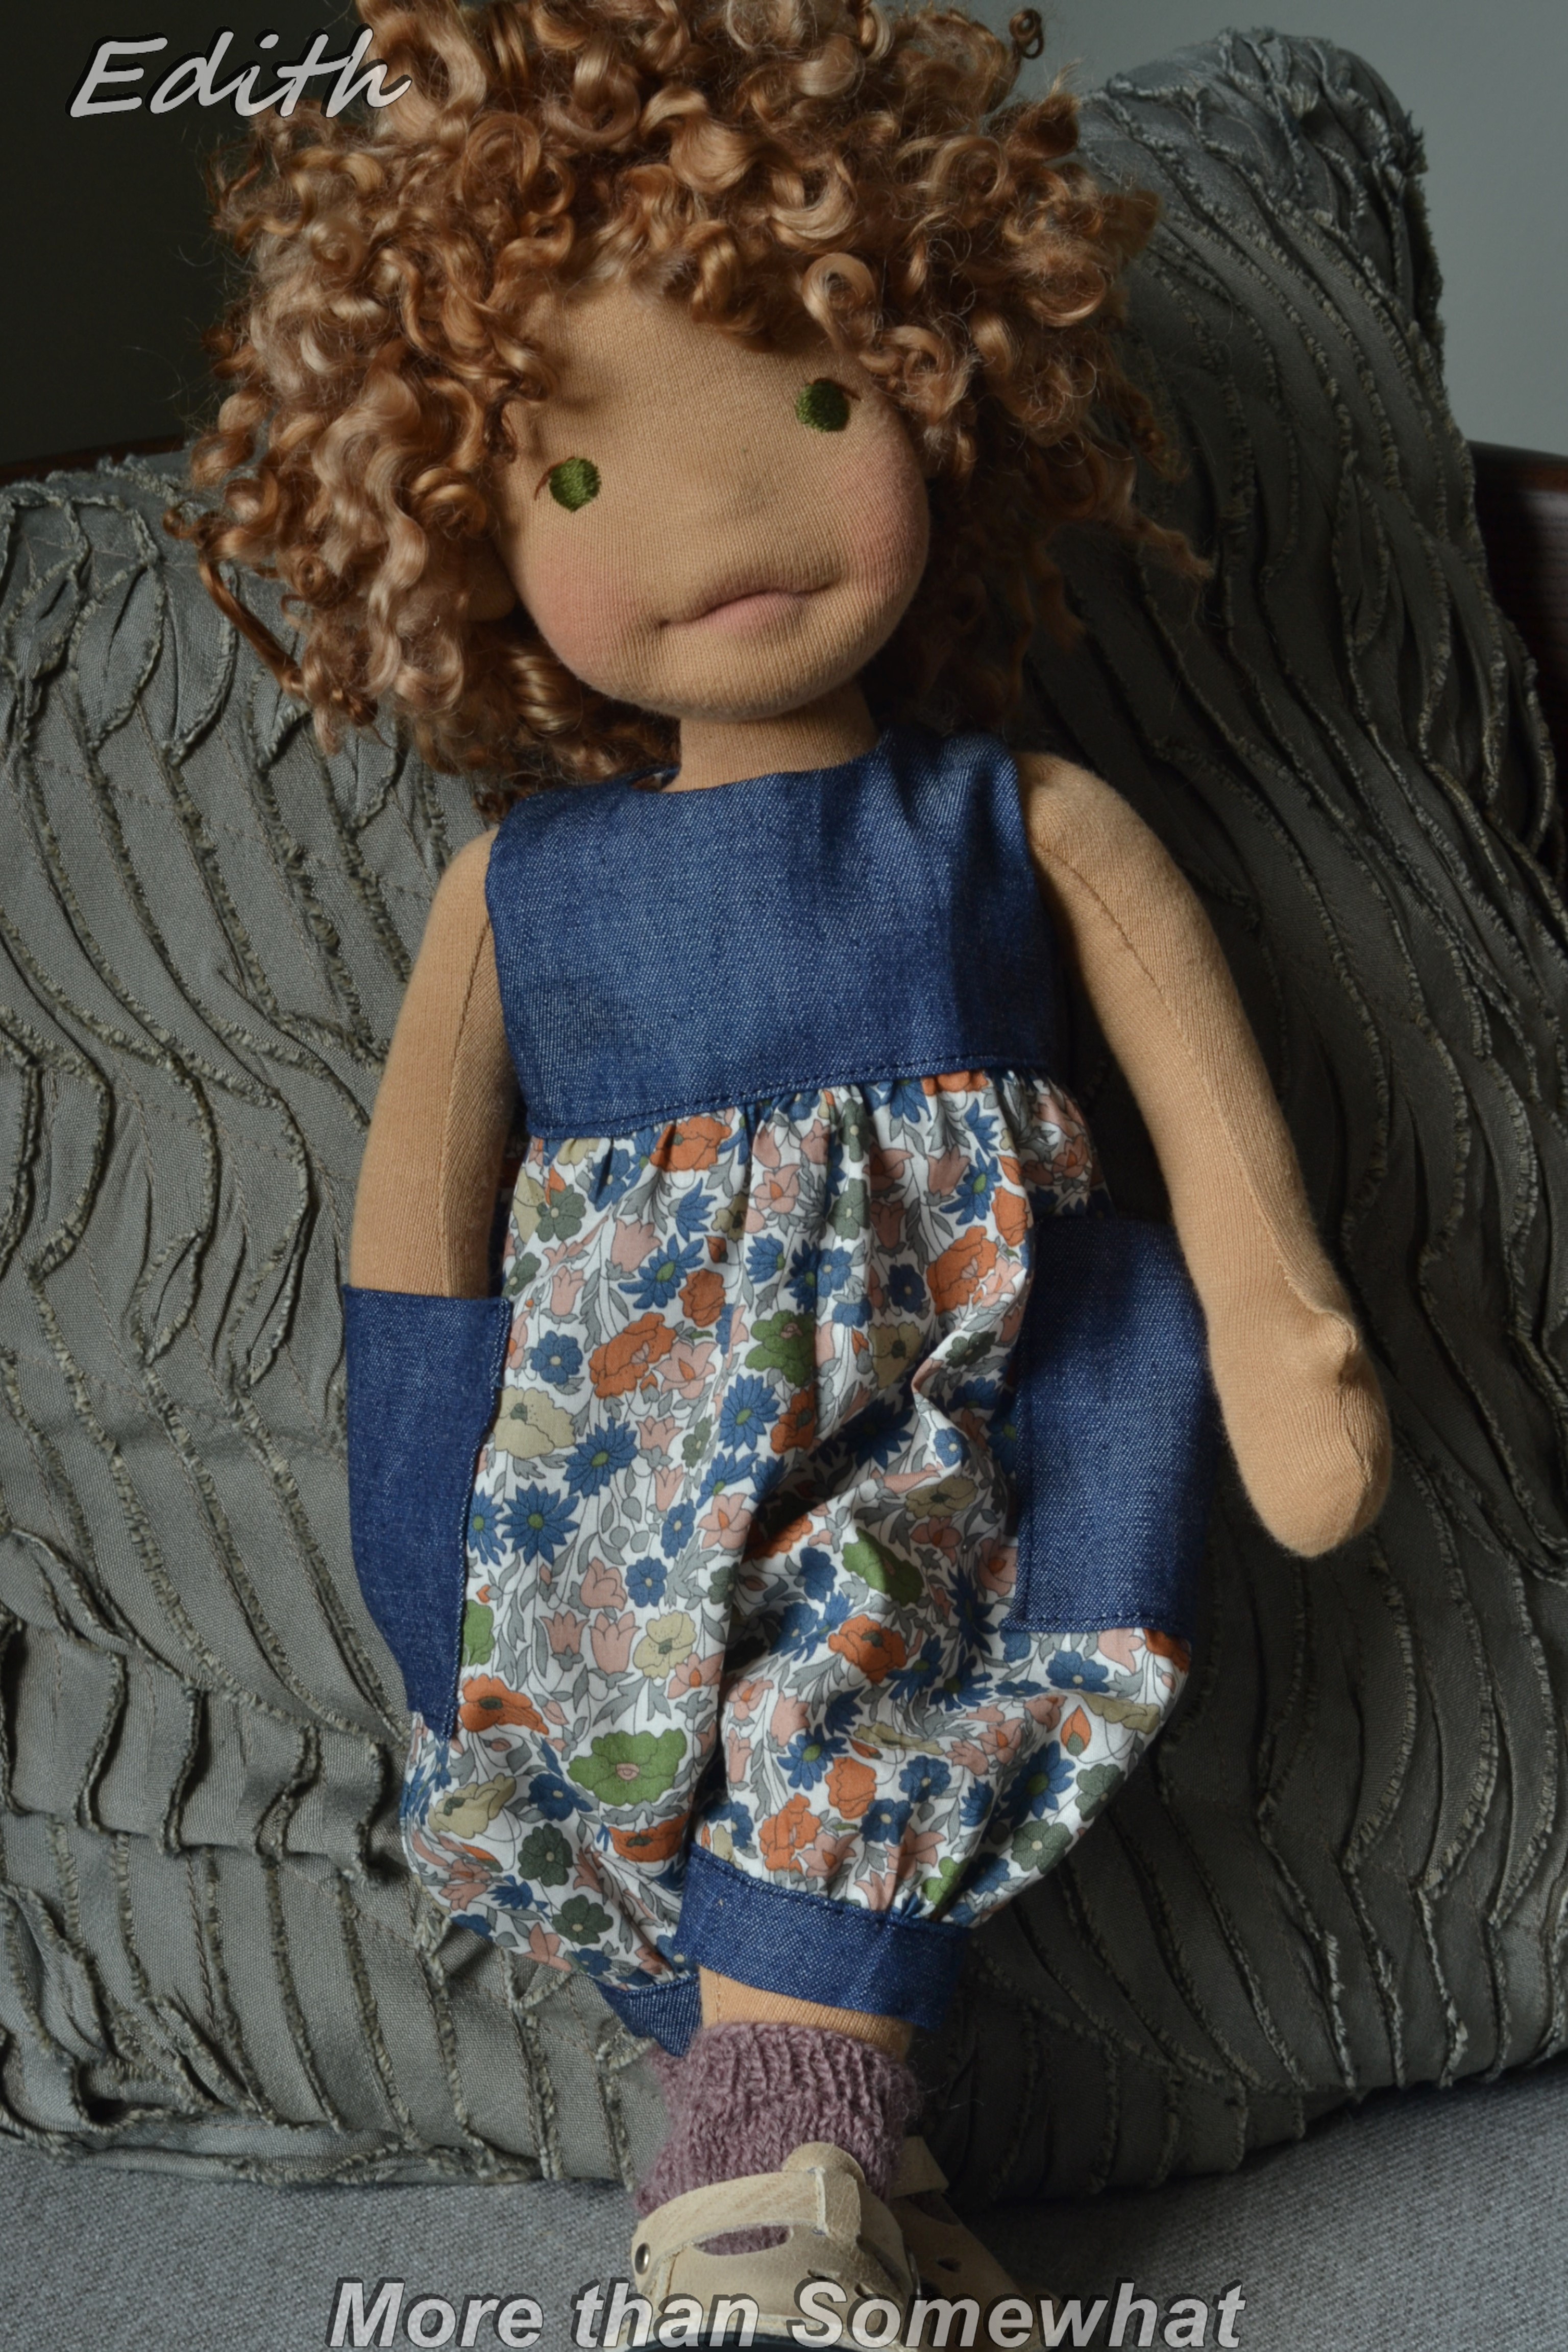
At the same time I have been making Edith a custom order, she is a friend for Tahira her mum wanted a doll like Wilhelmina. I’m reluctant to try to duplicate dolls as inevitably they look quite different, however this time I nearly cloned her. Edith is a little more smiley than Wilhelmina. Her hair is dyed using walnuts and I think it gives a lovely natural colour, the first time I’ve used this Highland Colours and I was impressed.
Edith has a couple of outfits, a dusky rose gingham dress and some dungarees in denim and Liberty print. Edith is my ‘old style’ doll, and although here she looks like she can stand, don’t be fooled, she’s just balanced.
If you are interested in giving Agnes a home you can find her in my Etsy shop.
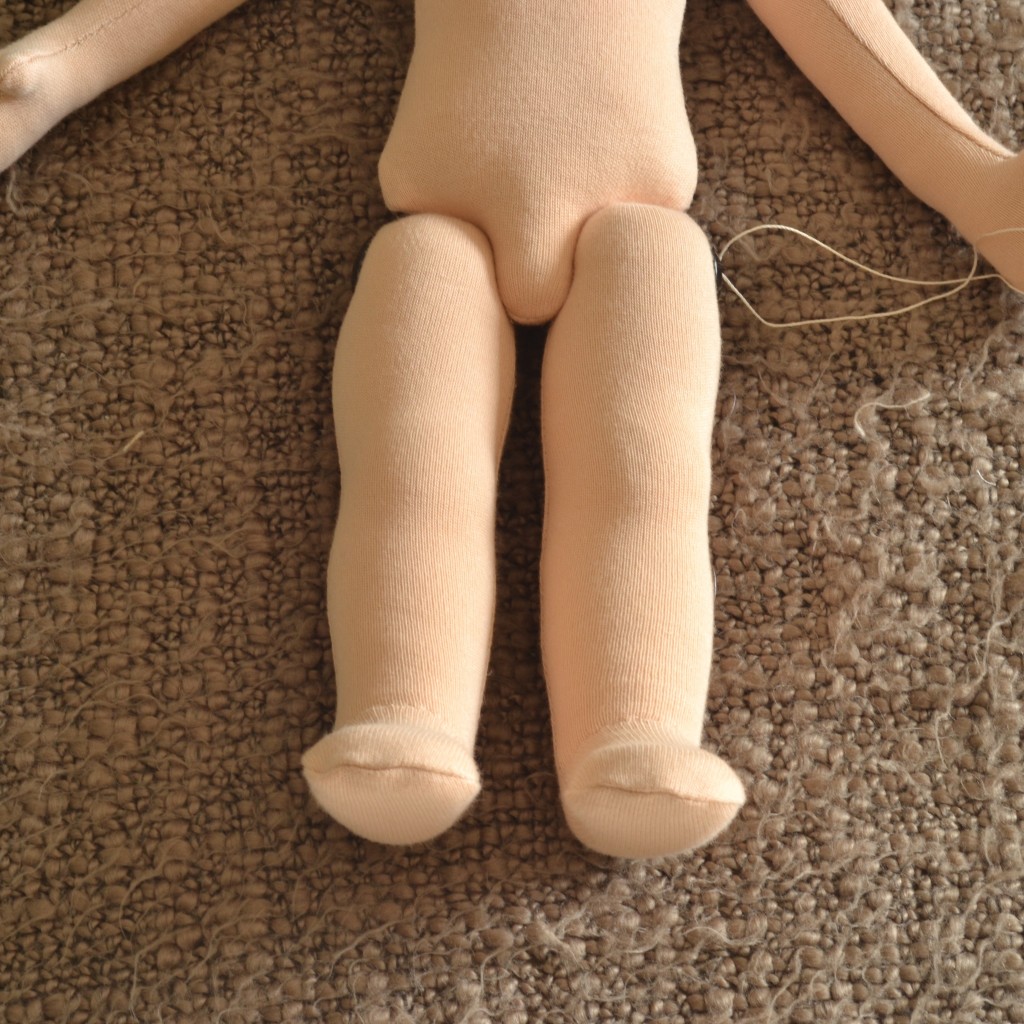
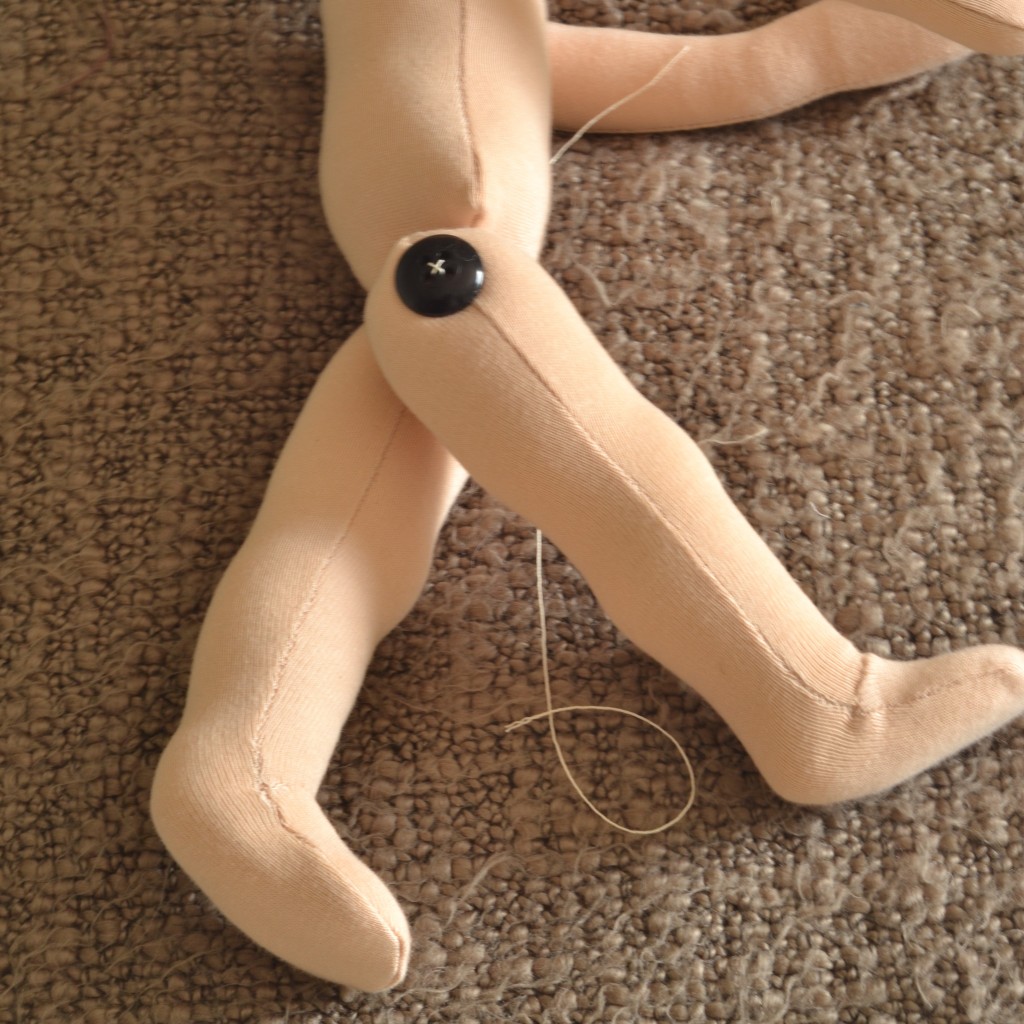
I’ve had it in my mind for a while to make a doll that can stand independently. One of the ways to make this happen is to joint the leg to the torso with a button at the hip. I modified my torso pattern to incorporate hip slots but still made the legs as I would usually. I did however round the top of the thighs in the hopes that they would fit snugly in the ‘sockets’.
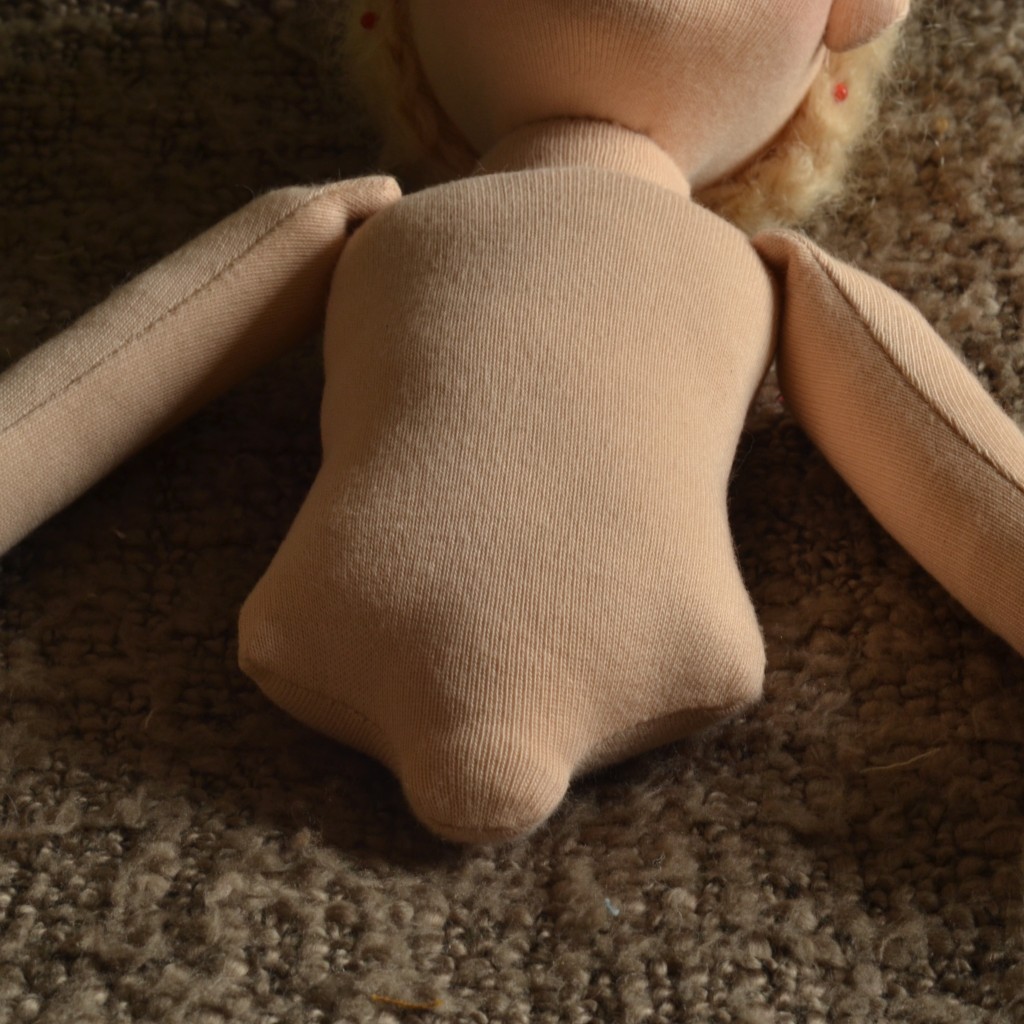
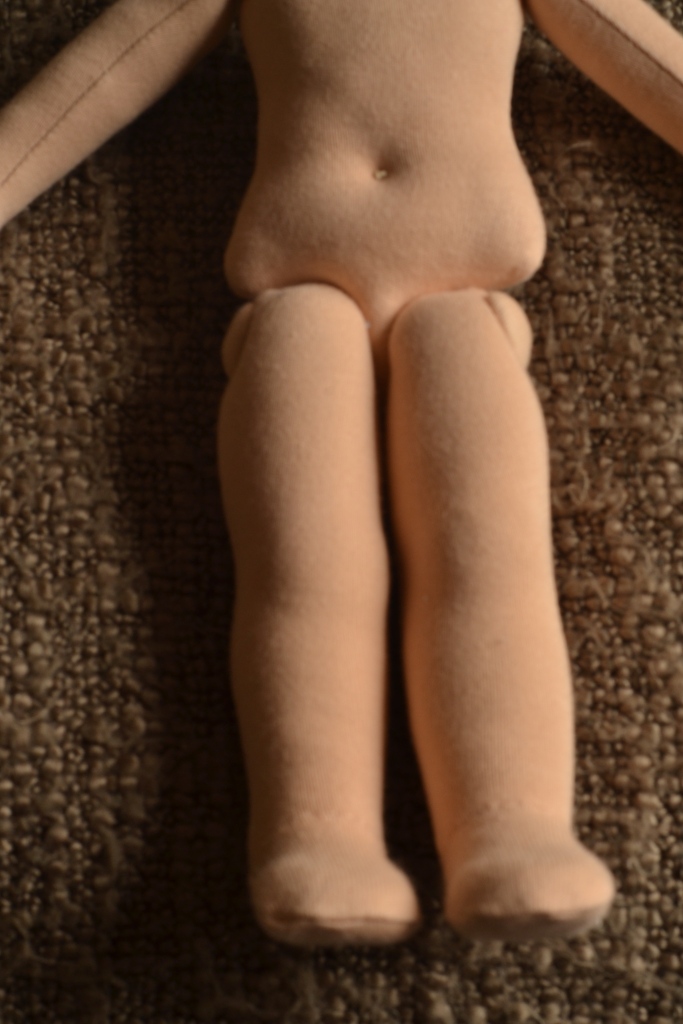
I used the method of attaching the legs that I found on Pinterest, the diagram was self explanatory. I also found a very detailed tutorial on covering the buttons by Agosia Arts. When I attached the legs it looked okay(ish) from the front, I did think the torso looked too long in comparison with the legs. The back was really not good, she didn’t have a bottom, and a doll needs a decent bottom.
Next step was to insert 2 bottom darts and shorten the torso, easier said than done. I really wish I hadn’t attached the head and arms to my first new style torso, I had to do a lot of unpicking. Here is the torso version 2, I debated whether to show them…..they don’t look any different, however you can see the dart and how the buttons look better covered. The real problem however is that I think the head is too large, in fact I’m certain the head is too large. I’m going to decapitate her and make her a new bigger body (and her body a new smaller head!)
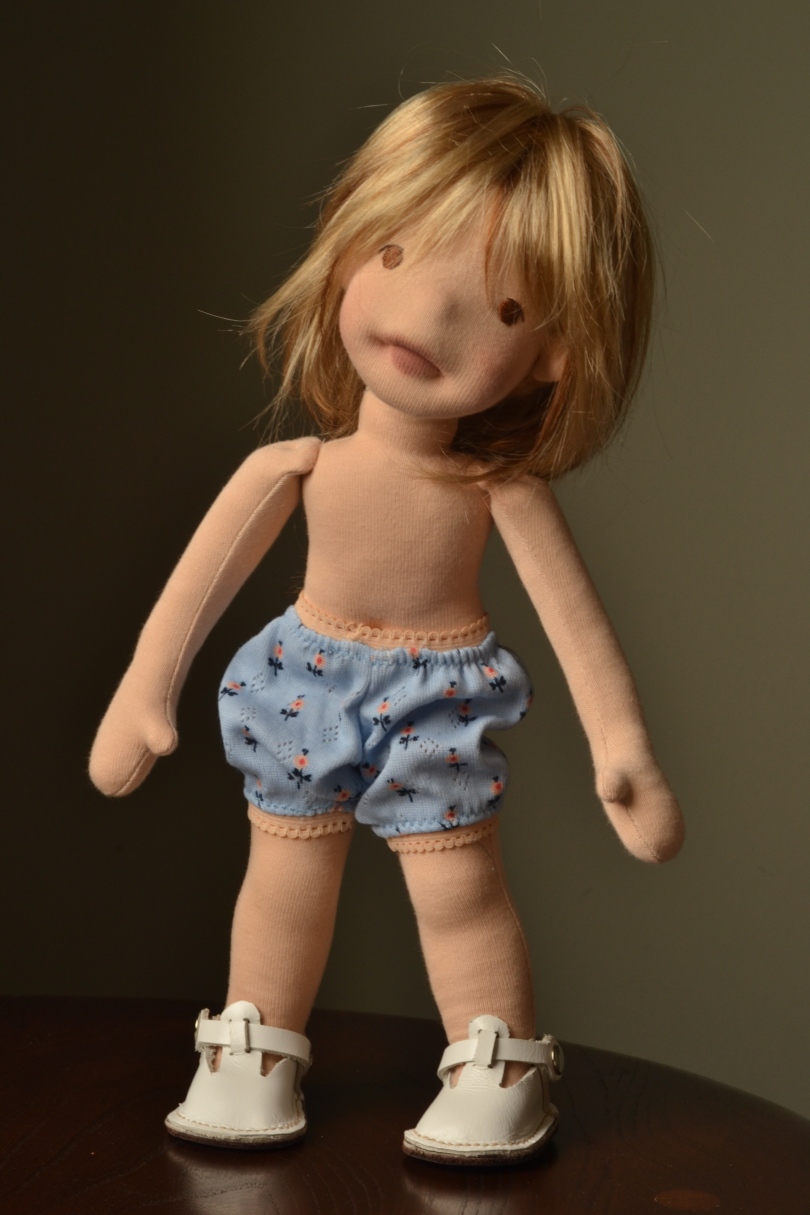
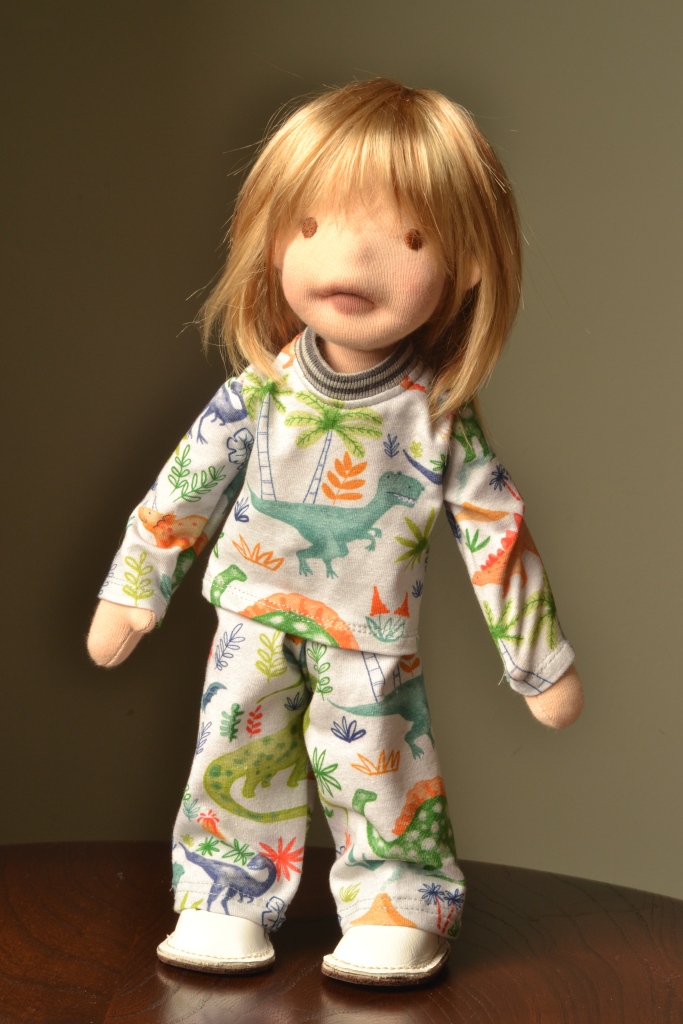
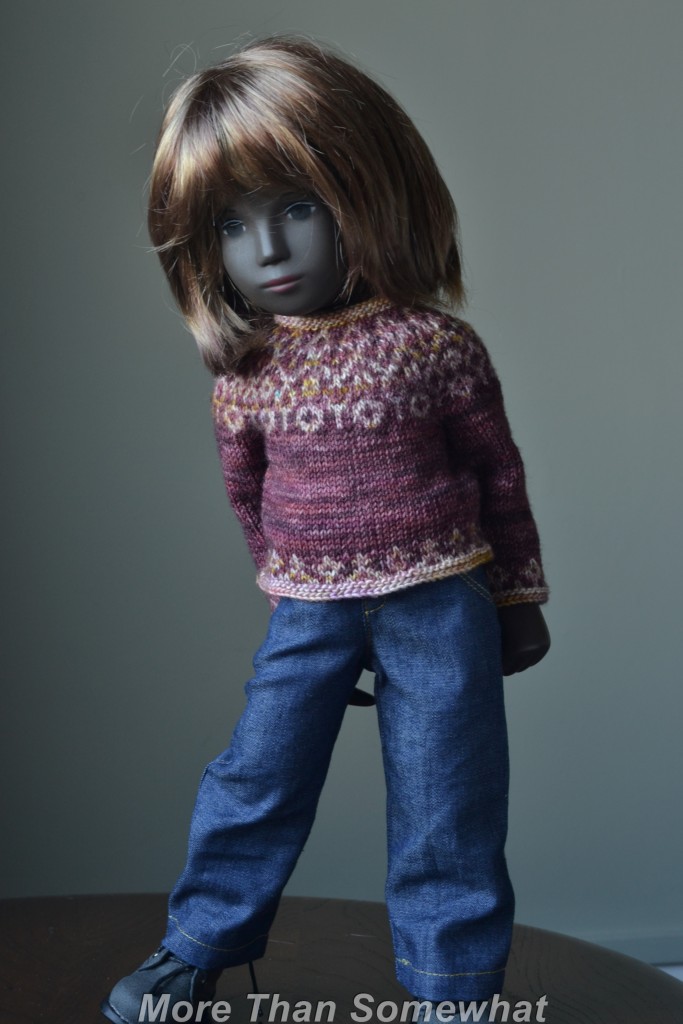
Agnes however kindly offered to model PJs for Luis/Yonas before she underwent major surgery, and the vinyl Sasha doll models Ava/Izara’s sweater and jeans.
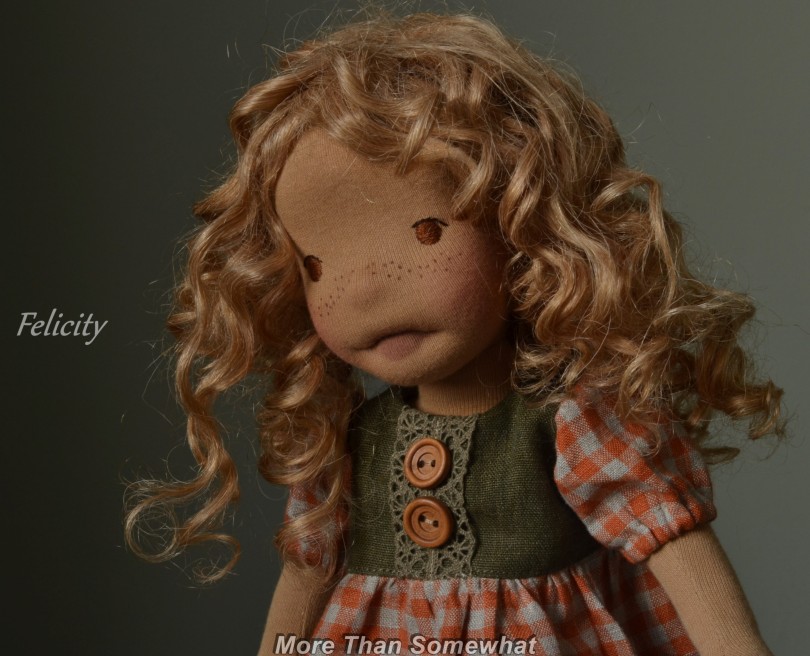
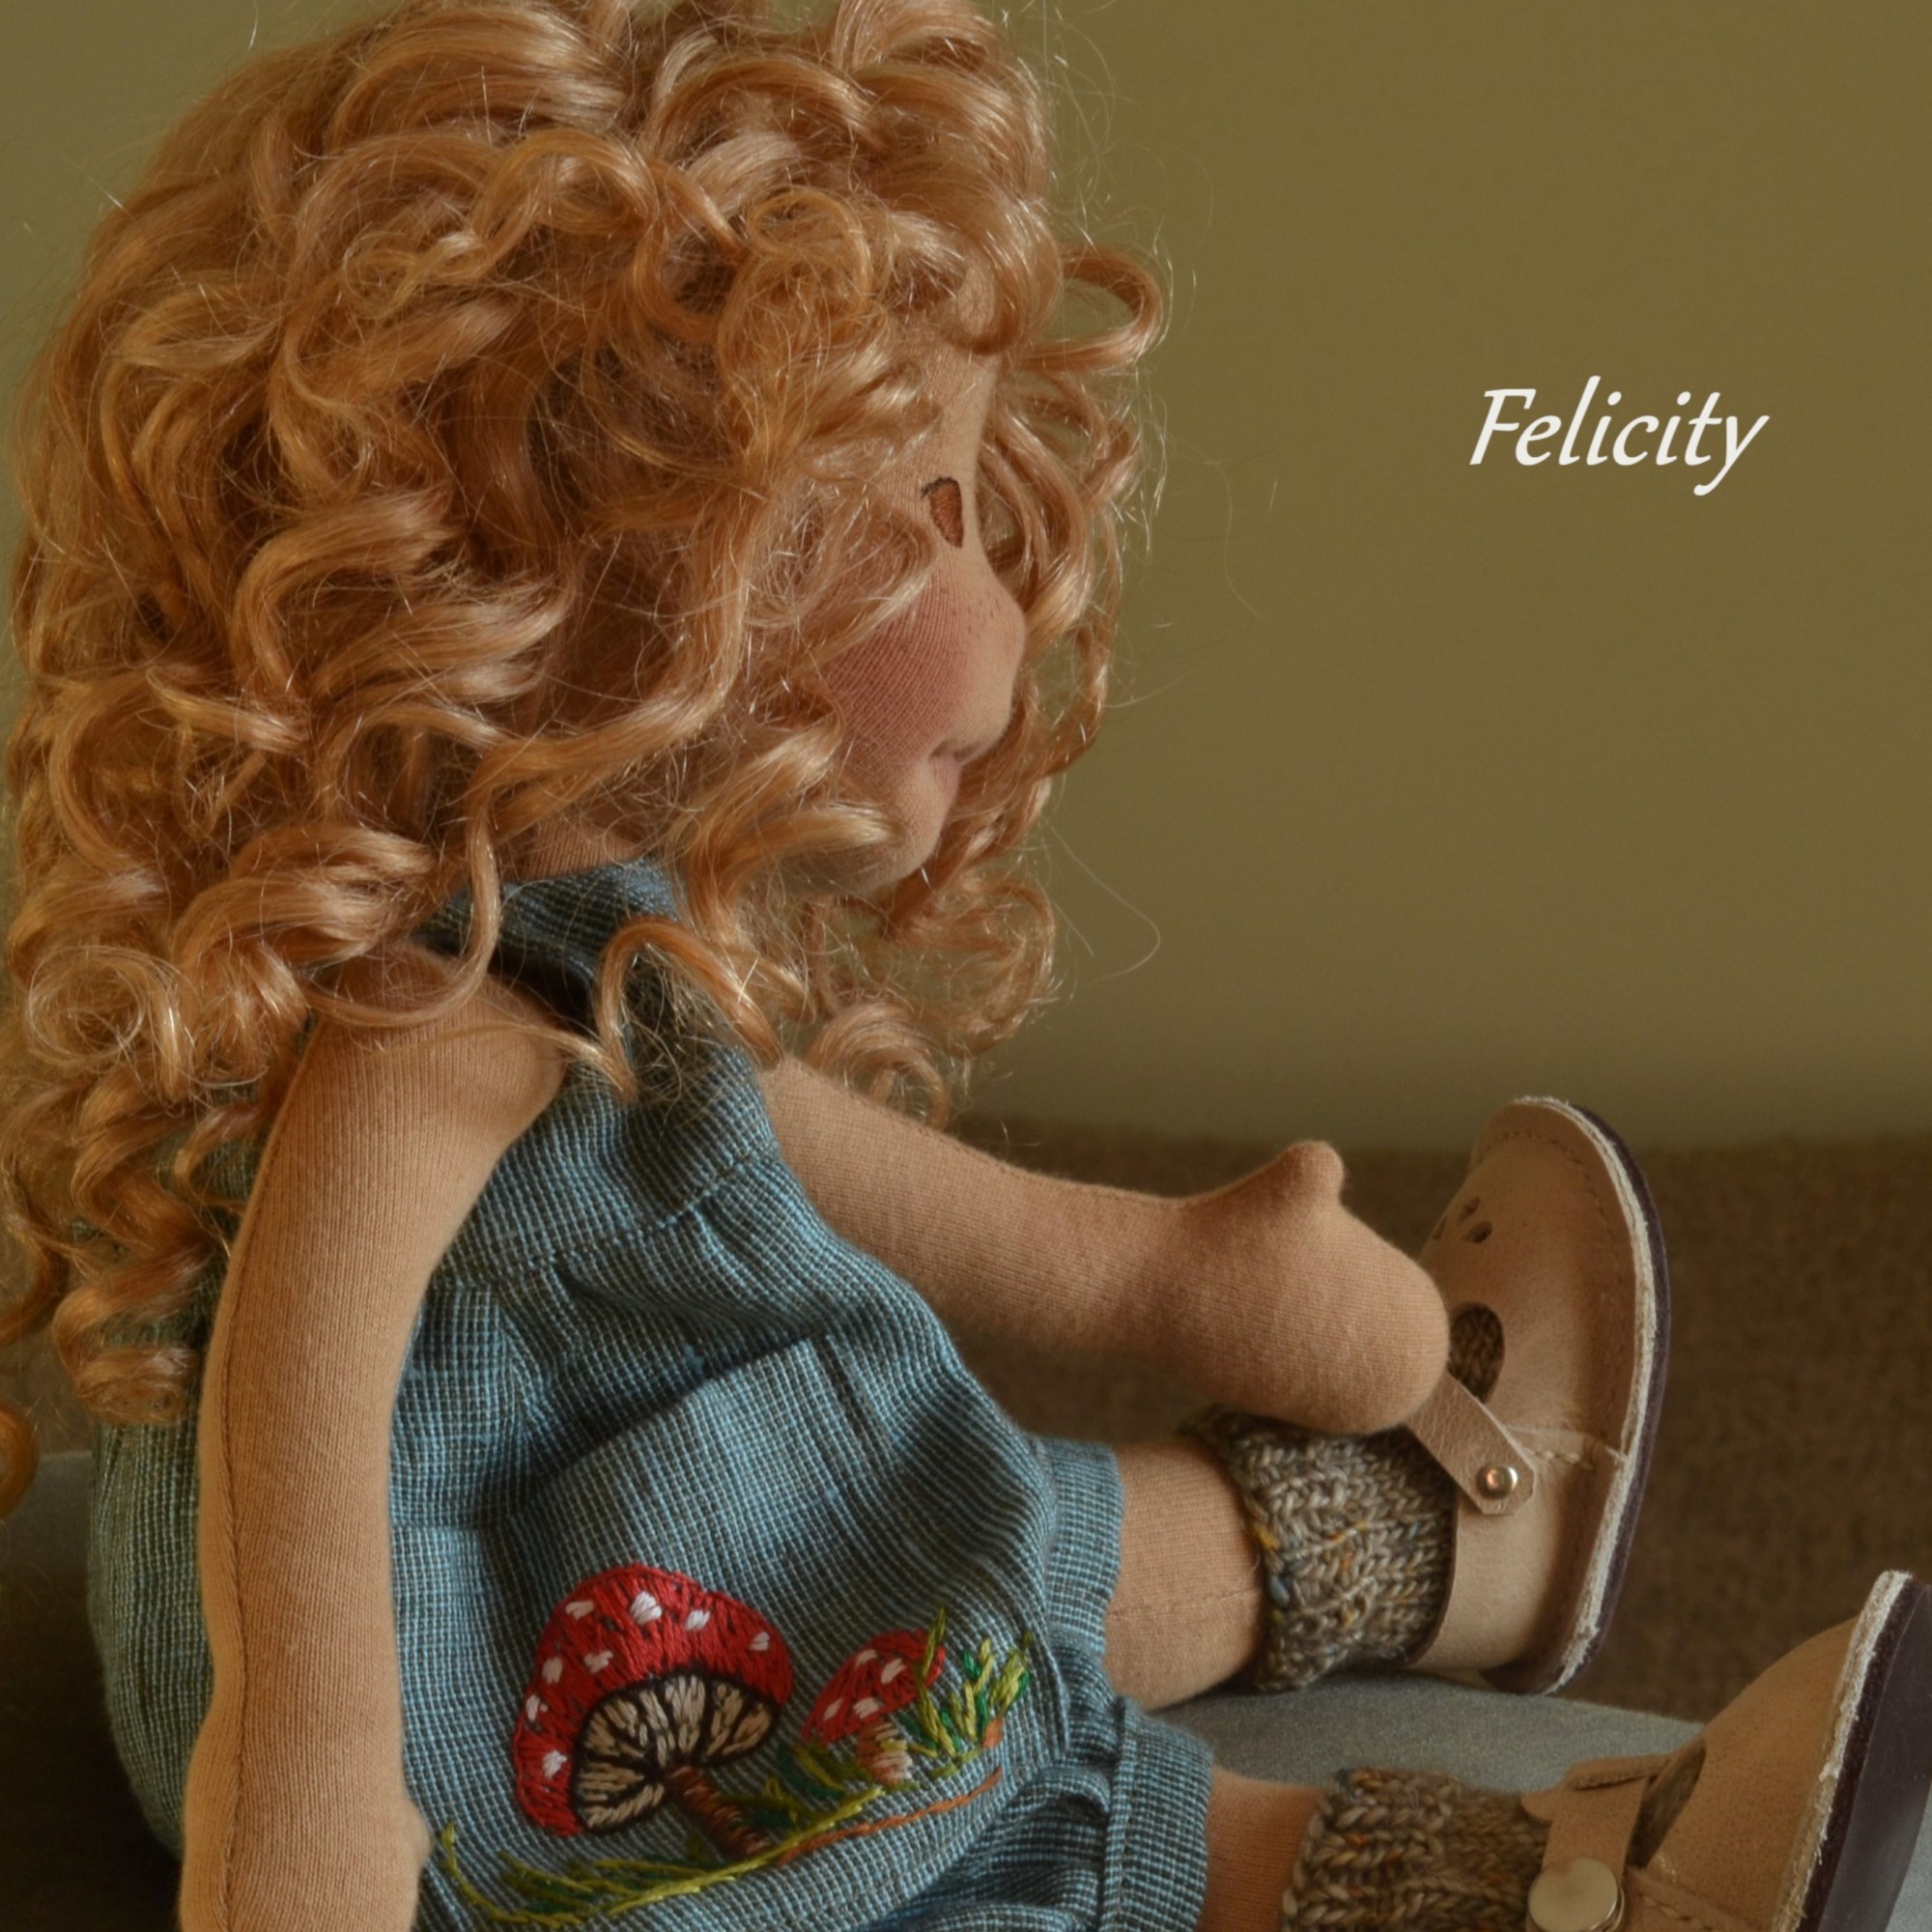
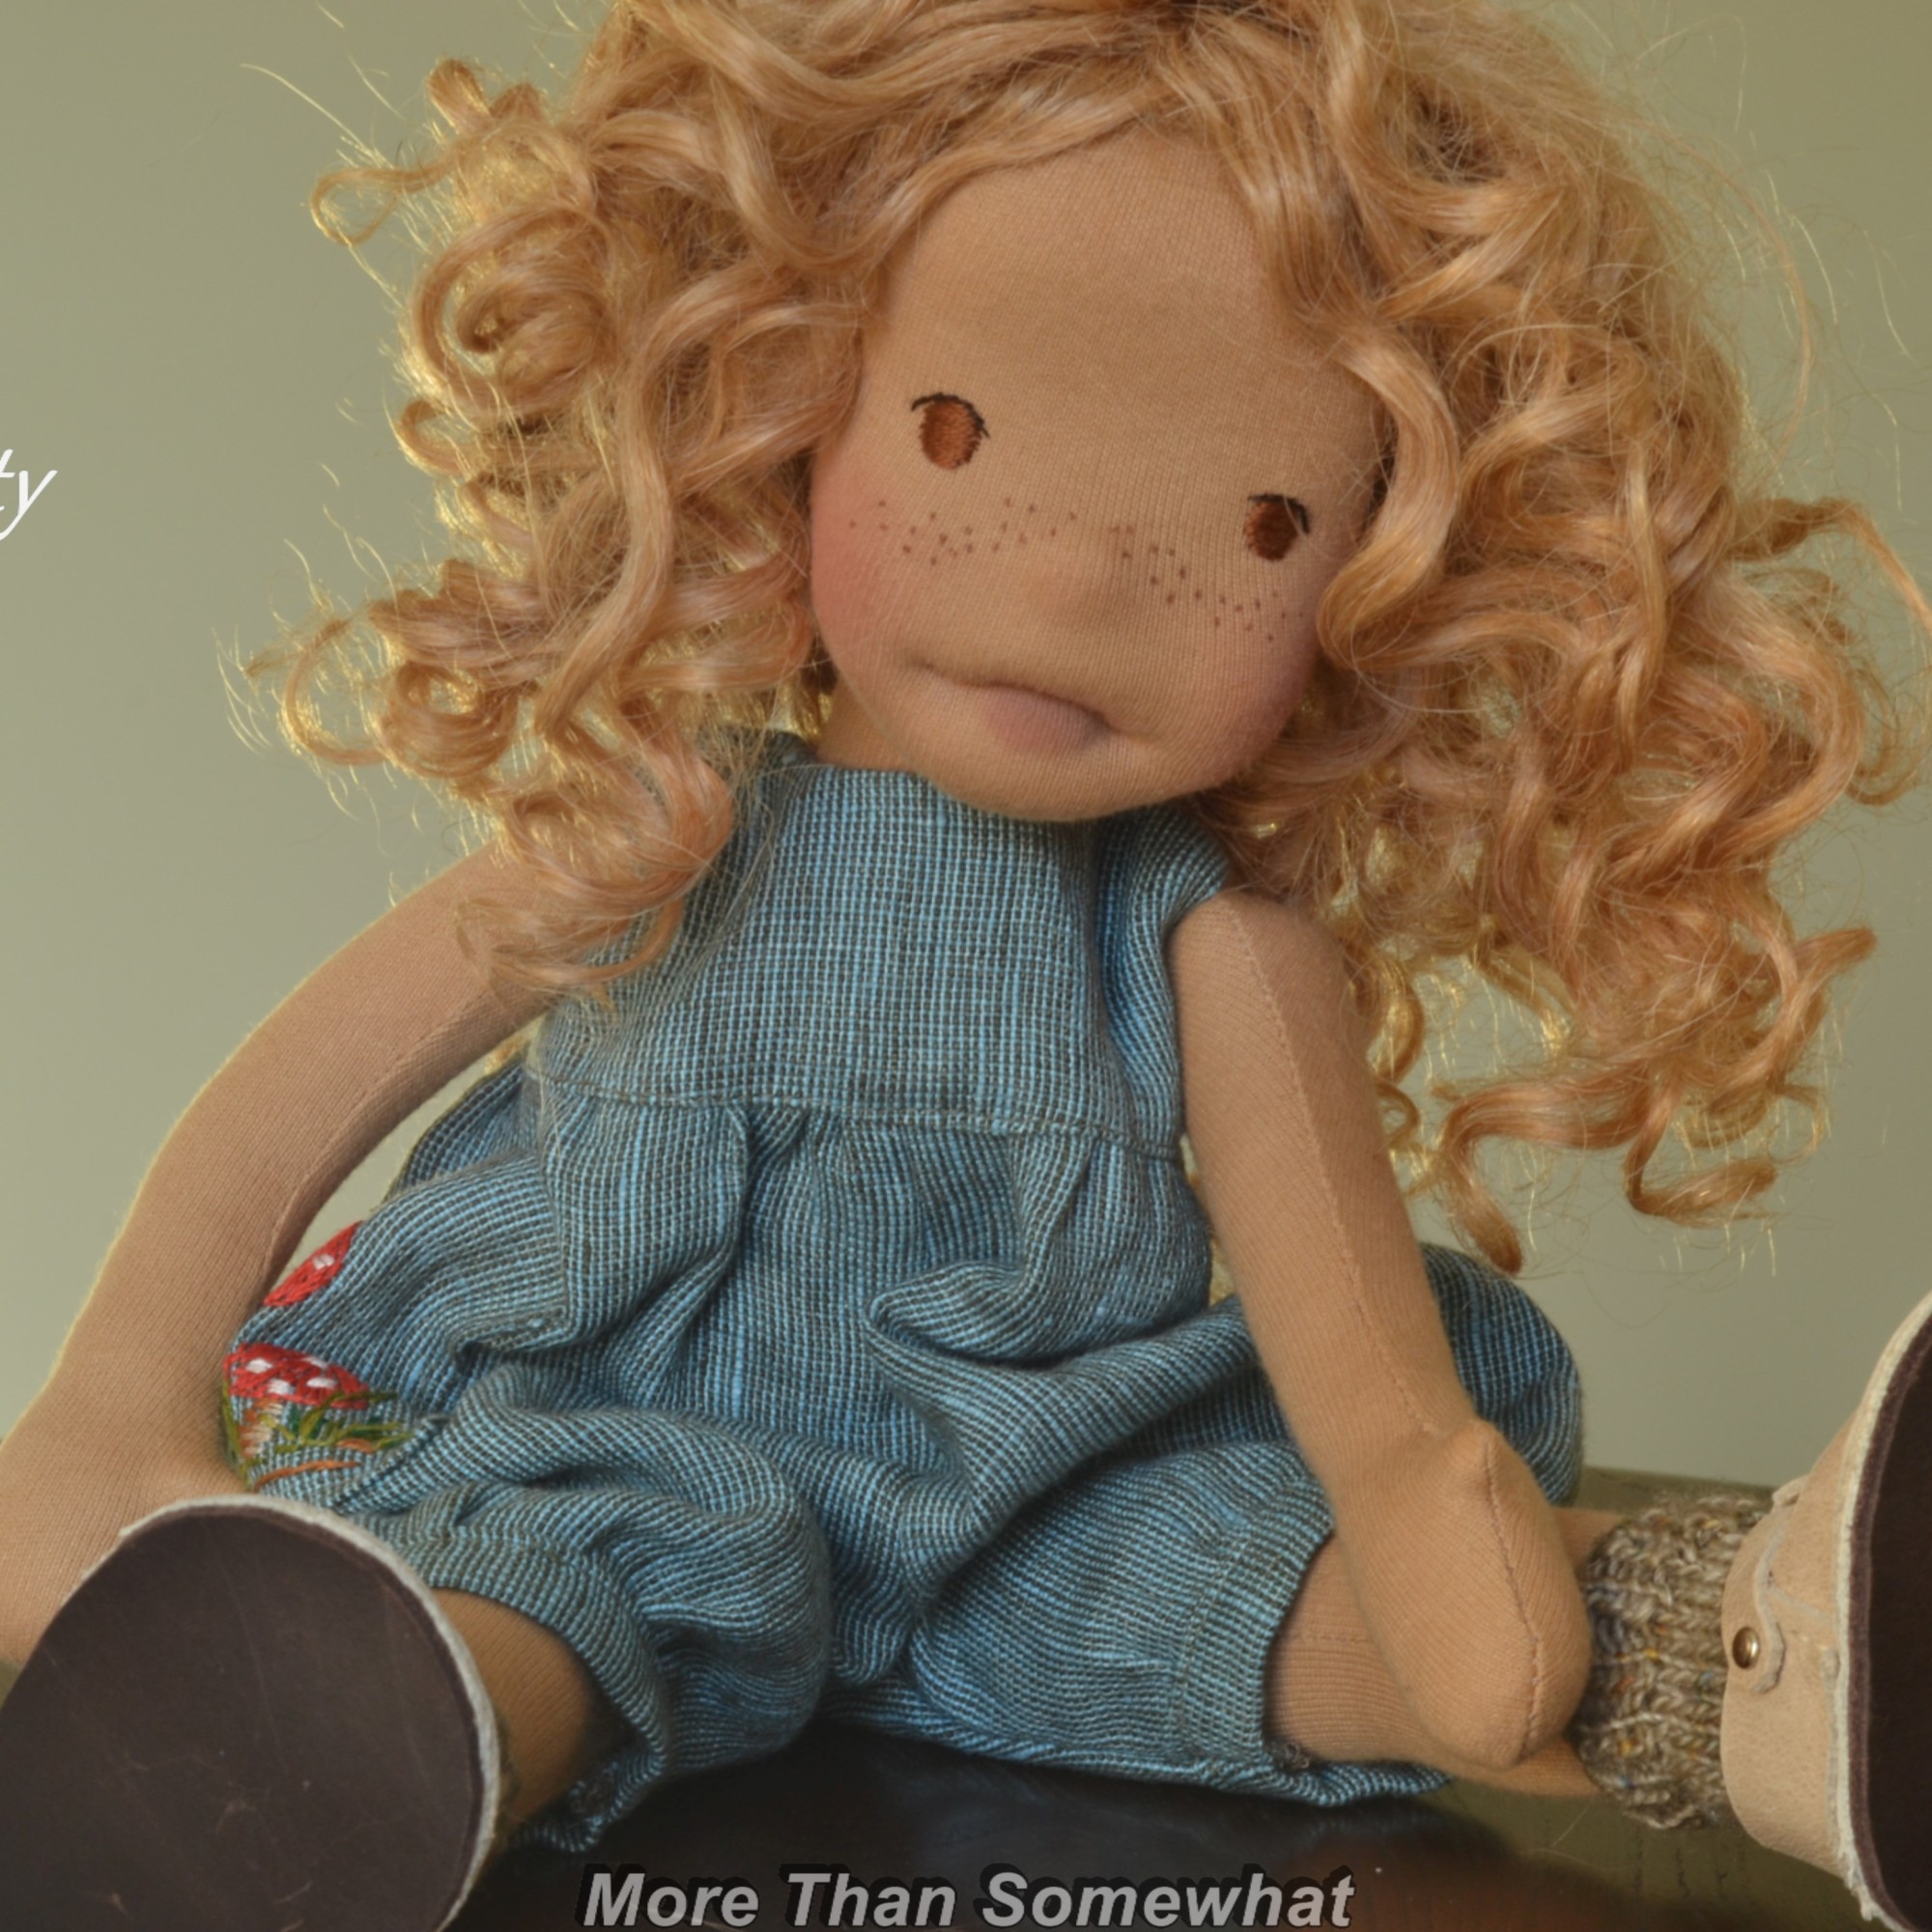
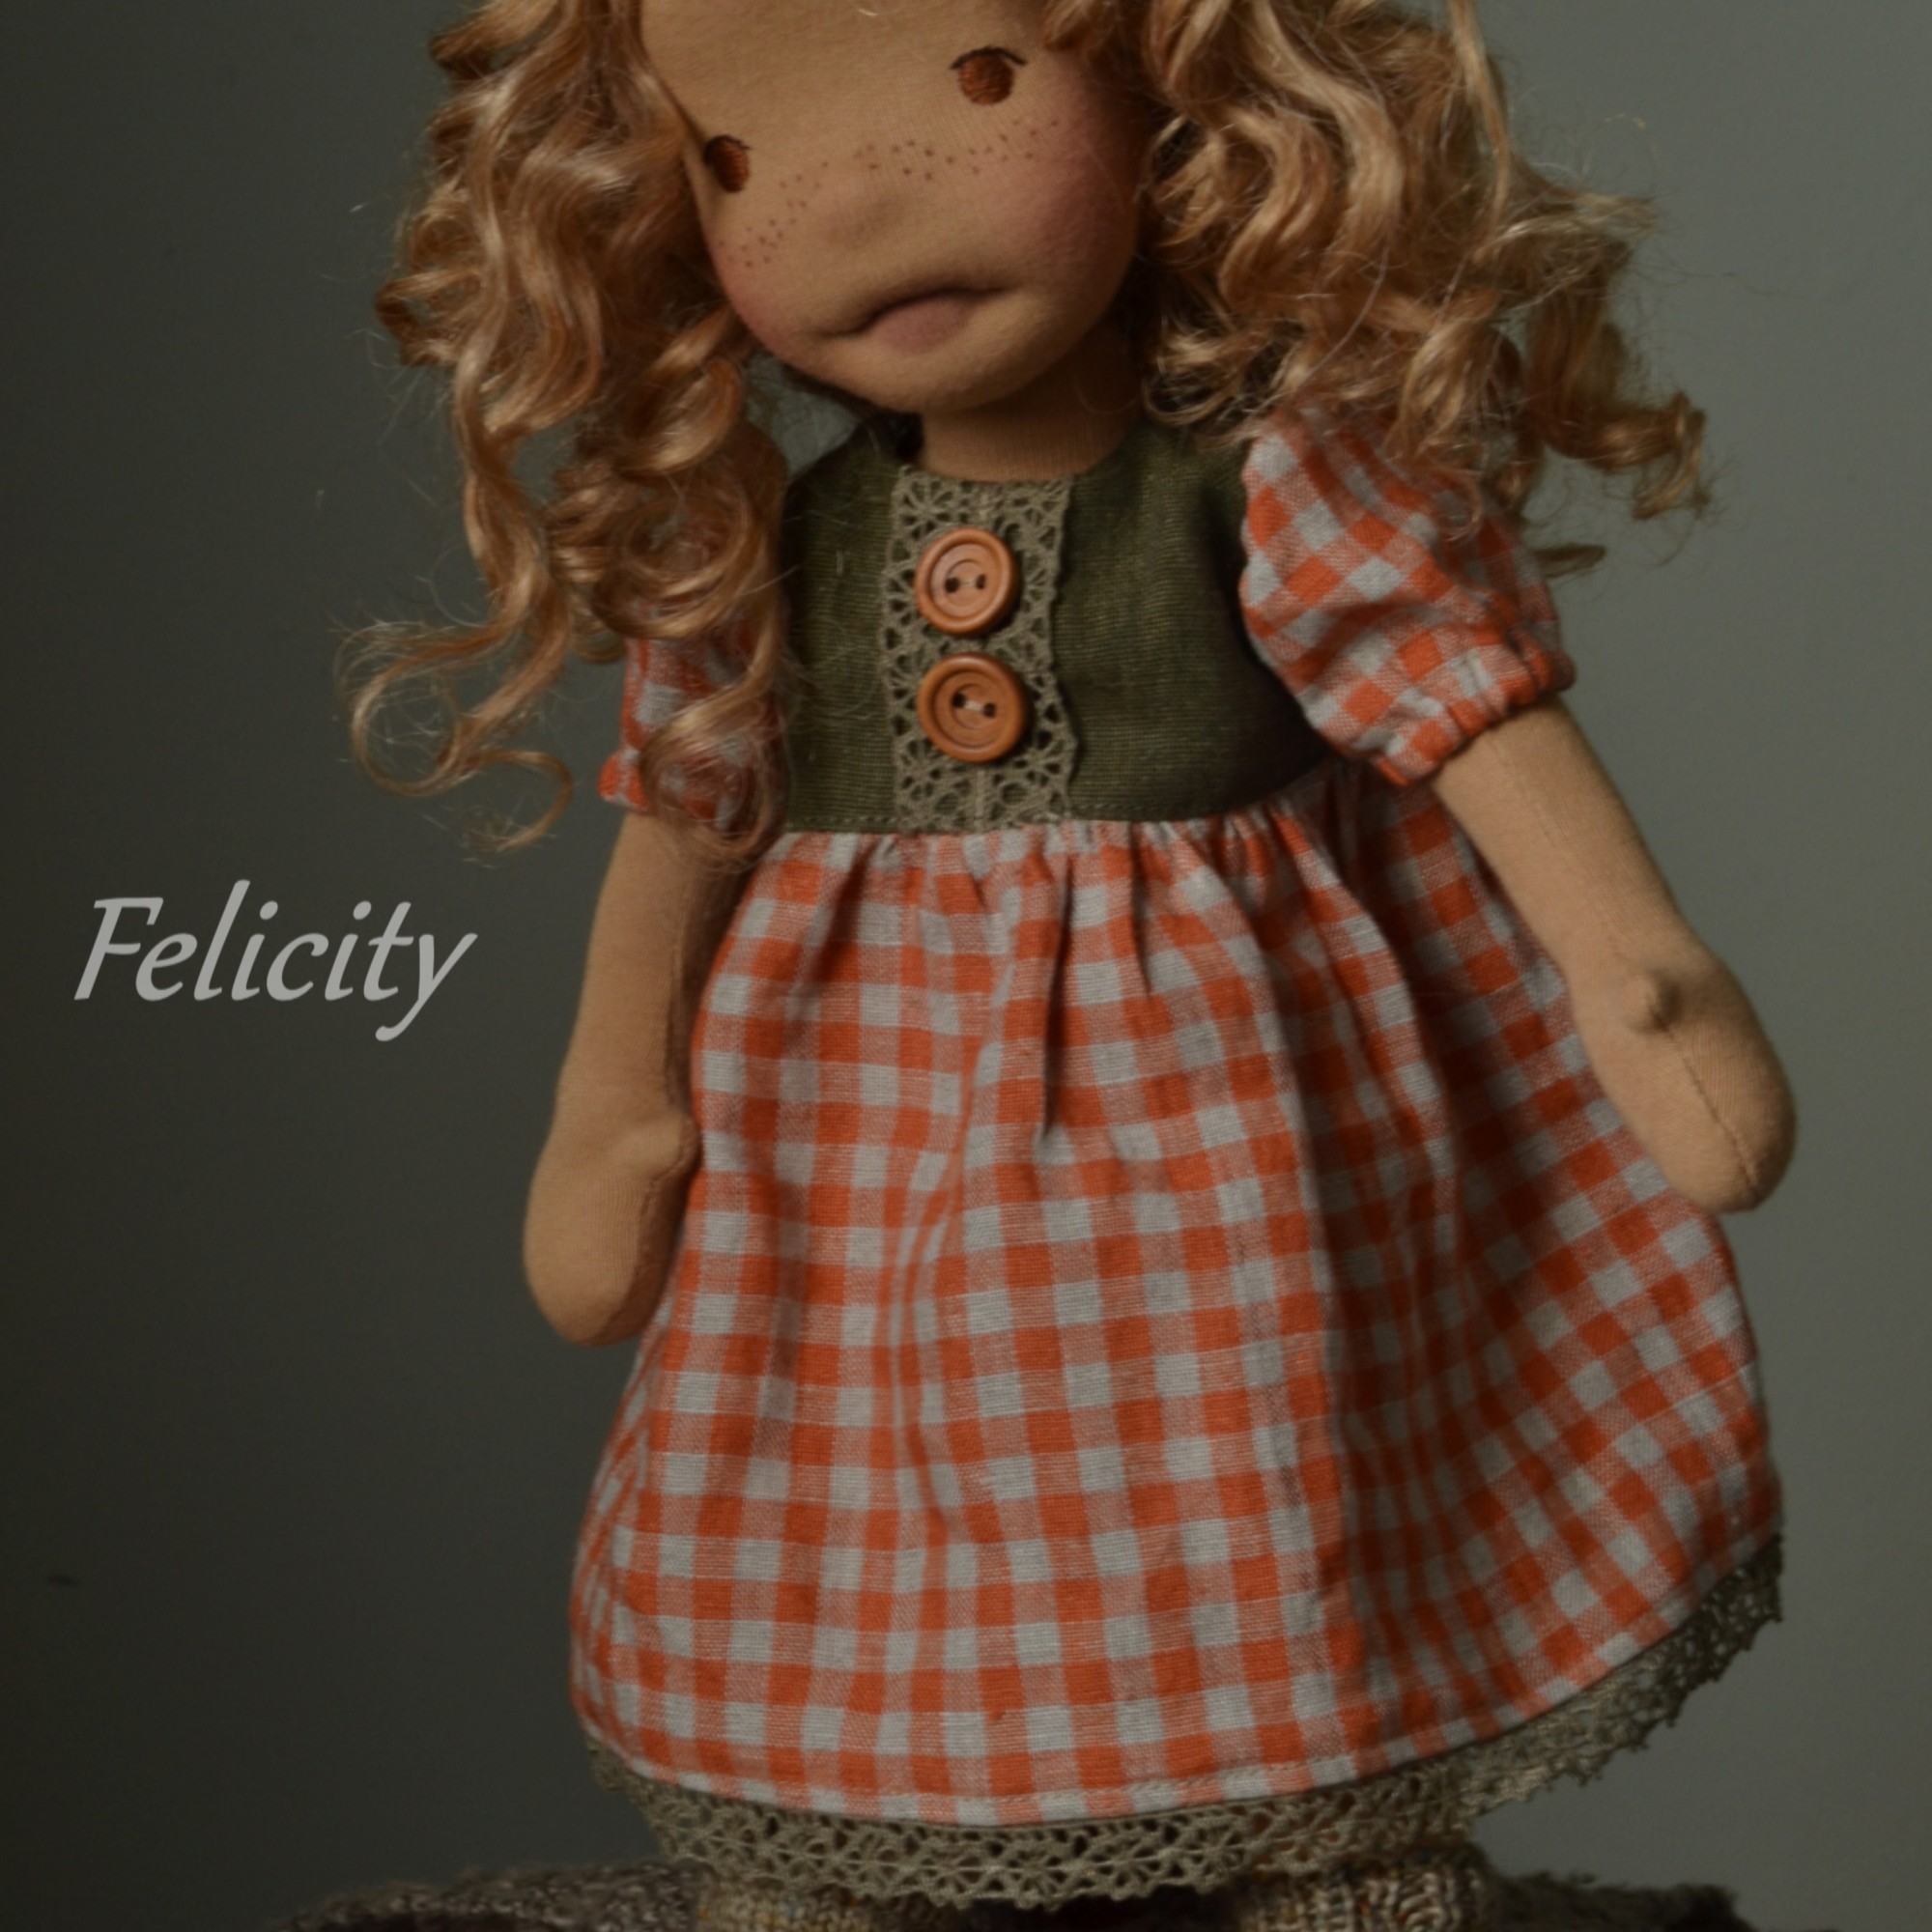
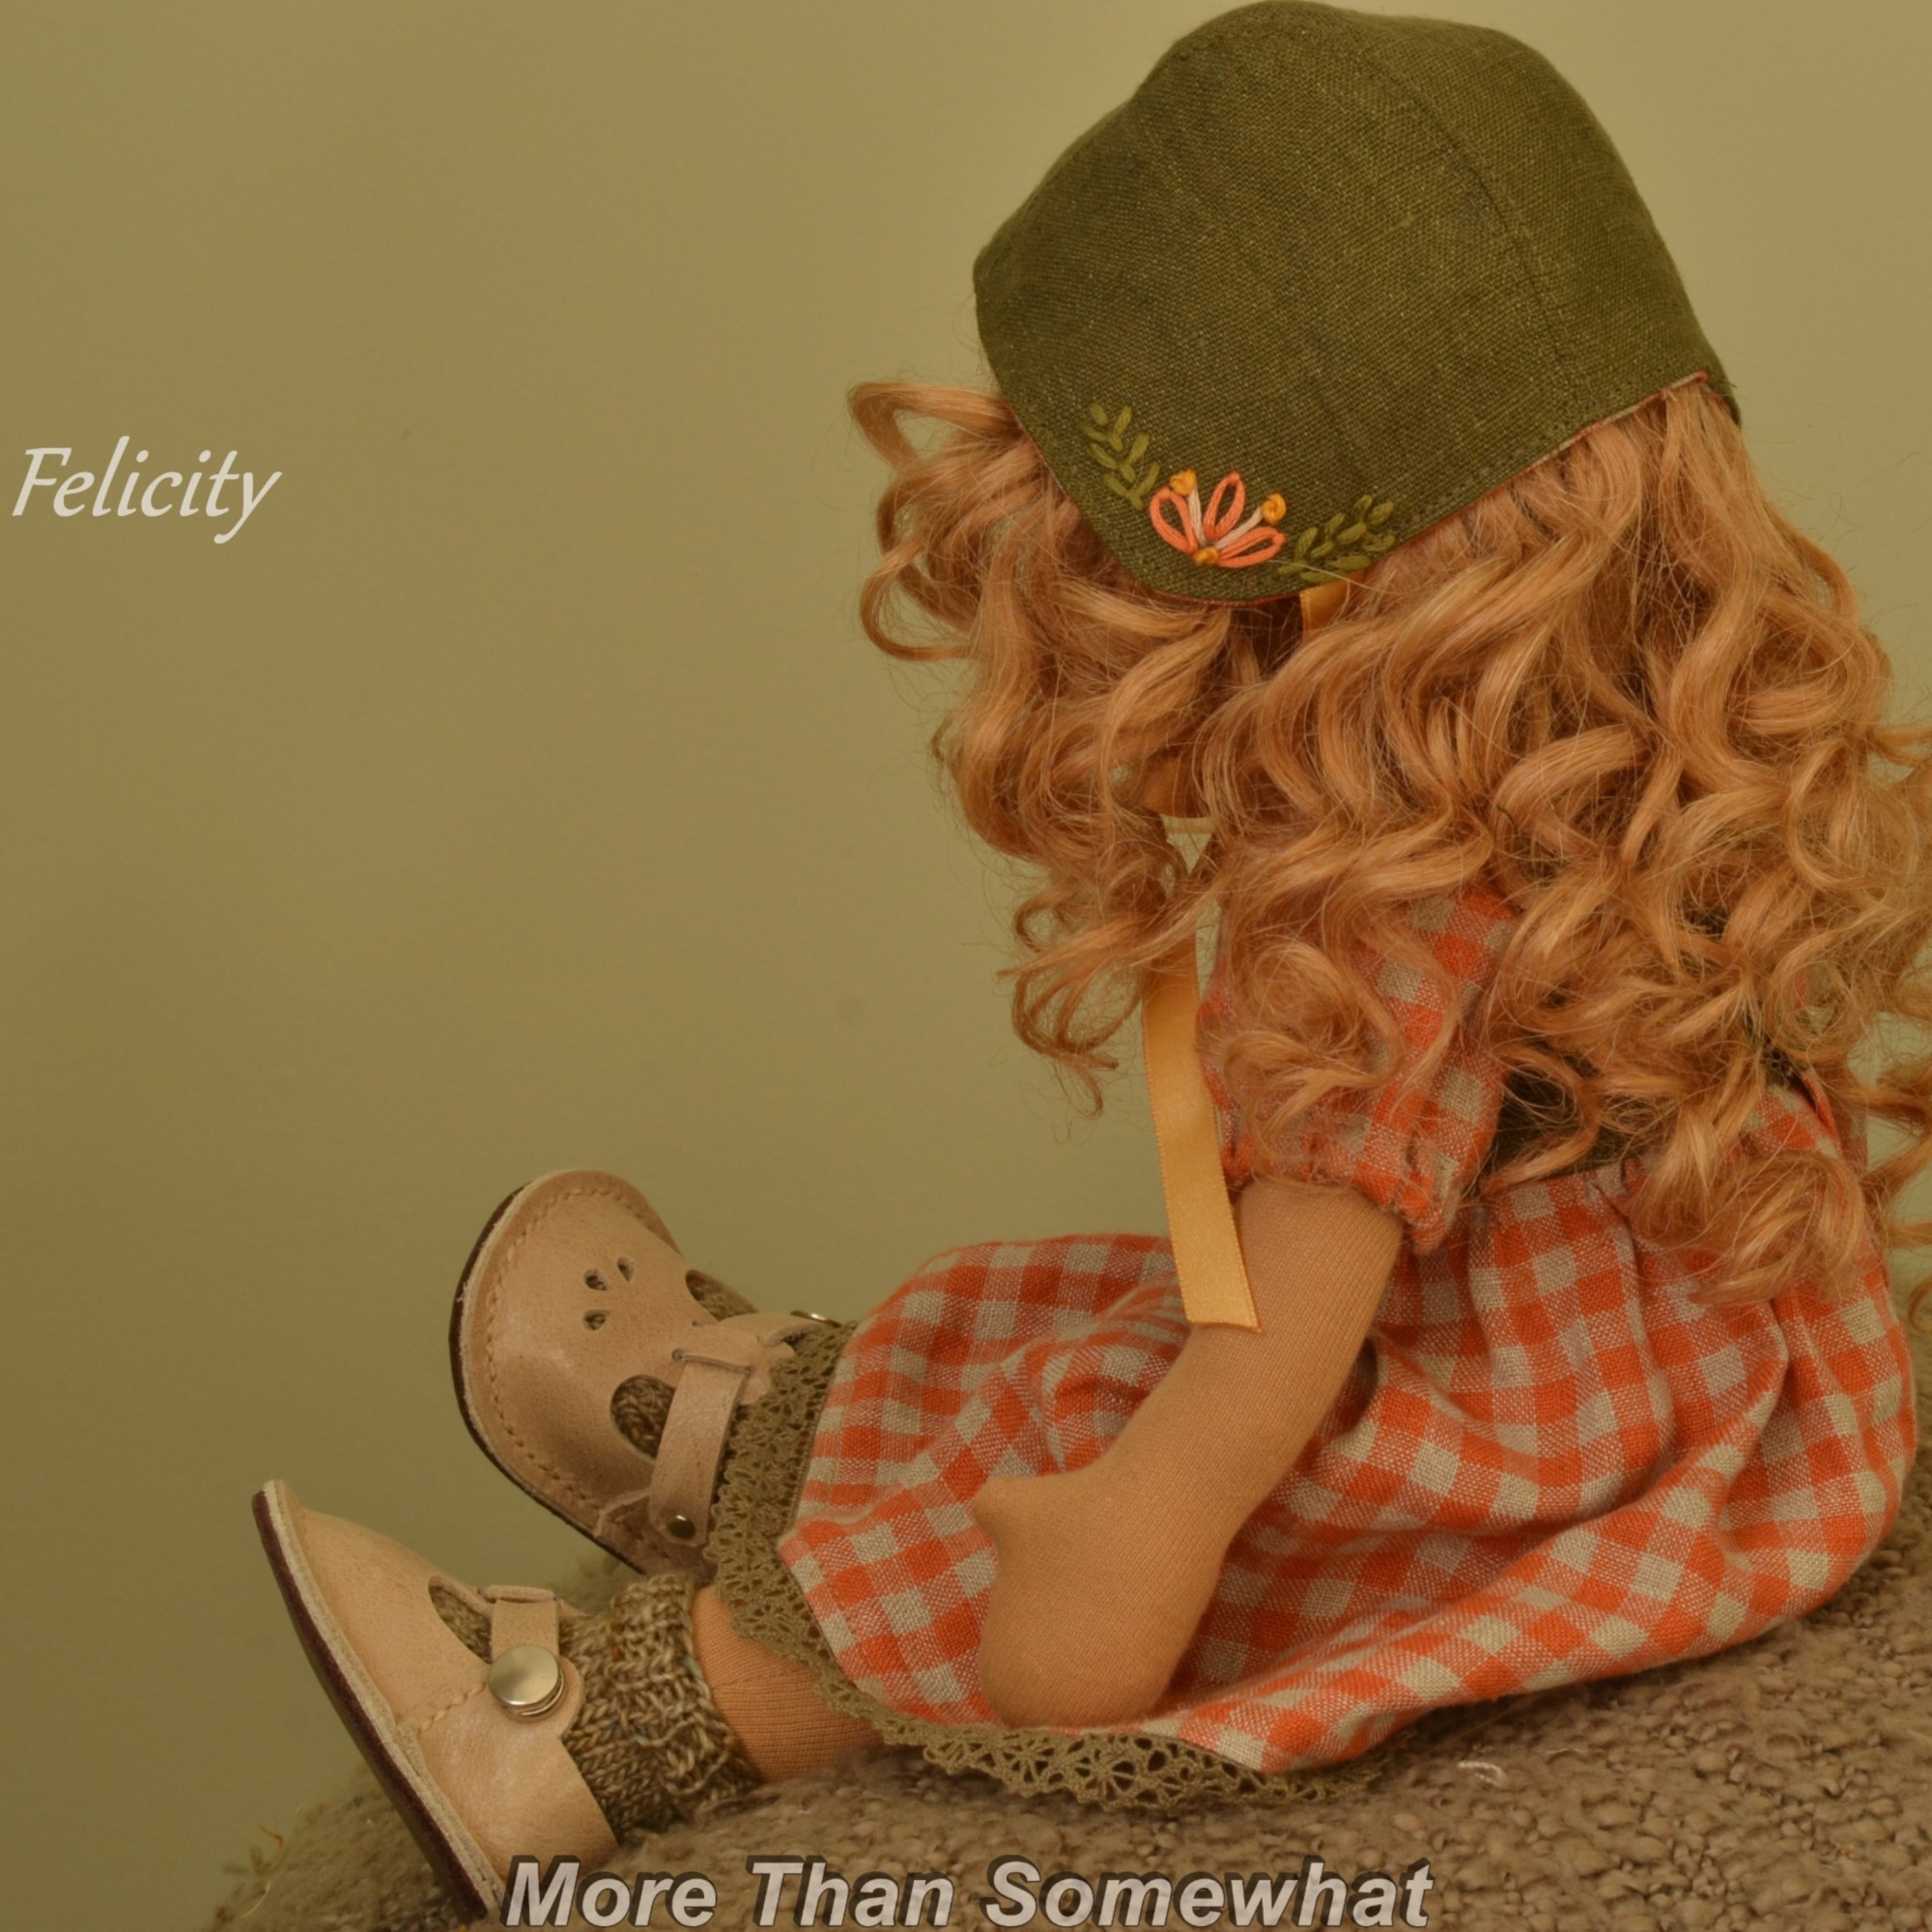
A while back I embroidered a pocket, it was not what the new mama envisaged, so I carefully removed it, embroidered another and everyone was happy. Now the pocket has got a new place on Felicity’s dungarees, a special place for her treasures. Here are Felicity’s two outfits, the orange gingham dress with matching embroidered bonnet, and duck egg blue linen dungarees with that very special pocket.
Felicity may have a new home already but if she doesn’t she will be in my Esty shop upload on 1st Feb
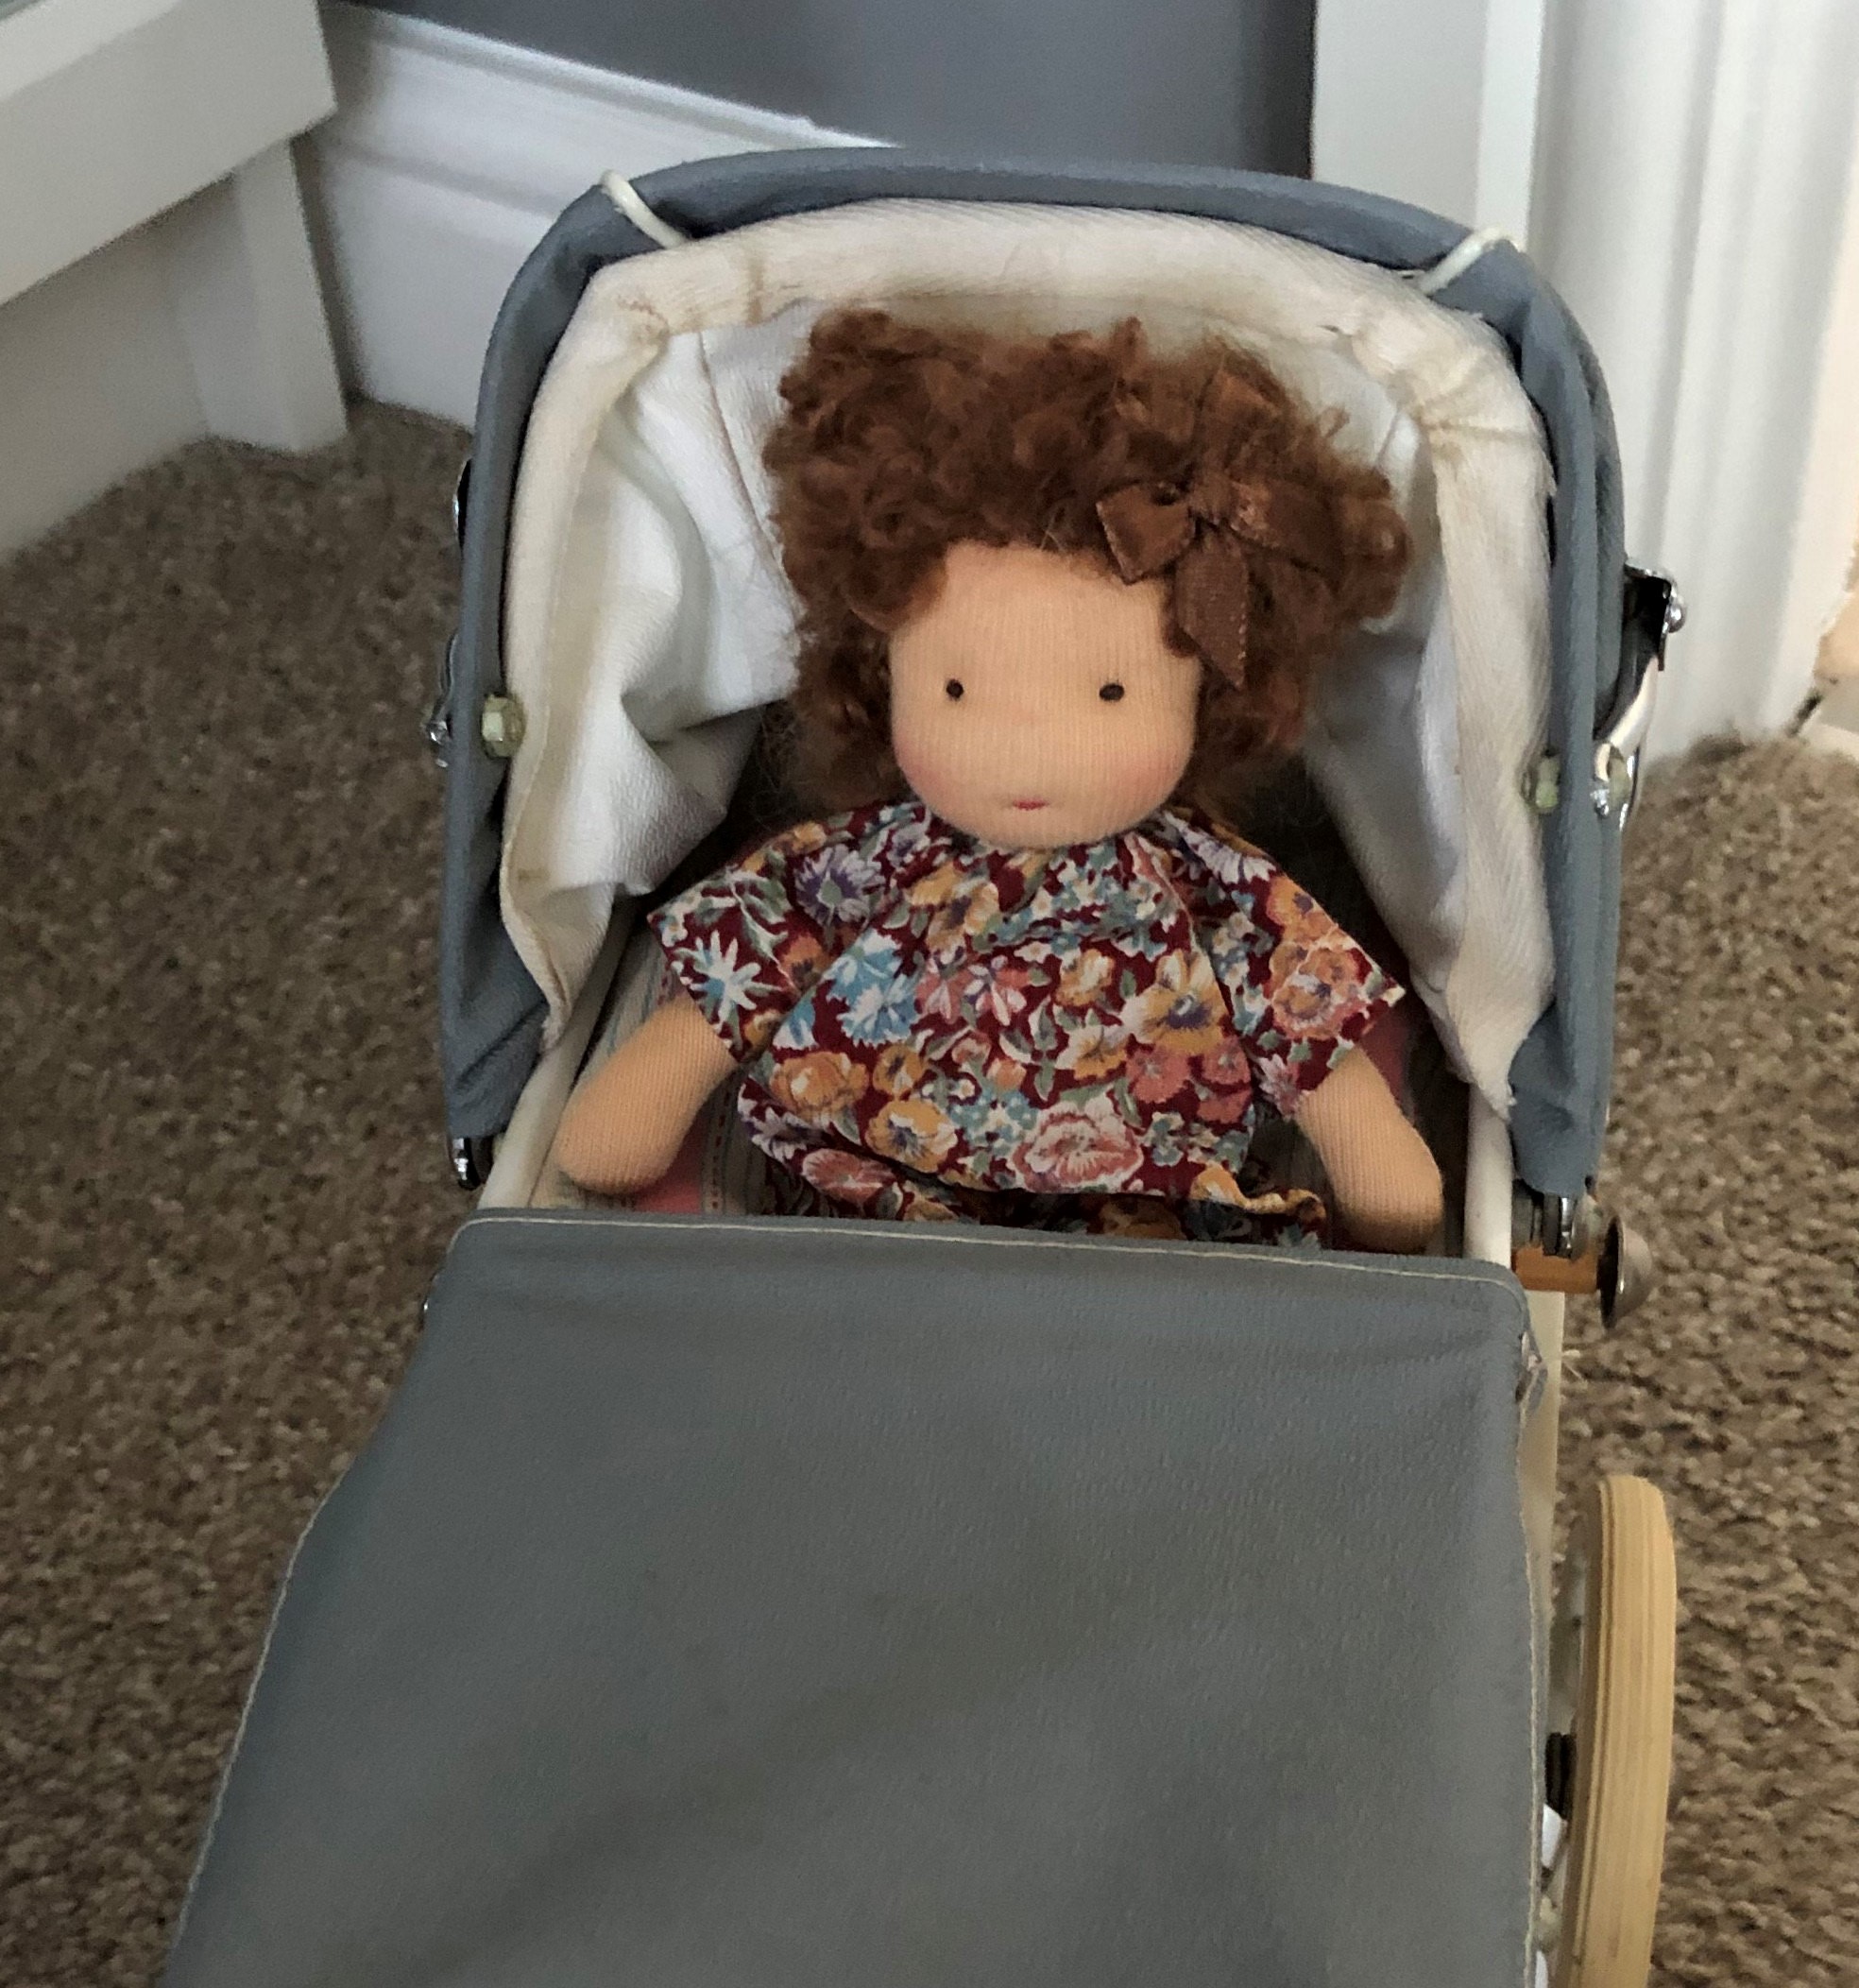
I’ve been busy on various projects, one of them was to make a smaller doll and also learn how to do button jointing. I started experimenting back in December, and started a blog post about it, however, I ground to a halt and decided to go back to what I know to get my confidence up. So here is Felicity who is lively, bubbly and generally mischievous and known to her friends as Fizzy. She is 12 inches of freckles and curls, and is going to have an orange gingham dress. Here’s another picture of Fizzy, she is unceremoniously balanced in a mug as she still doesn’t have legs!
I also make clothes for 16 inch plastic dolls and someone has suggested that I make a tiny Waldorf doll for her doll. She sent me a photo of one she has, and I was definitely inspired to have a go. The doll’s doll is only 10cm tall, but I think it would be great fun to do micro knitting or crocheting for a dress. The maker of the little doll is unknown at the moment but I’ll update this post if I find them.
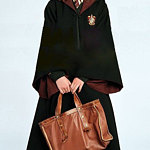
To complete Ava’s wizard school outfit she needed a school bag. There were a couple of options, try to match Hermione’s school bag or go for the ‘old school’ style satchel. I knew which I preferred, and so did her mama. She didn’t feel that Ava would be able to carry the ‘Hermione’ bag, and I agreed.
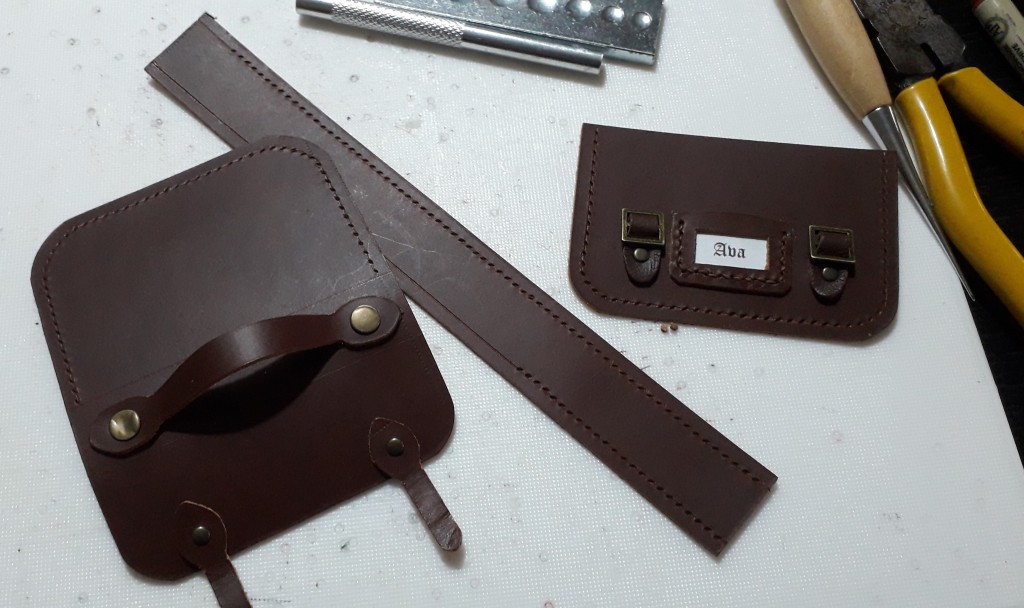
I was going to use the same leather as Ava’s shoes, so I had to modify the satchel pattern, less pockets as the leather is quite firm. With the aid of my Cricut I cut out the pieces, the leather was pretty tough to sew but I did it. Here’s all the parts laid out. Notice the rivet on the handle? I hit it with the hammer at the wrong angle, I’ve since replaced it, it really bugged me.
Final touches were putting in her name, I’m glad she Ava has such a short name! and also I made a little Marauder’s map (Karte der Rumtreiber) that I have popped in her bag. I found one in German to print…..however it’s so small you’d never know it was in German!